How Can You Change DNS Settings on Your Windows 10 laptop?
Every device requires an IP address in order to interconnect with other devices on the internet.

Your ISP not only gives you internet access but also provides the settings needed for your local network, including the DNS addresses. These DNS addresses help you reach your favorite websites and download files.
However, there are some downsides. The ISP's DNS servers are often not very private.
Sometimes they can be slow, though they are often fast, and can sometimes be unreliable. Here’s the good news: you can use DNS services from third-party firms to improve your internet experience on Windows 10.
DNS Explained!
The DNS is an internet service, where you type the name into the browser and the service will take you to a certain address. That is why DNS is a convenience. It is very hard to imagine the Internet without DNS.
Every device requires an IP address in order to interconnect with other devices on the internet. However, these numbers are hard for people to remember.
DNS servers assist in this by replacing easily memorable names of websites with numbers that computers can understand.
When you write “www.windowscentral.com” into your browser, it first needs to ask the DNS servers to translate that into the actual computer IP address. When the address is found in the browser, it establishes a connection with the site and loads the page.
You usually don’t notice this process because it happens automatically and quickly. It often completes in just a few milliseconds.
However, if the DNS servers being used are slow or unstable, the internet will slow down. If you would like to change the DNS settings or want to use faster or more private DNS servers, Windows 10 provides an option. You can do this through the Control Panel, Settings app, or Command Prompt.

Reason to Change Your DNS Settings
Changing your DNS servers can really improve your internet experience.
- The Domain Name System is crucial for everything you do online. Any issues with it can affect how well you can browse the web.
- For example, if your ISP's DNS servers are slow or not set up correctly, they can slow down your internet connection. This is especially noticeable when you visit websites that load content from multiple sources, like affiliate links or ads.
- You can enjoy quicker browsing, whether at home or in a business by switching to faster DNS servers.
- In a business setting, some companies offer DNS services with helpful features. For instance, they can block harmful websites before they even reach an employee's browser. It can help them in keeping the workplace safer.
They can also filter out adult content and other inappropriate sites. Similarly, DNS-based parental control systems can help parents manage what their children can access online across all devices.
Process to Change DNS Settings on Your System with Windows 10
Here are the simple steps you can take to change DNS settings on your system:
Visit Advanced Network Settings
Open the Settings app on your computer then click on Network & Internet.
From here you have to find the section called Advanced Network Settings. Then click on Change adapter options.
Choose Properties
Go to the Network Connections window. Here you have to right-click on the connection you want to change. You can choose anything from Ethernet or Wi-Fi.
Then you can choose Properties from its menu.
Select IP Version 4 (TCP/IP v4):
In the Properties window, look for IP Version 4 (TCP/IP v4) and click on it. Then, click the Properties button.
Change Your DNS Server Address
In the Internet Protocol Version 4 Properties window, select the option that says “Use following DNS server address.”
You will see fields for both a preferred DNS server and an alternate DNS server. The alternate server is used if the preferred one is not available or is too slow to respond.
Just enter the IP addresses provided by the DNS service you want to use in the correct fields for both servers. Then click OK. After that, you can close the Properties window.
Protect Your DNS Settings with iTop VPN on Windows 10
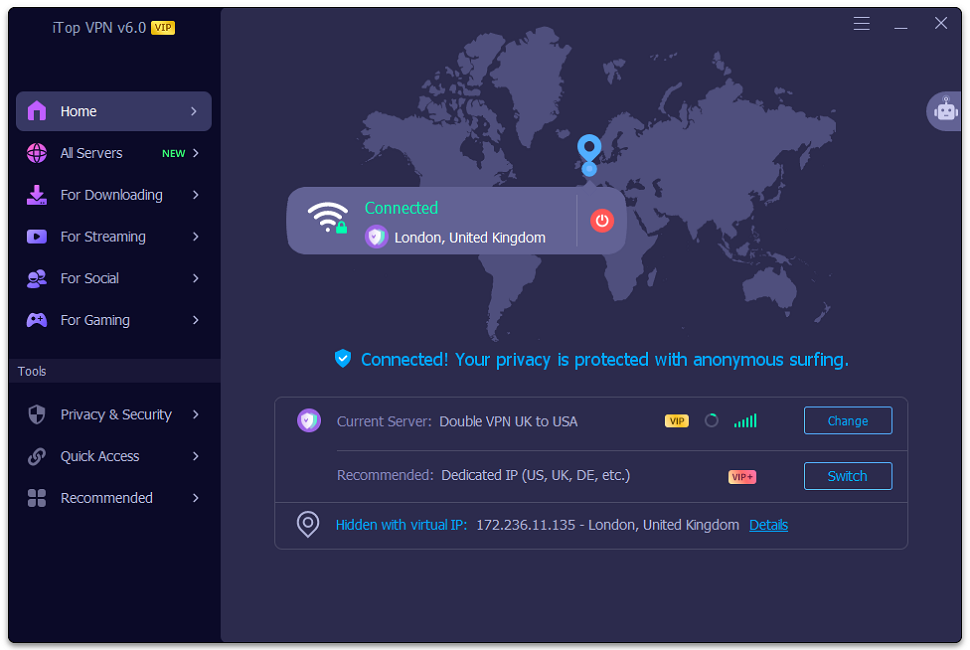
iTop VPN is a powerful VPN service that helps keep your online activities safe. It also allows you to access blocked content quickly. You can easily use Instagram on campus networks with iTop VPN. It also allows you to listen to music on Spotify while traveling, and watch Netflix from anywhere in the world.

Above all, it can help you to stay protected when using the internet. iTop VPN works by encrypting your online traffic. It helps in changing your IP address and protecting your DNS settings. You can download the VPN for PC for free and enjoy all its amazing benefits with ease.
Some Amazing Features of iTop VPN that Help You Protect Your System
Fast & Free
iTop VPN is a fast and free service that improves your internet connection speed without costing you anything.
DNS Protection
It protects your DNS settings from being changed. It will help you avoid potential risks from malicious attacks whether you are at home or work.
Privacy Security
iTop VPN includes features like ad-blocking and a kill switch. It helps prevent viruses and stops tracking of your private information if your internet connection drops suddenly. It also supports the latest IPv6 protocol for better security.
Unblock Content
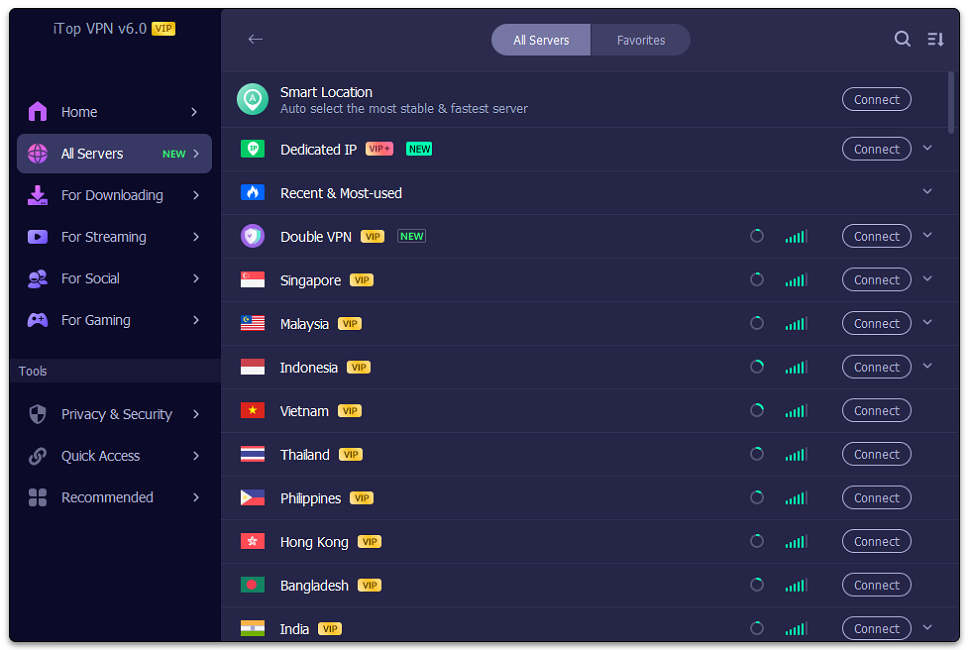
iTop VPN is great for bypassing DNS leaks and is designed to unblock popular games. You can also access social networks, streaming services, and specific websites while keeping your DNS protected.
Final Thoughts
Overall, you can easily change your DNS settings from the Control Panel of your PC. However, you can also protect your DNS settings using iTop VPN. It offers amazing features to help you stay protected while enjoying all the benefits of VPN.


