5 Steps to Easily Change Screenshot Location on a MacBook
This quick tutorial on how to relocate screenshots on a MacBook is a must-read if you want to maintain an organized desktop area.
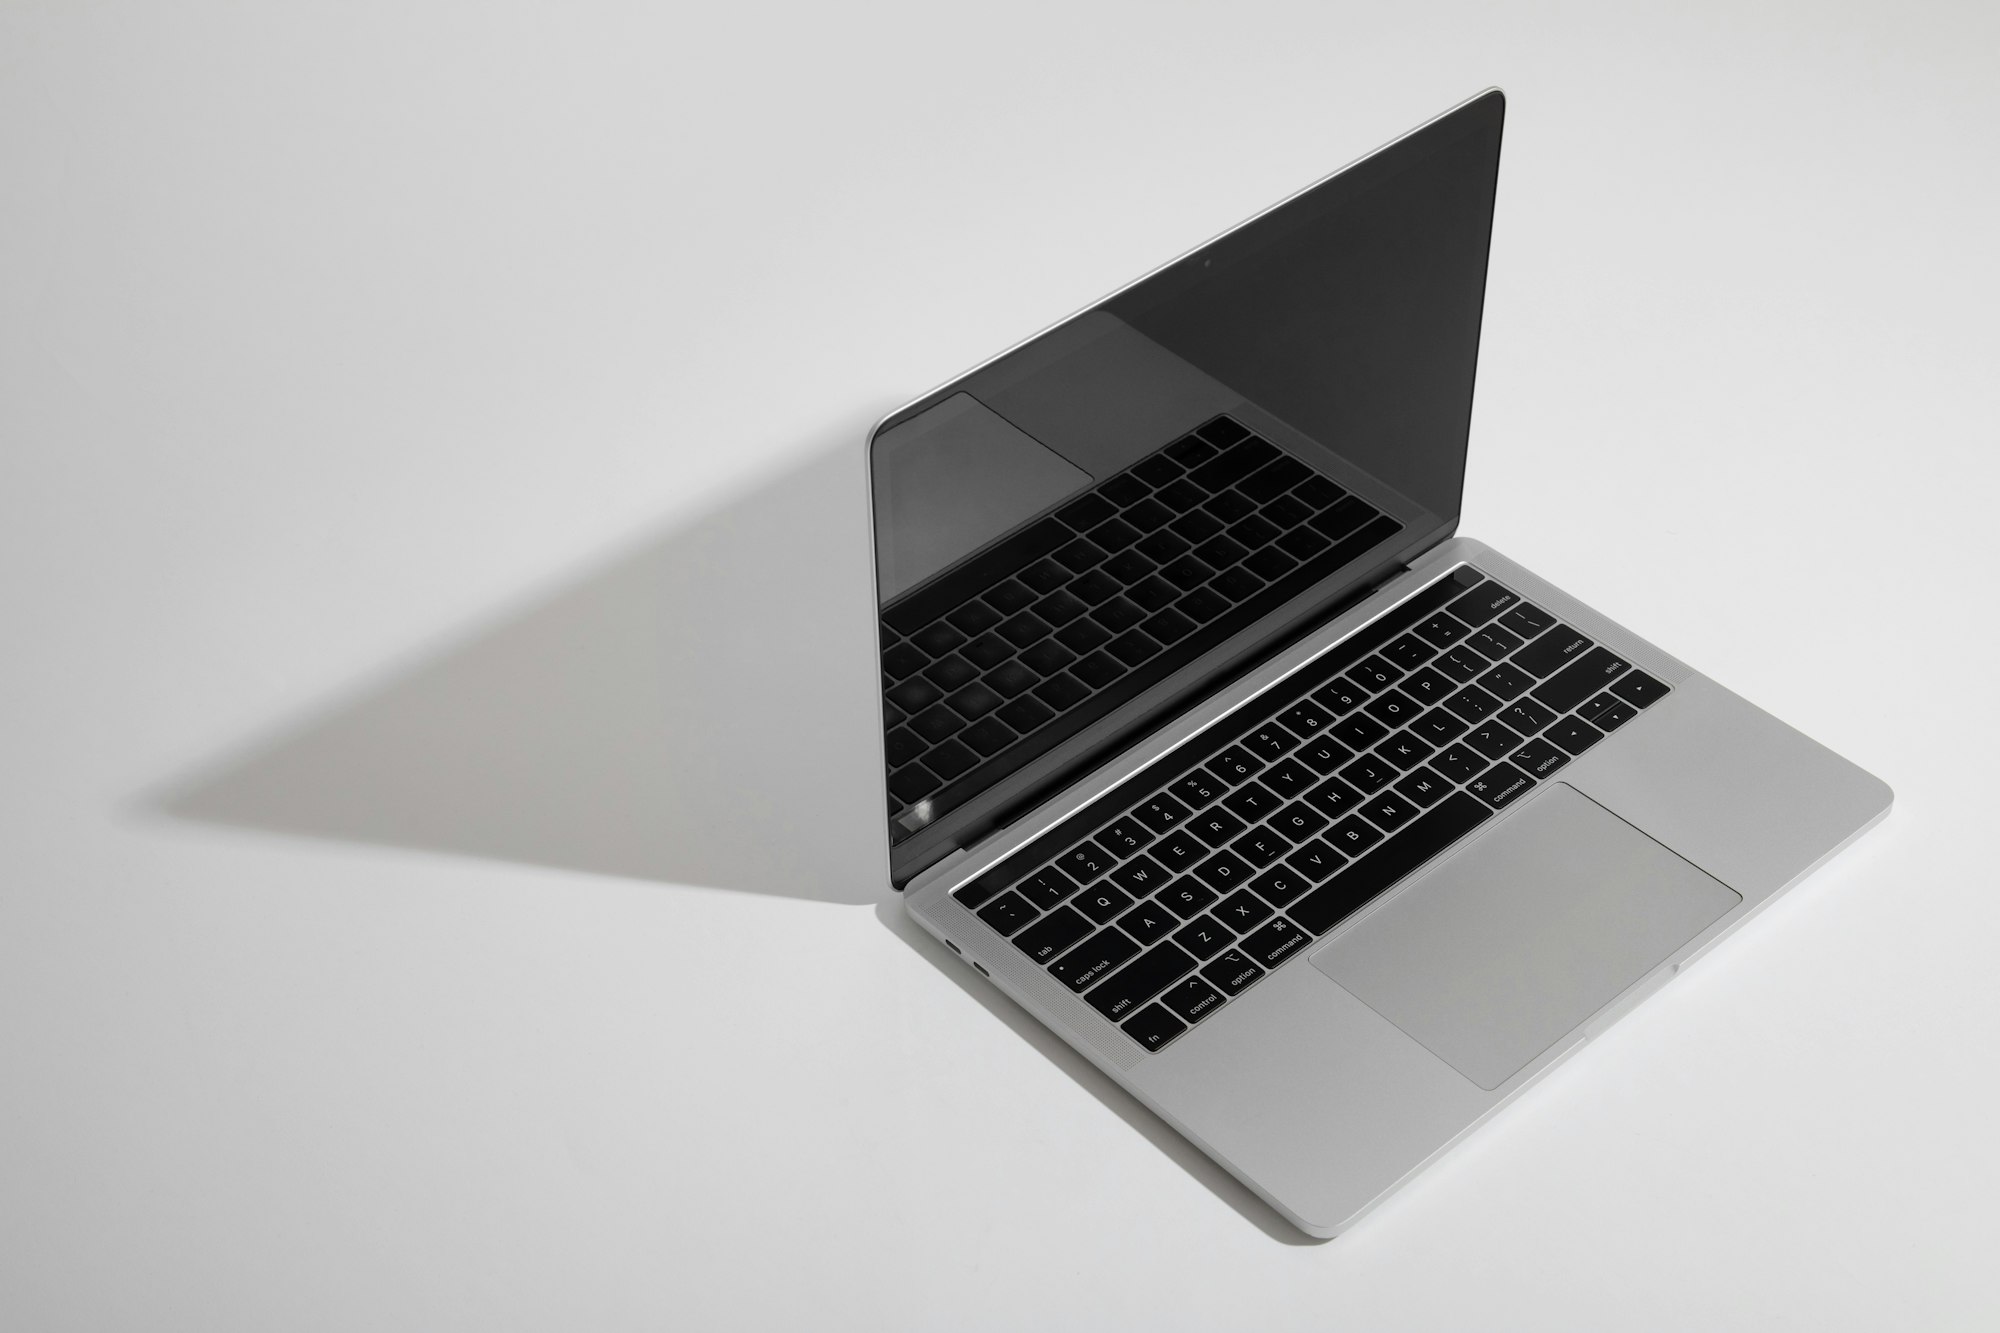
Apple MacBook enables users to capture and save screen content using a screenshot feature. By default, screenshots are saved on the desktop and named in the format "Screen Shot [date] at [time].png", which can clutter your workspace if you take multiple screenshots.
Unlike Windows, screenshots are not saved to the pasteboard. To maintain an organised desktop space, it is recommended to change the default save location or rename the screenshots to avoid cluttering the desktop.
This quick tutorial on how to relocate screenshots on a MacBook is a must-read if you want to maintain an organised desktop area.
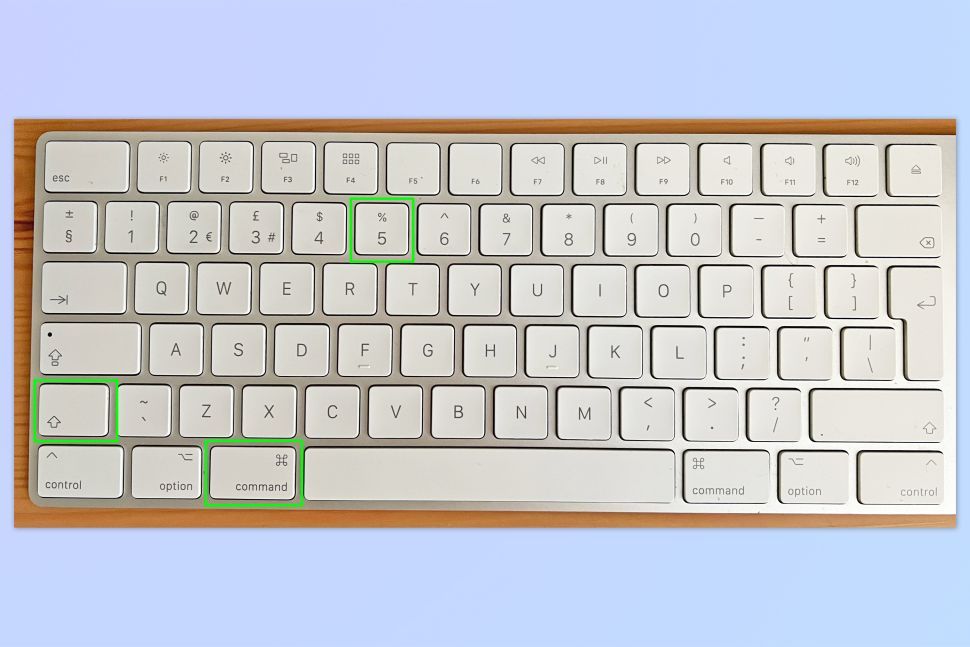
Step 1: On your Mac, hold down the Command + Shift + 5 keys
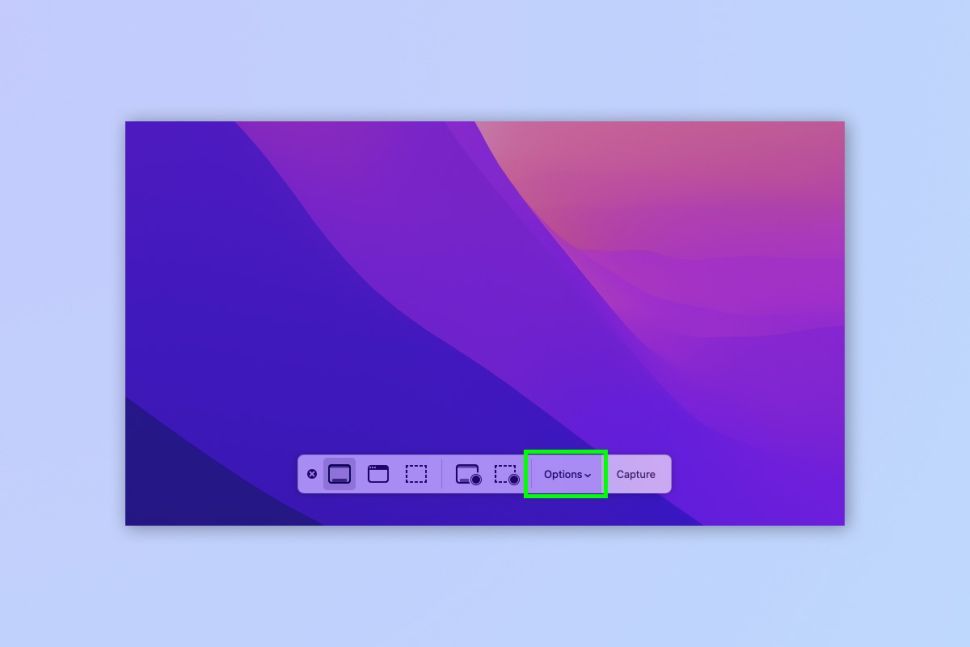
Step 2: Select the Options tab
Step 3: Choose an available folder or click the Other Location option
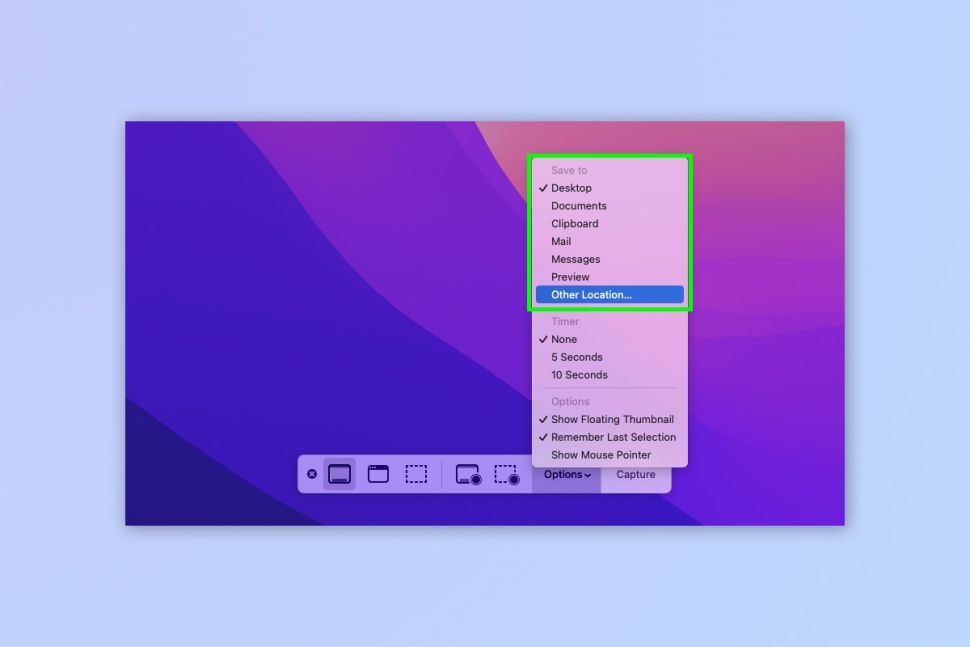
Step 4: If you chose Other Location, you can either create a folder or navigate to the location where you want the snapshot saved
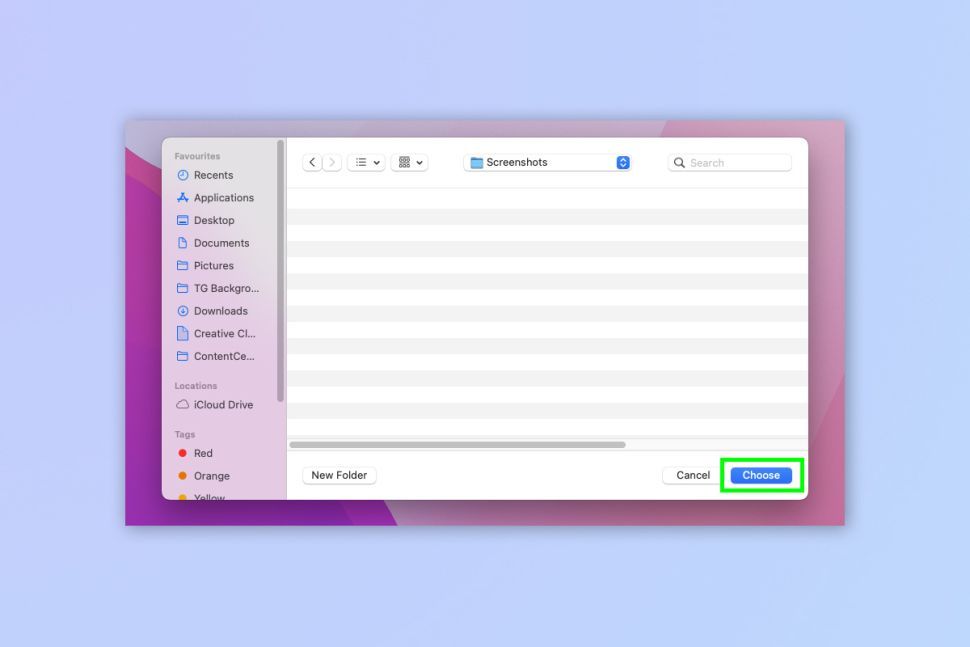
Step 5: Once you've changed the location, your screenshots will be saved there until you do it again.
After you've changed the default location for your screenshots, you'll be able to work more efficiently and have a clutter-free desktop. You can also drag and drop folders to different locations on your MacBook to make your work easier.


![Transfer WhatsApp from Android to iPhone Without Factory Reset [Step-By-Step Guide] post image](/content/images/size/w800/2025/02/wtsp-1.png)
