How to Create a Clickable Table of Contents in Google Docs
Transform your documents into easily navigable resources with a clickable table of contents in Google Docs.


As you share your documents with others, have you ever wondered how they navigate through the content? Do they scroll endlessly, searching for a specific section or piece of information? Without a clear and intuitive navigation system, readers can quickly become frustrated, and this is where making a clickable table of contents comes in handy.
A clickable table of contents is very significant, as it makes your documents into easily navigable resources, where readers can quickly access the information they need with just a few clicks. Fortunately, Google Docs offers a convenient solution to create a table of contents automatically, saving you time and effort.
By utilizing the built-in Heading syntax and semantics, Google Docs can generate a table of contents that is not only clickable but can also be updated dynamically as you modify your document.
In this guide, we will show you the simple process of creating a clickable table of contents in Google Docs.
How to create a Table of contents automatically on Google Docs
Step 1: Add Headings to your documents
To add a heading, highlight the text, select Format > Paragraph Styles, and choose a heading style. There are six styles to choose from, from H1 to H6.
- When organizing your content, use the heading styles in a hierarchical sequence to create a clear structure. Start with Heading 1 (H1) for the main title, followed by Heading 2 (H2) for the major subsections. Use Heading 3 (H3) for sections under H2, Heading 4 (H4) for subsections under H3, and so on.

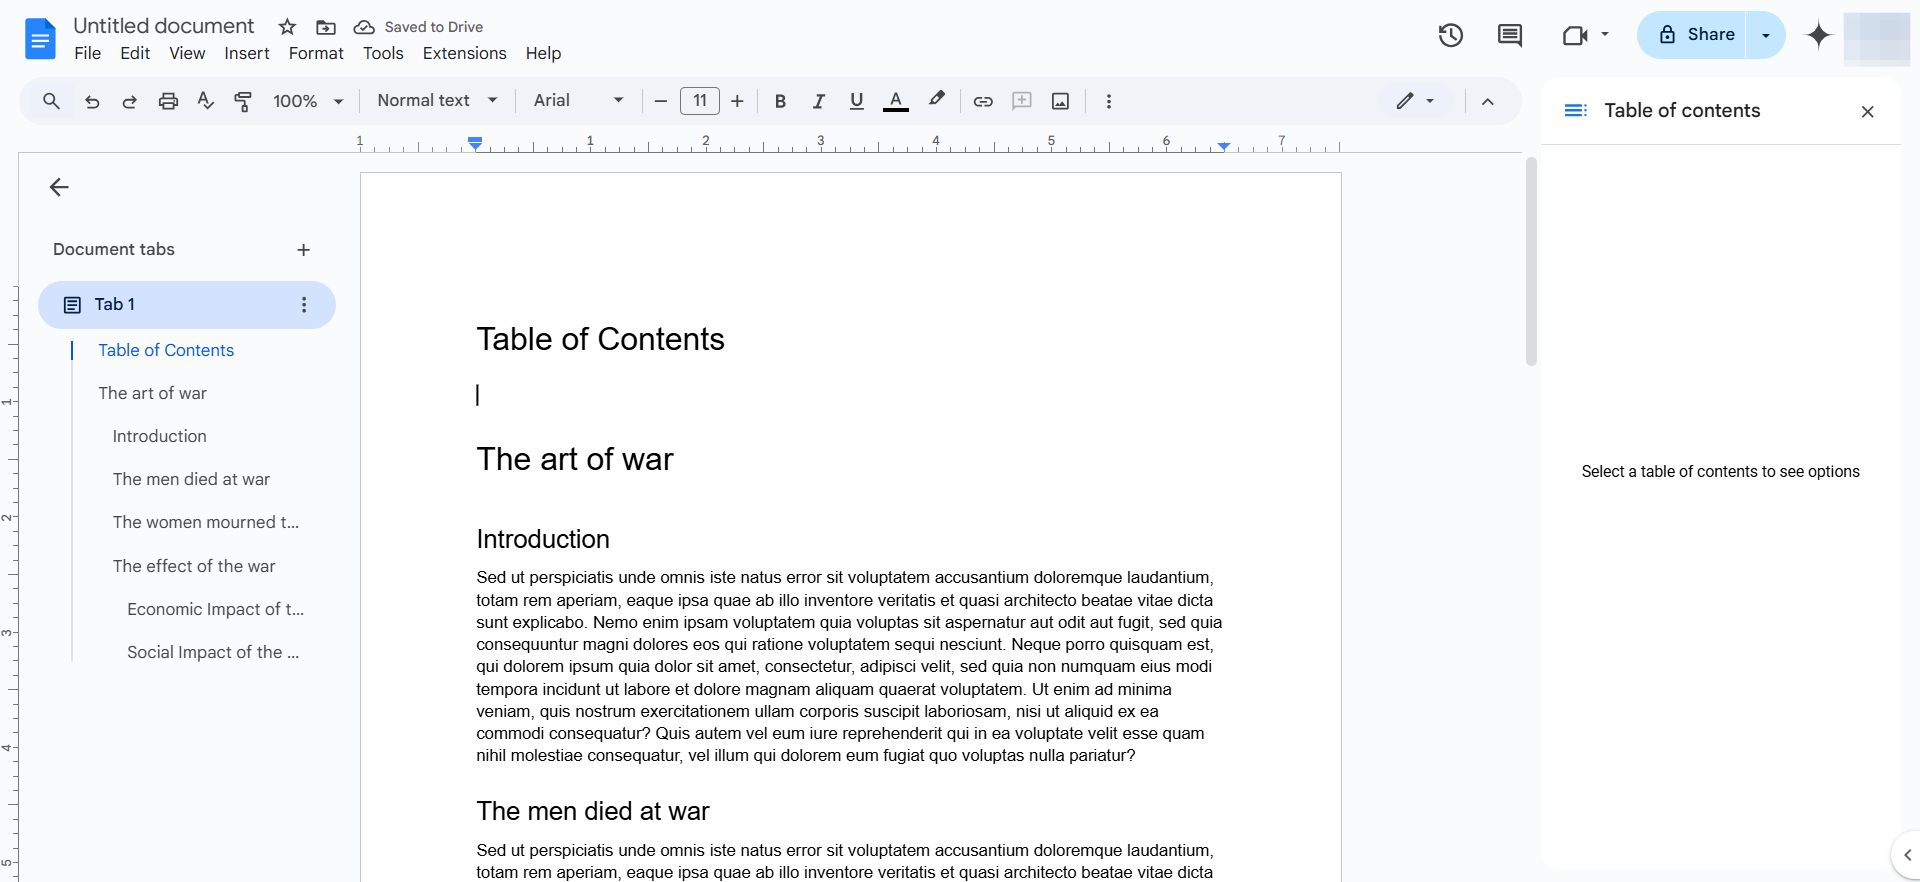
Step 2: Check the Document's Outline
Verify that your headings are correctly formatted by checking the Document Outline in the left sidebar. If the headings are indented correctly, you're good to go.
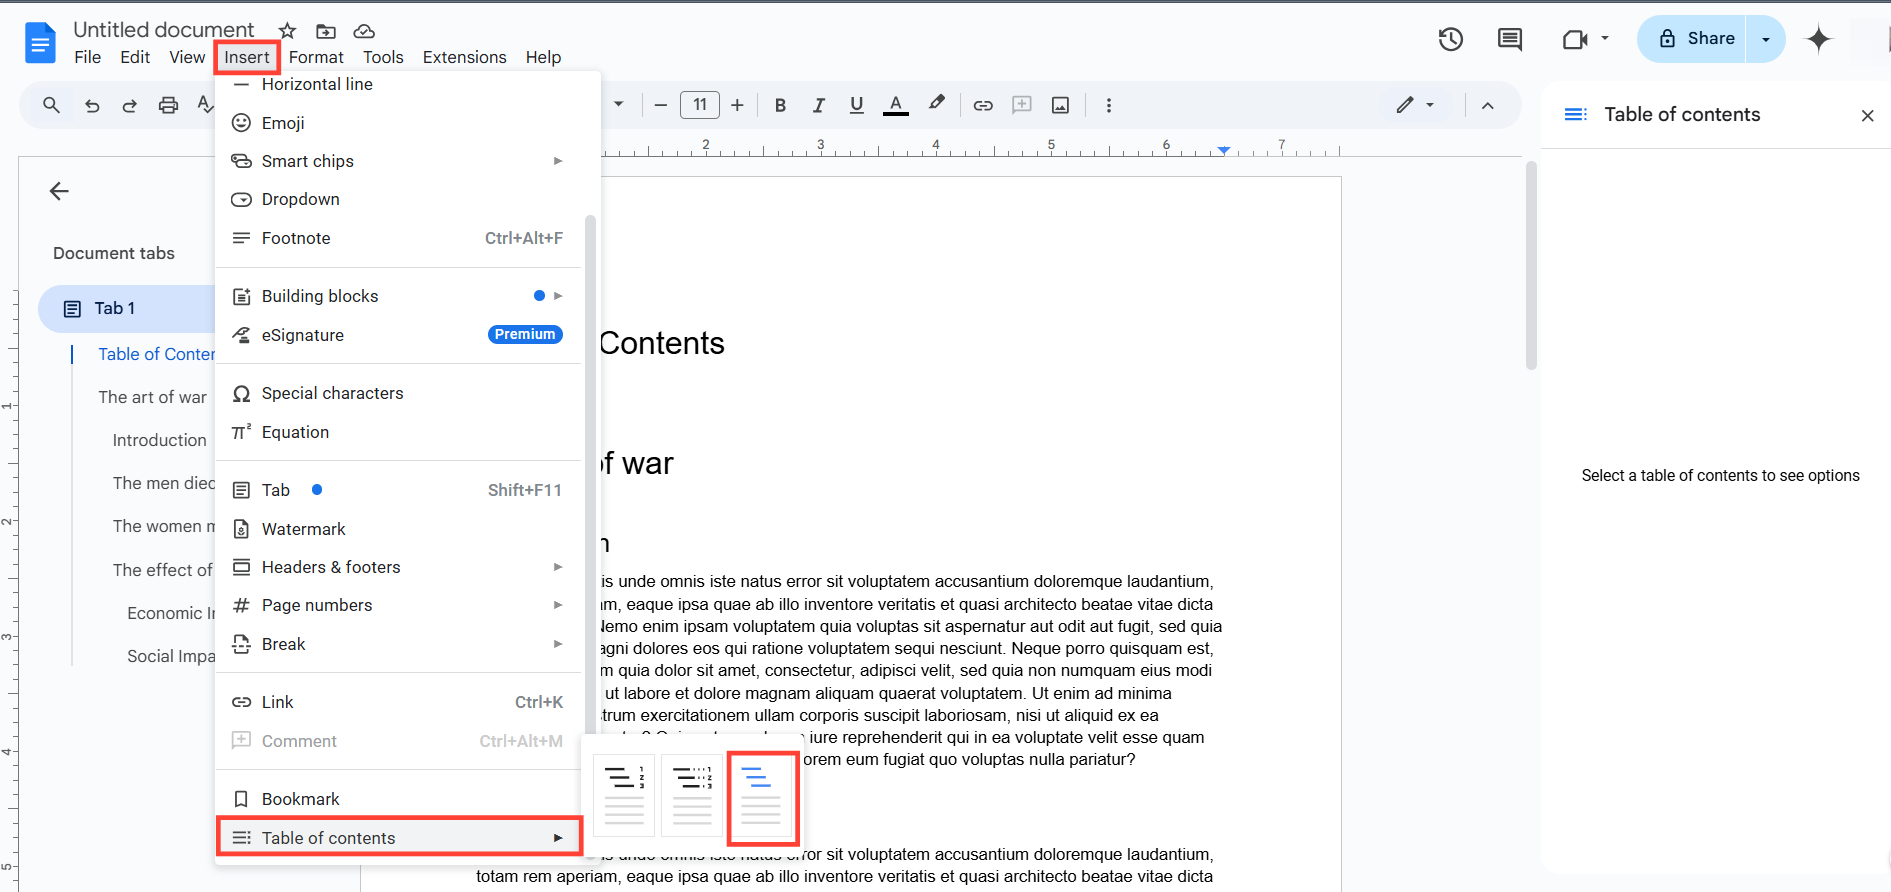
Step 3: Place your cursor where you want to add the table of contents, click "Insert" then "Table of Contents" and select the last (link) option.
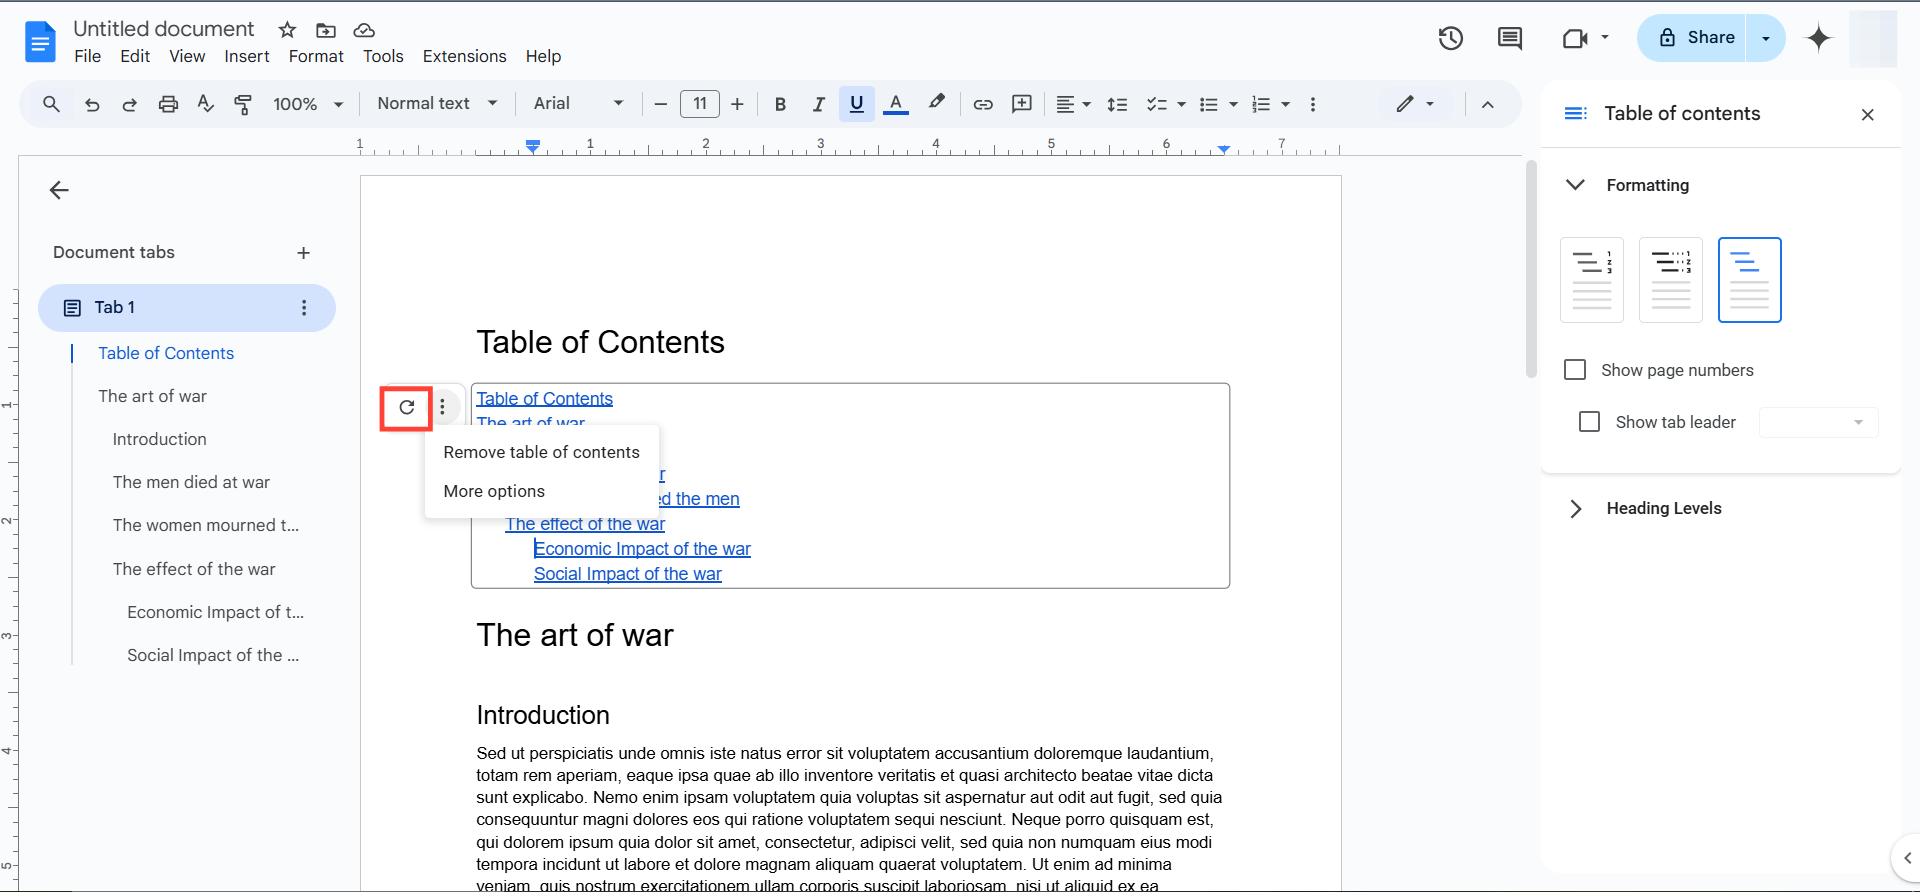
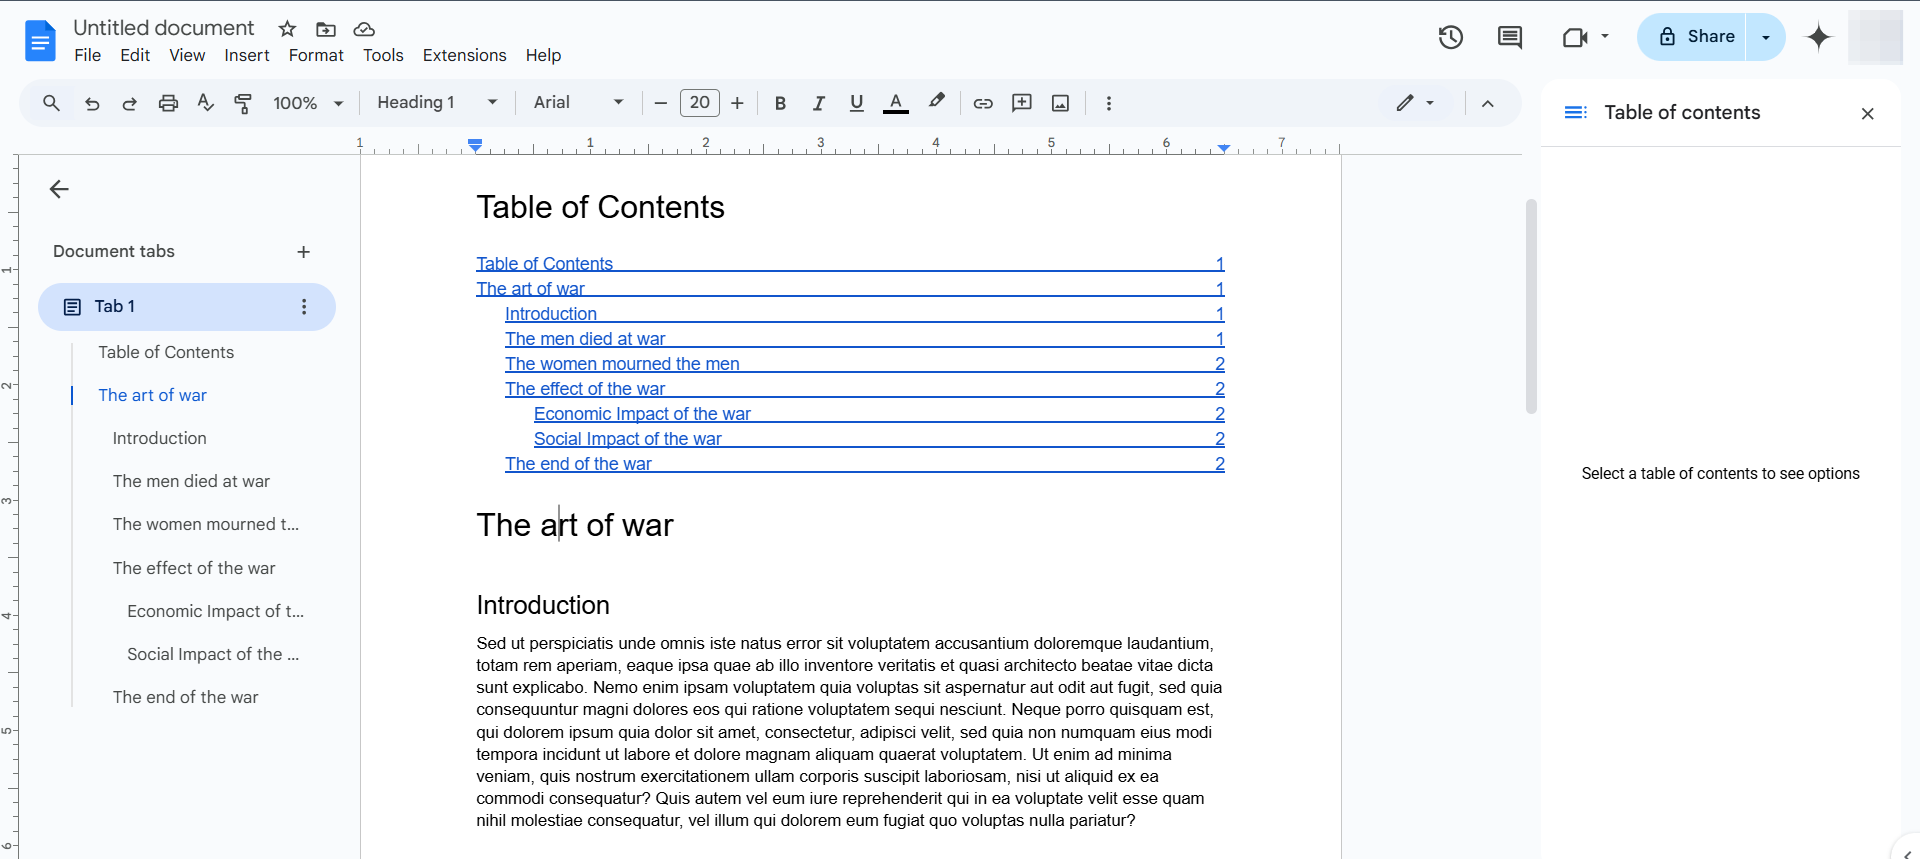
Step 4: Edit and Update the Table of Contents
To edit the headings in the table of contents, make changes in the document body, not directly in the table of contents. To update the table of contents, select it and click the refresh icon.
Step 5: Customize the Table of Contents
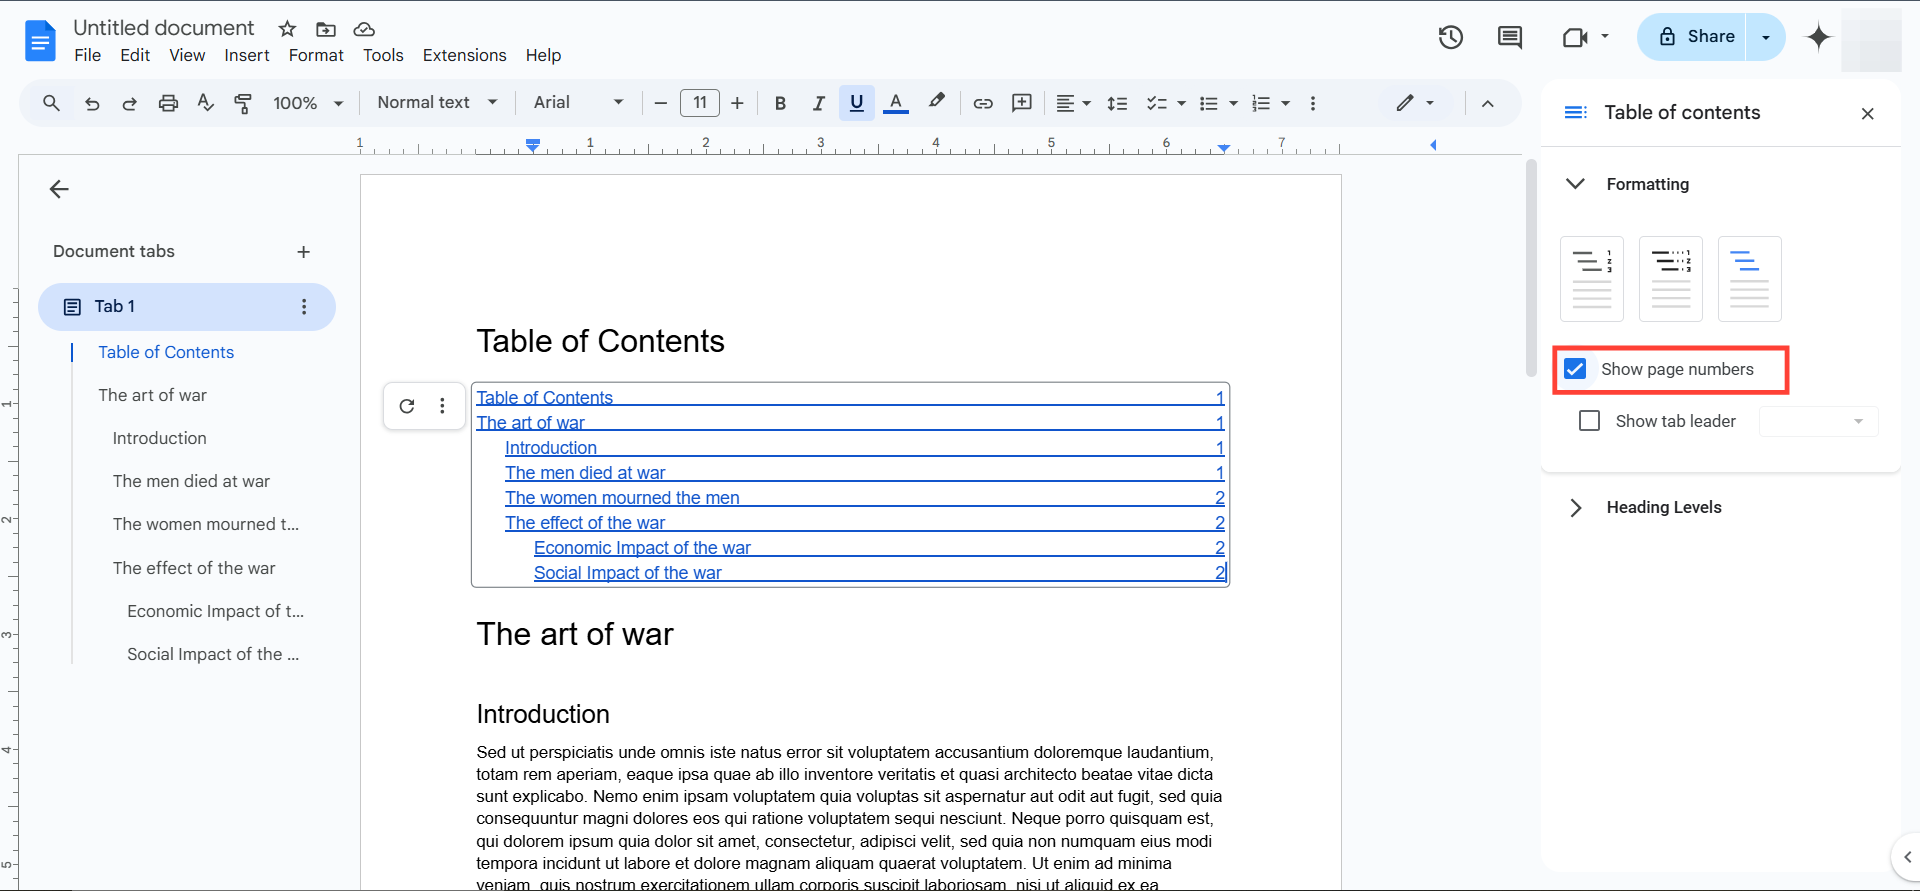
- For further adjustments, click the table of contents, click the three dots, and select More options.
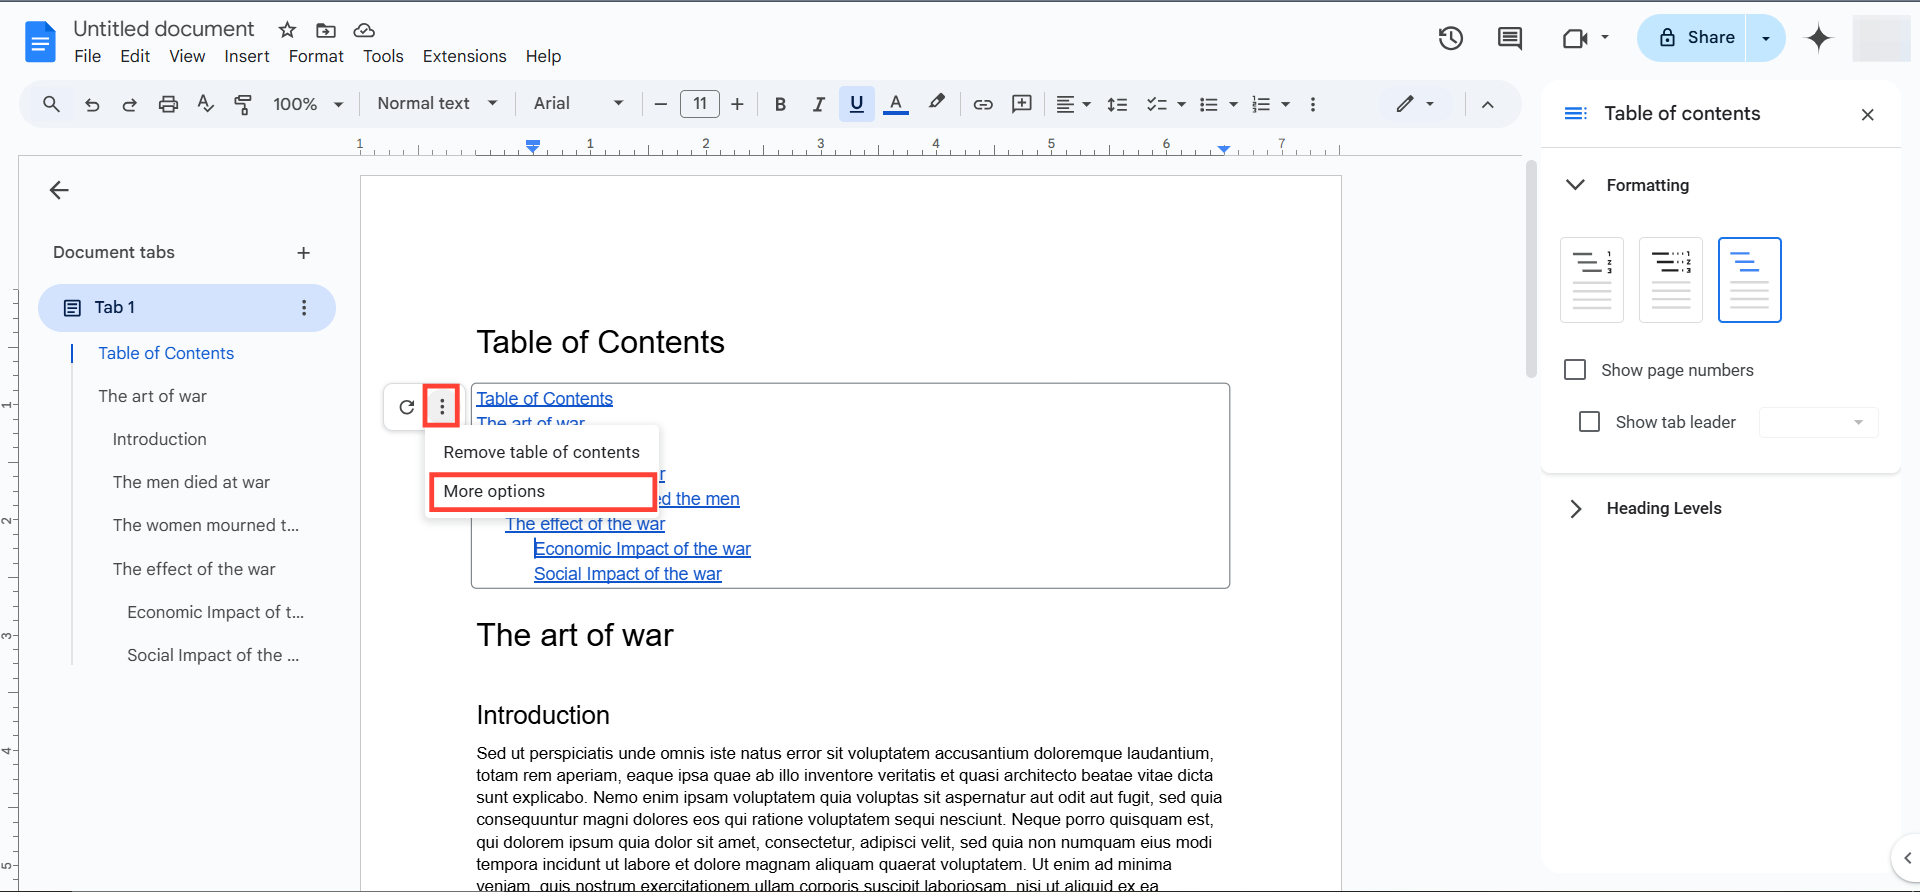

- This will open a panel on the right, where you can check boxes to show page numbers for the content.
- If you want more styling to the table of contents, highlight it and apply those changes like paragraph, line spacing, numbering, etc, as you would normally do on Google Docs.
Conclusion
With a clickable table of contents in Google Docs, you can make it easy for your readers to navigate your documents. This powerful feature not only saves your audience time and effort but also enhances the overall readability and usability of the document, making it more engaging and user-friendly for your audience.
By following the simple steps outlined in this guide, you'll successfully create a clickable table of contents in Google Docs, helping you organize and navigate your documents.
Image credit: Oyinebiladou Omemu/techloy.com


