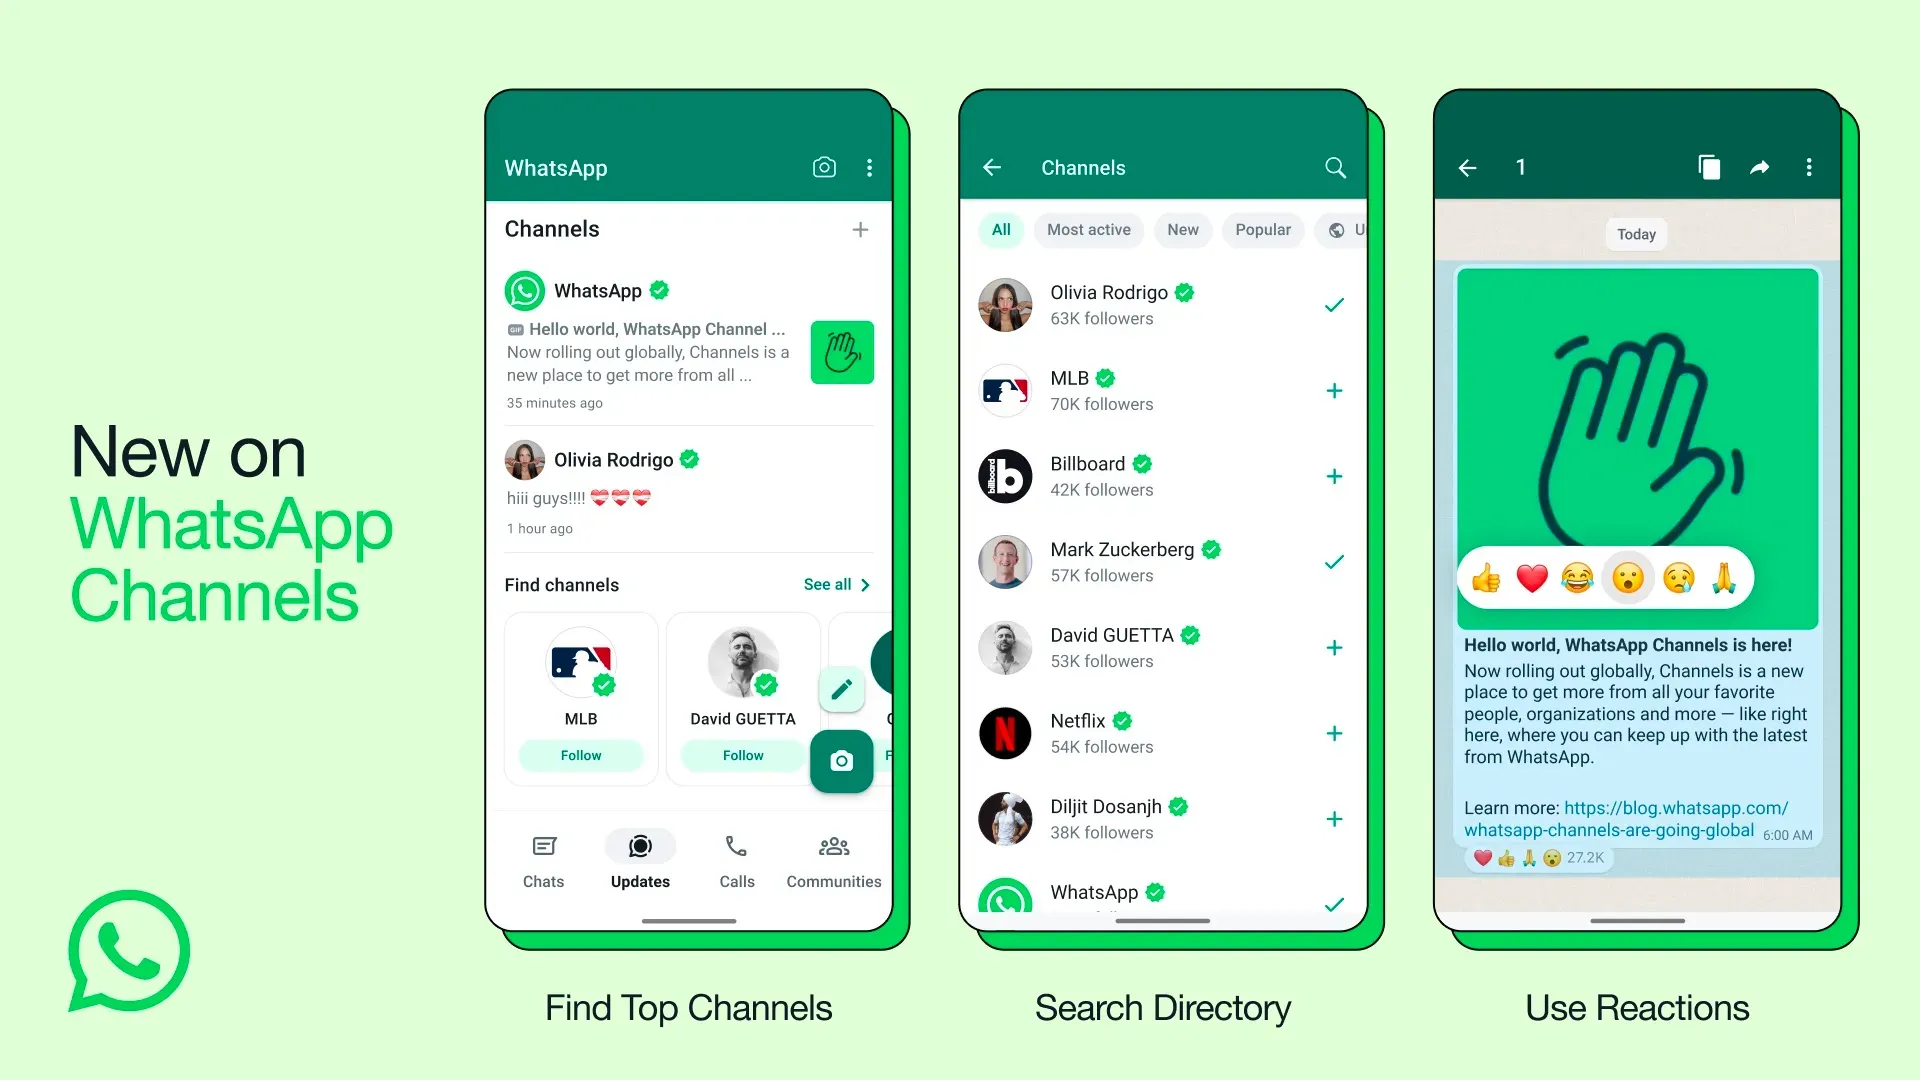
How to Create a WhatsApp Channel

WhatsApp Channels is a new feature that allows you to share updates and connect with your followers directly through WhatsApp.
Similar to Telegram's "Channels" feature, the feature serves as a one-way broadcast tool that allows users to receive updates from individuals and organizations that are of interest to them, all within the WhatsApp environment.
In this guide, we will provide the steps to create a channel on WhatsApp via Android, iPhone, and Web or Desktop.
WhatsApp’s “Channels” feature is now available to global users – what it is and how to use it
In recent months, WhatsApp has been actively shipping various features to meet the diverse demands and use cases of its platform. The most recent addition is its “Channels” feature, which is now available globally. Similar to Telegram’s “Channels” feature, the feature serves as a one-way broadcast…

How to create a WhatsApp channel on Android
- Open WhatsApp on your phone, and go to the Updates tab.
- Tap the + sign and select New channel.
- Tap Get Started and continue through the onscreen prompts.
- Add a channel name to finish creating your channel. You can choose to change the name again at any time.
- Customize your channel: You can choose to customize your channel now by adding a description and icon or do it later.
- Add a channel description: Write a few words to help potential followers understand what your channel is about.
- Add a channel icon: Add an image from your phone or the web to stand out.
- Tap Create channel, and you’re done!
💡
To get to your channel info page, open Channels by clicking the Channels icon, click your channel, and then your channel name, then click on Copy link.
How to create a WhatsApp channel on iPhone
- Open WhatsApp on your phone, and go to the Updates tab.
- Tap the + sign and select Create Channel.
- Tap Get Started and continue through the onscreen prompts.
- Add a channel name to finish creating your channel. You can choose to change the name again at any time.
- Customize your channel: You can choose to customize your channel now by adding a description and icon or do that later.
- Add a channel description: Write a few words to help potential followers understand what your channel is about.
- Add a channel icon: Add an image from your phone or the web to stand out.
- Tap Create Channel, and that's it!
💡
To get to your channel info page, open Channels by clicking the Channels icon, click your channel, and then your channel name, then click on Copy link.
How to create a WhatsApp channel on the Web/Desktop
- Open WhatsApp Web, and go to Channels by clicking the Channels icon
- Click + and then Create channel.
- Click Continue and continue through the onscreen prompts.
- Add a channel name to finish creating your channel. You can choose to change the name again at any time.
- Customize your channel: You can choose to customize your channel now by adding a description and icon or you can do that later.
- Add a channel description: Write a few words to help potential followers understand what your channel is about.
- Add a channel icon: Add an image from your phone or the web to stand out.
- Click Create channel, and you’re good to go!
💡
To get to your channel info page, open Channels by clicking the Channels icon, click your channel, and then your channel name, then click on Copy link.


