How to Install the macOS Sonoma

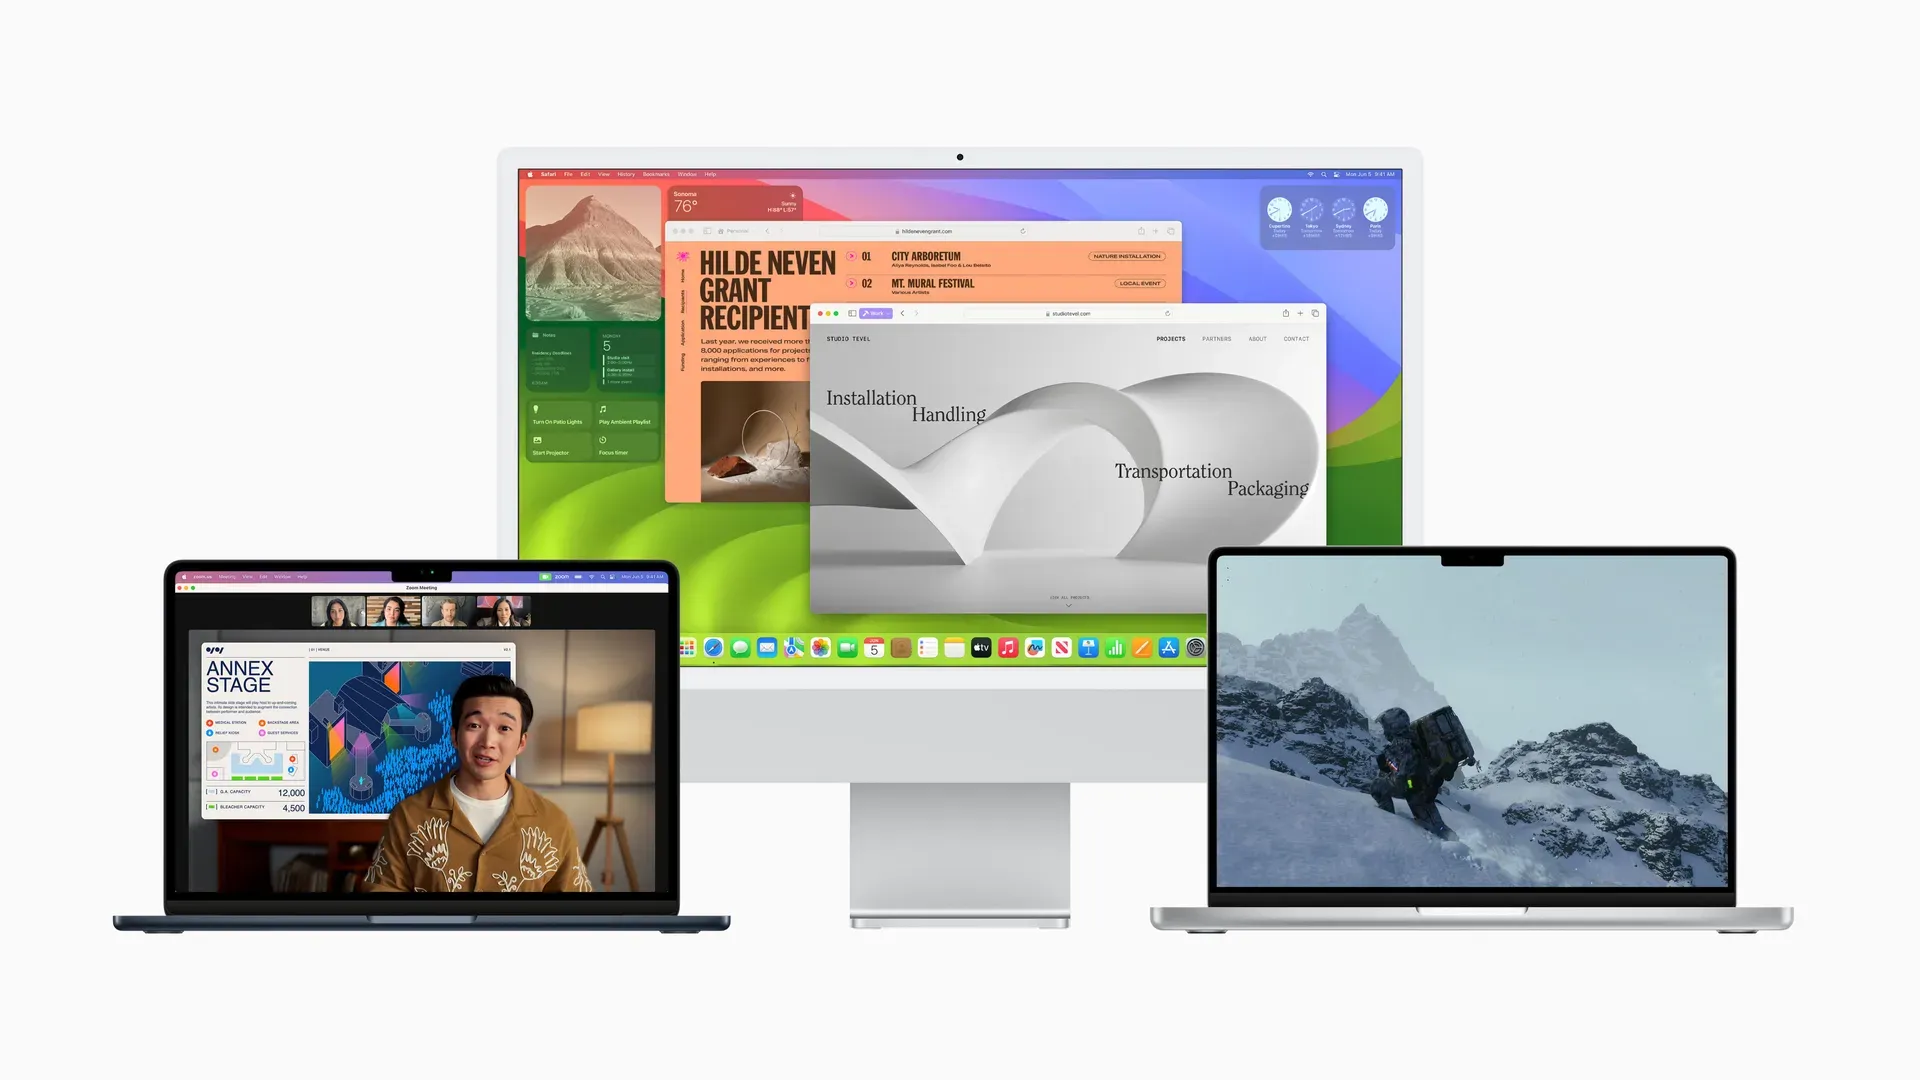
Earlier this year, Apple made a big announcement about their new macOS Sonoma at WWDC, which got Apple fans all excited.
Since then, the company has been testing it, and now it's ready for everyone to use. This means that those who downloaded the Beta Version can now upgrade to macOS 14 and try out all the new stuff.
To help you with this, we've put together a short guide on how to get ready and install the latest macOS on your Mac. But before we get into that, there are a couple of things you need to know: check if your Mac can run it, and do some preparations.

macOS 14 Sonoma Requirements and Compatibility
Here are the Mac models that can run macOS 14 Sonoma:
- MacBook Pro from 2018 and newer
- MacBook Air from 2018 and newer
- Mac Pro from 2019 and newer
- Mac Mini from 2018 and newer
- Mac Studio from 2022 and newer
- iMac from 2019 and newer
- iMac Pro from 2017
How to install macOS 14 Sonoma
- Click the Apple menu.
- Select System Settings.
- In the System Settings window, click General on the left-hand side.
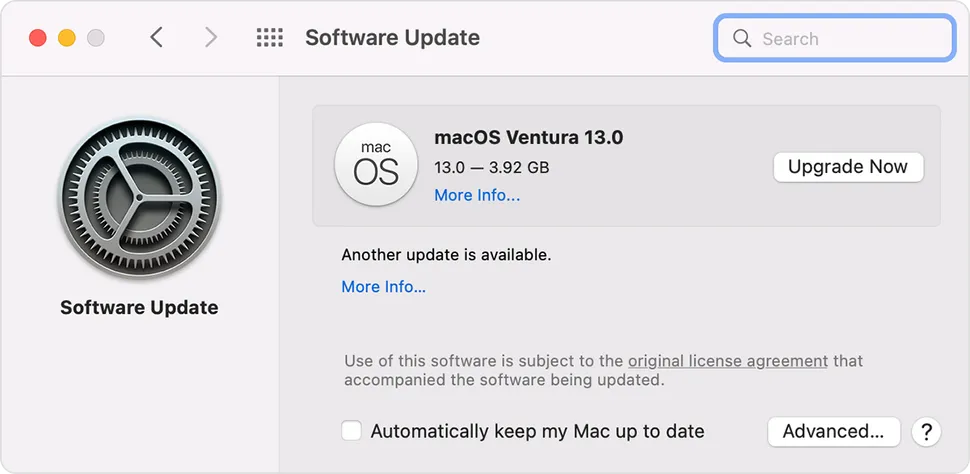
- Next, On the right-hand side of the window, choose Software Update.
- Now, you can check for the newest update for your Mac. Look for macOS Sonoma 14.0 in this list.
- When it shows up, click the Upgrade Now button to begin the process.

Summary
Installing macOS Sonoma is pretty easy and can make your Mac even better with its new features. Just follow the steps we mentioned. Make sure your Mac can run it, back up your stuff, and have enough space. When you see macOS Sonoma in your updates, click Upgrade Now, and you're good to go.
