How to Manually Disable Windows Update Service on Your PC
You no longer have to go through frustrating surprise updates hijacking your system when you're in the middle of something important.


There’s a certain satisfaction that comes with your Windows PC automatically updating to ensure your computer stays secure and up-to-date. It’s like having a personal assistant that keeps everything running smoothly.
But what happens to that elation when an automatic update crashes your system or makes your PC lag like a snail taking a leisurely walk in the park?
While these updates bring essential security patches, bug fixes, and performance enhancements, they can sometimes do more harm than good—especially if your RAM or system capabilities aren’t able to keep up. Suddenly, instead of feeling grateful for a well-maintained PC, you’re left frustrated, wondering why you even have one in the first place.
So, how do you stop Windows from forcing updates at the worst possible times? It's actually simple. Among the different methods available, one of the most effective ways is disabling the Windows Update Service manually. Here’s how to do it:
Steps to Disable Windows Update Service
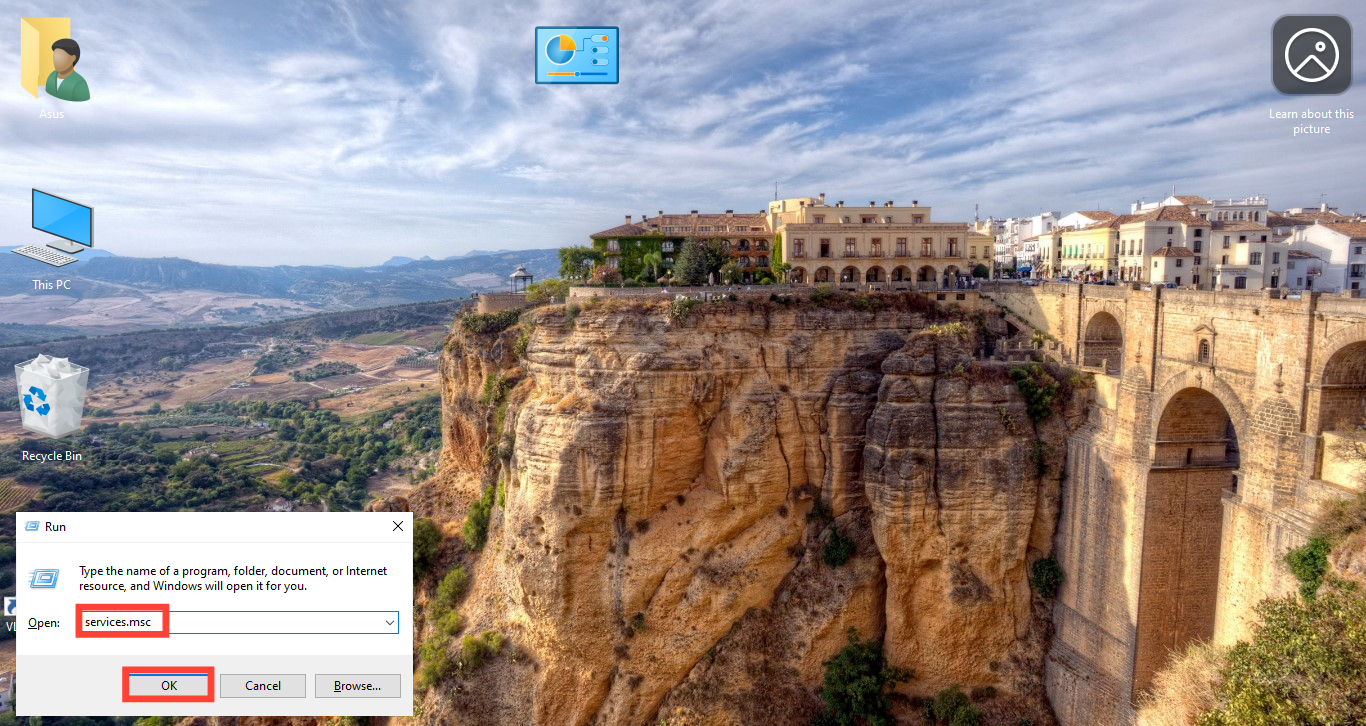
Step 1. Press the Windows key + R on your keyboard. This will open the Run box where you can quickly access system settings.

Step 2. Type "services.msc" and press Enter or "Ok" to bring up the Services window, which contains a list of all the background processes running on your PC.
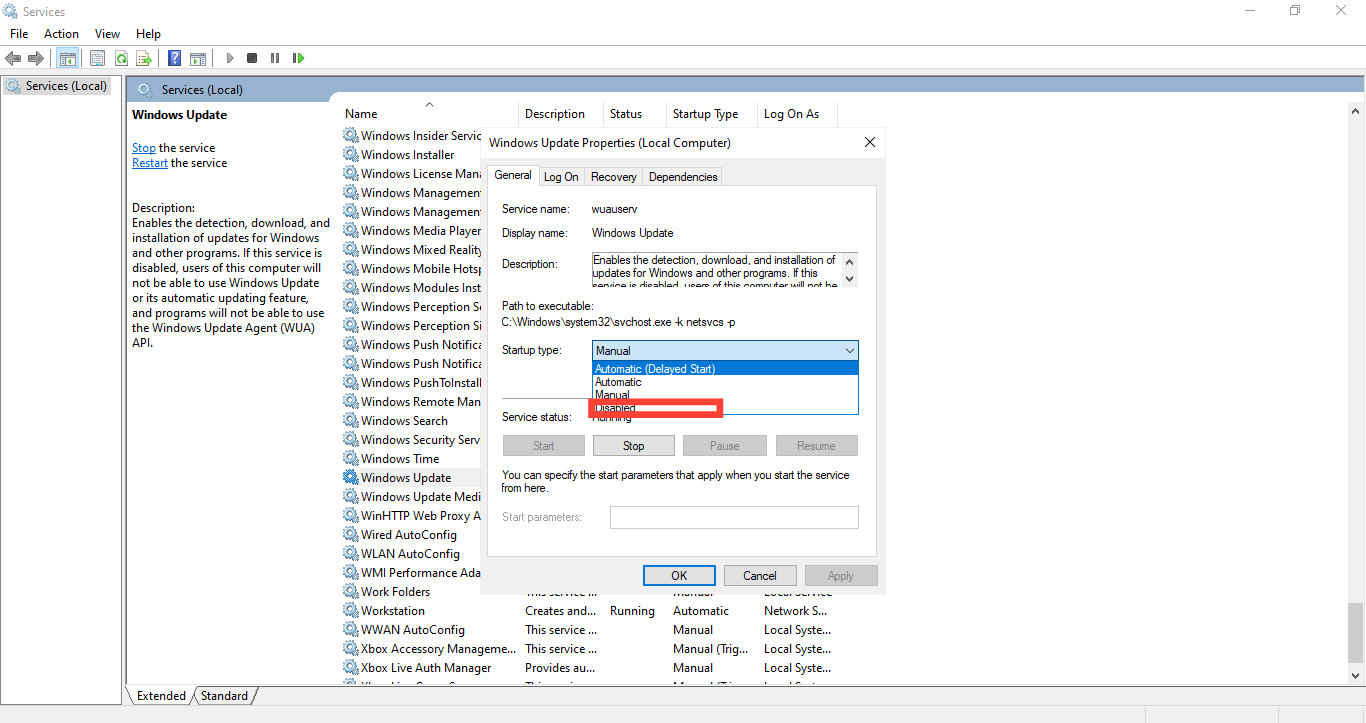
Step 3. Scroll through the list until you find Windows Update and double-click on it to open its properties.

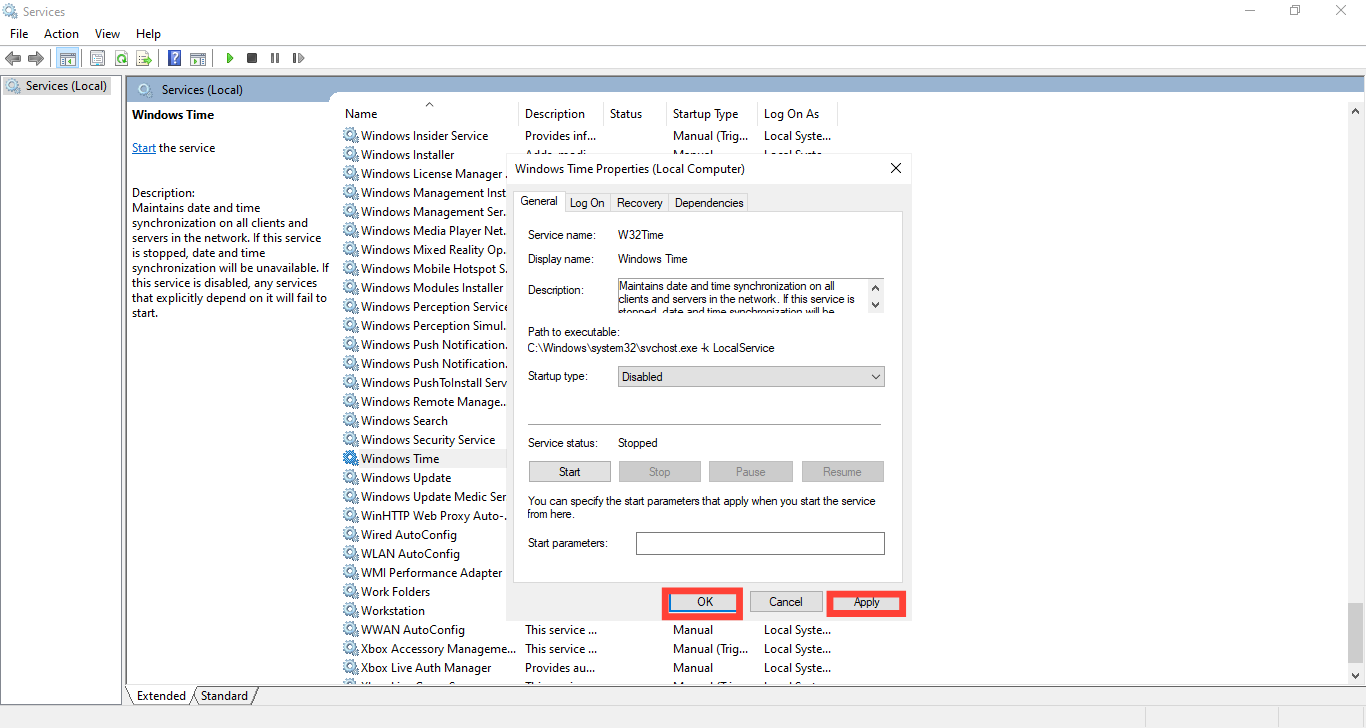
Step 4. In the Startup type dropdown menu, select Disabled. Then, click Apply and OK to save your settings.
Conclusion
And that’s it! You don't always have to let Windows decide your update schedule until it crashes your system or slows down your work.
However, keep in mind that disabling updates means you won’t automatically receive new security patches—so make sure to check for updates manually every once in a while to keep your system protected. If you ever want to turn updates back on, follow the same steps and select Manual or Automatic under the Startup type.
Image credit: David Adubiina/Techloy.com


