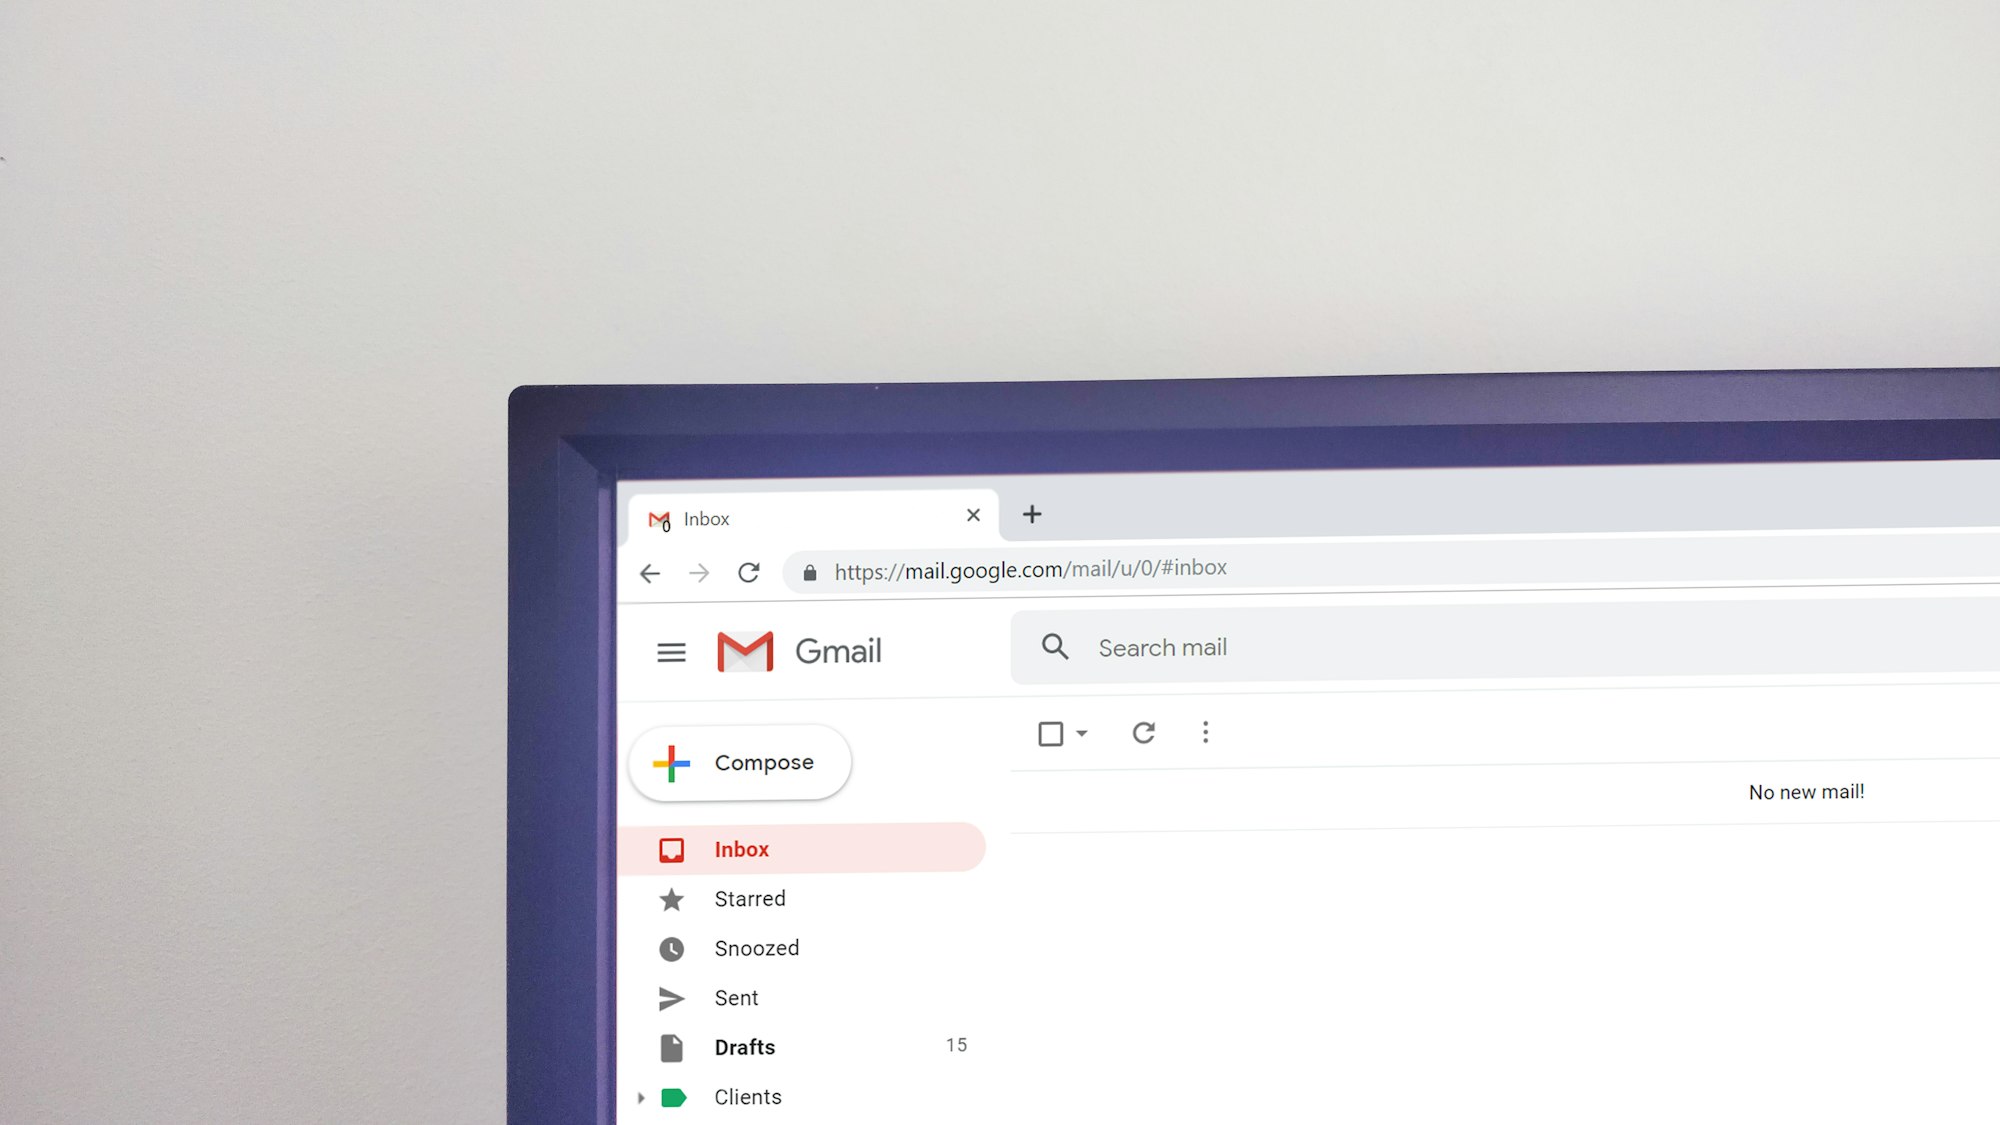
How to Organize Your Email Inbox with Gmail Filters and Labels
In this article, you will learn how to maximize the use of Gmail filters and labels.

Organising your Gmail inbox using filters and labels is a powerful way to manage the constant influx of emails and maintain a tidy digital workspace. This enhanced system can not only save you time but also reduce the stress of dealing with a cluttered inbox.
By effectively using Gmail's built-in tools, you can streamline your email management and ensure that important messages are always at your fingertips, while less important emails don't distract you. In this article, you will learn how to maximize the use of Gmail filters and labels.
Steps for Organizing Your Gmail Inbox
Step 1: Understanding the Basics of Labels and Filters
Labels: Similar to folders but more versatile, labels can be attached to emails without moving them out of the Inbox unless specified. Each email can have multiple labels to make sorting and retrieval straightforward.
Filters: Filters are automatic rules that you set based on various email criteria, such as sender, subject, or keywords. These rules can direct how emails are processed upon arrival, like being labelled, archived, or forwarded.


