How to Record Audio on Mac
Knowing how to record audio on your Mac helps you easily capture high-quality sound for notes, podcasts, music, and more.

You just recently got a MacBook and now you're trying to record audio—maybe for a podcast, a voice memo, or that song idea you can’t stop humming, but you realise you don't really know your way round the macOS user interface. I get it, because I’ve been there too.
But don't sweat it, because recording audio on your Mac is surprisingly straightforward. MacOS comes equipped with in-built tools that make capturing your voice, music, or any other sound a breeze.
This guide will walk you through the simple steps to get you recording in no time, without getting bogged down in complicated settings.
How to Record Audio on Mac
Using Voice Memos
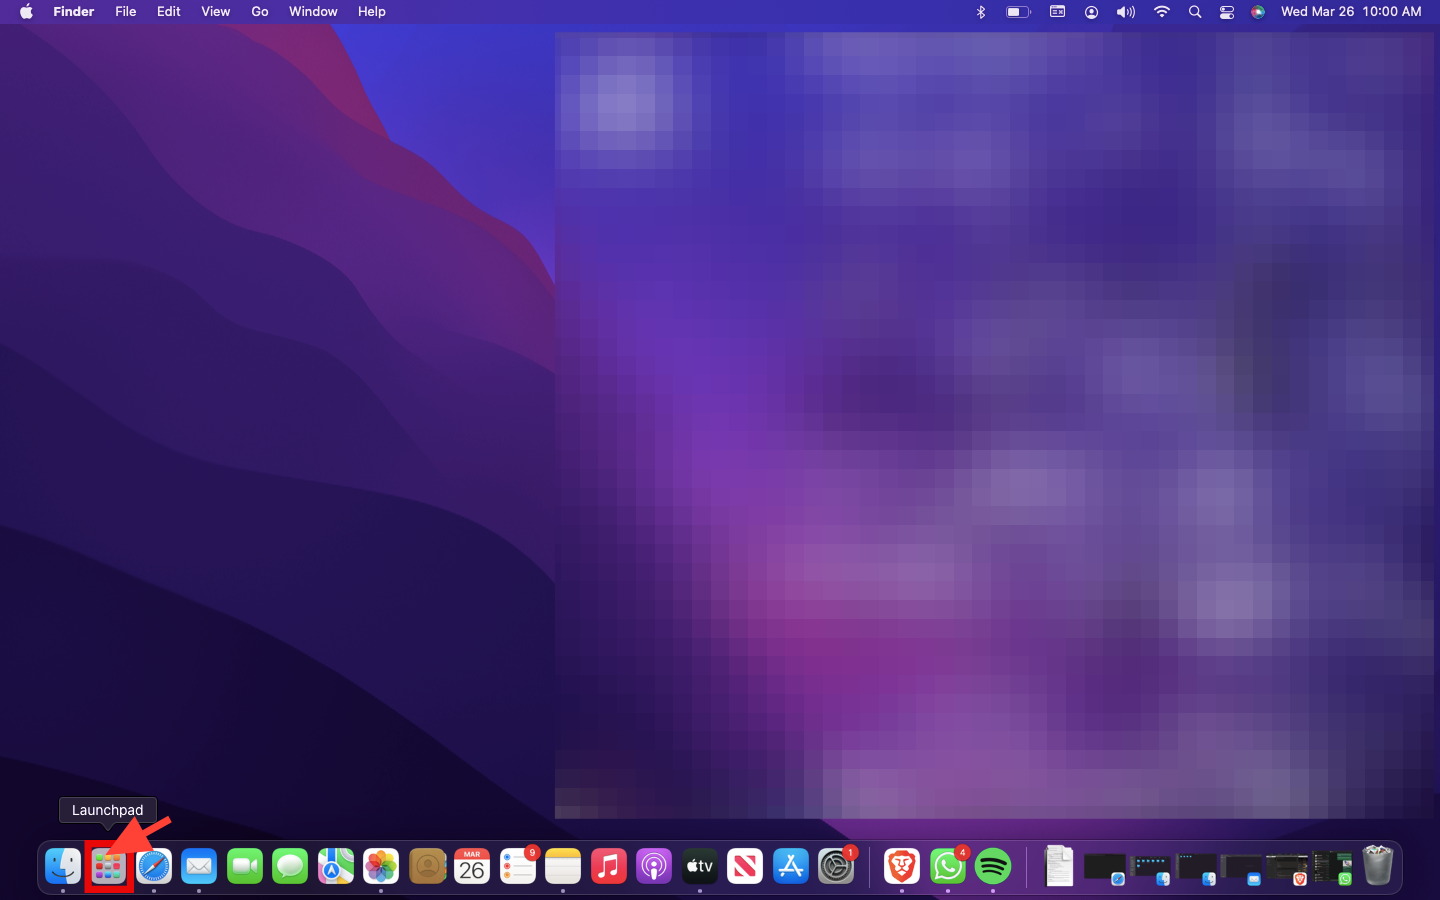
Step 1: Open Voice Memos from the Launchpad on your docks

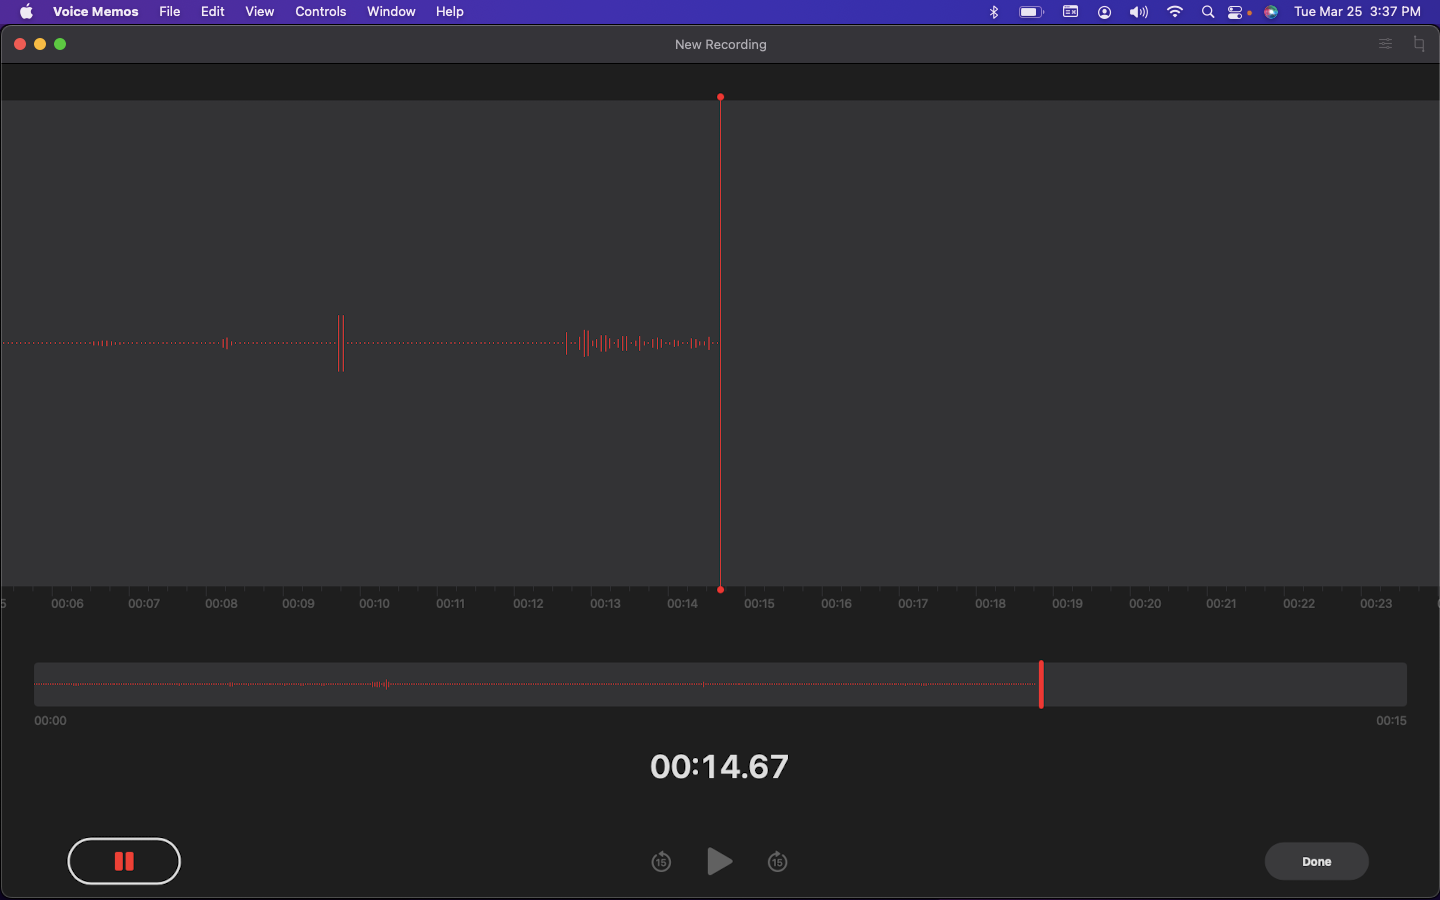
Step 2: Click the red circle at the bottom of the window to start recording

Step 3: Speak or play sound into your Mac's built-in microphone (or an external mic, if connected)
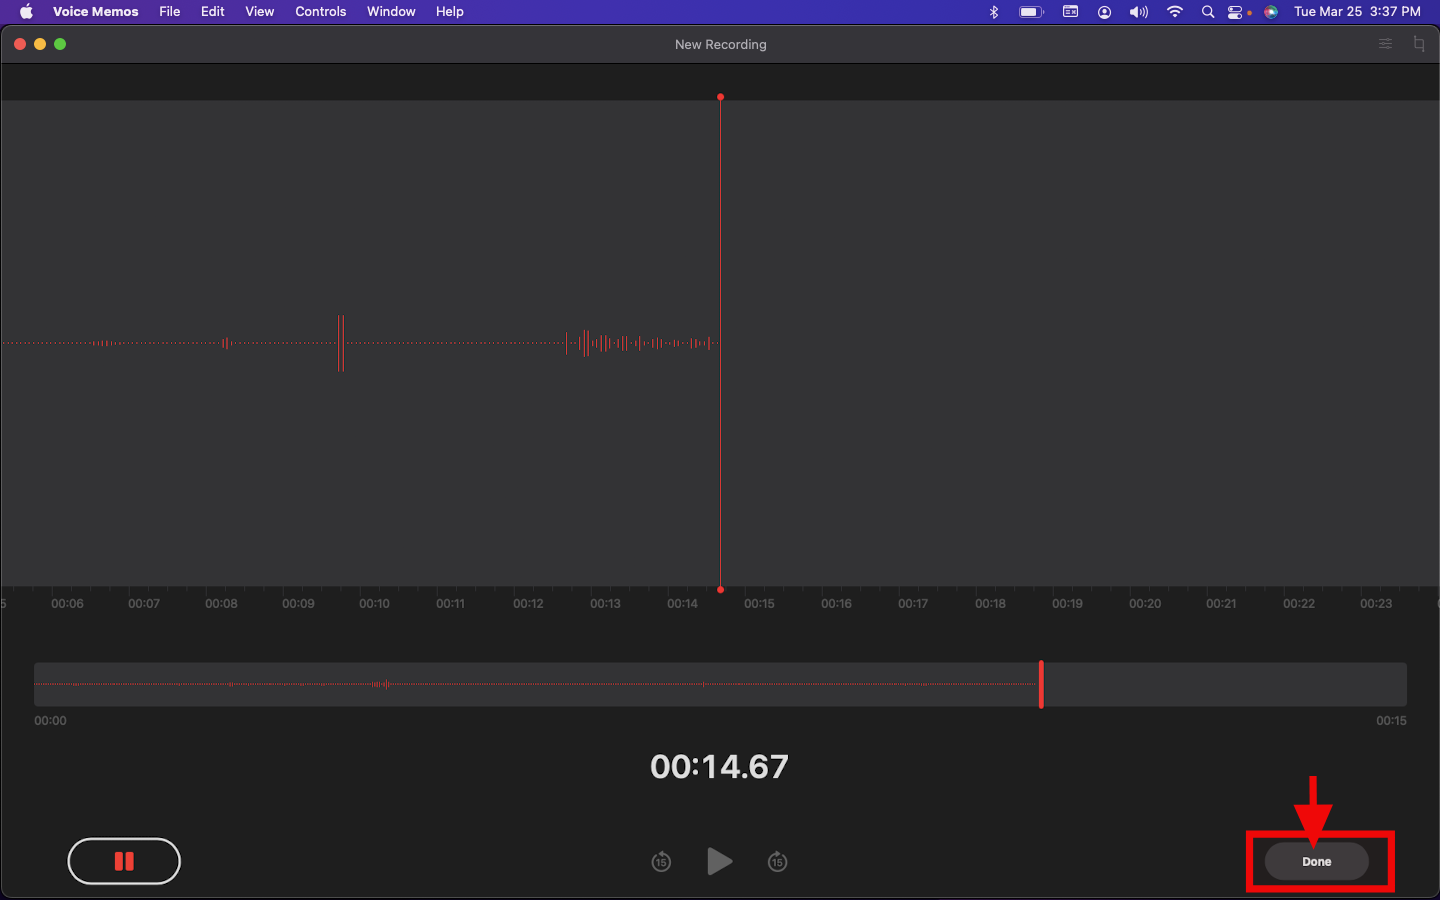
Step 3: Click on the Done button to save audio; your recording will automatically save in the list on the left side of the window
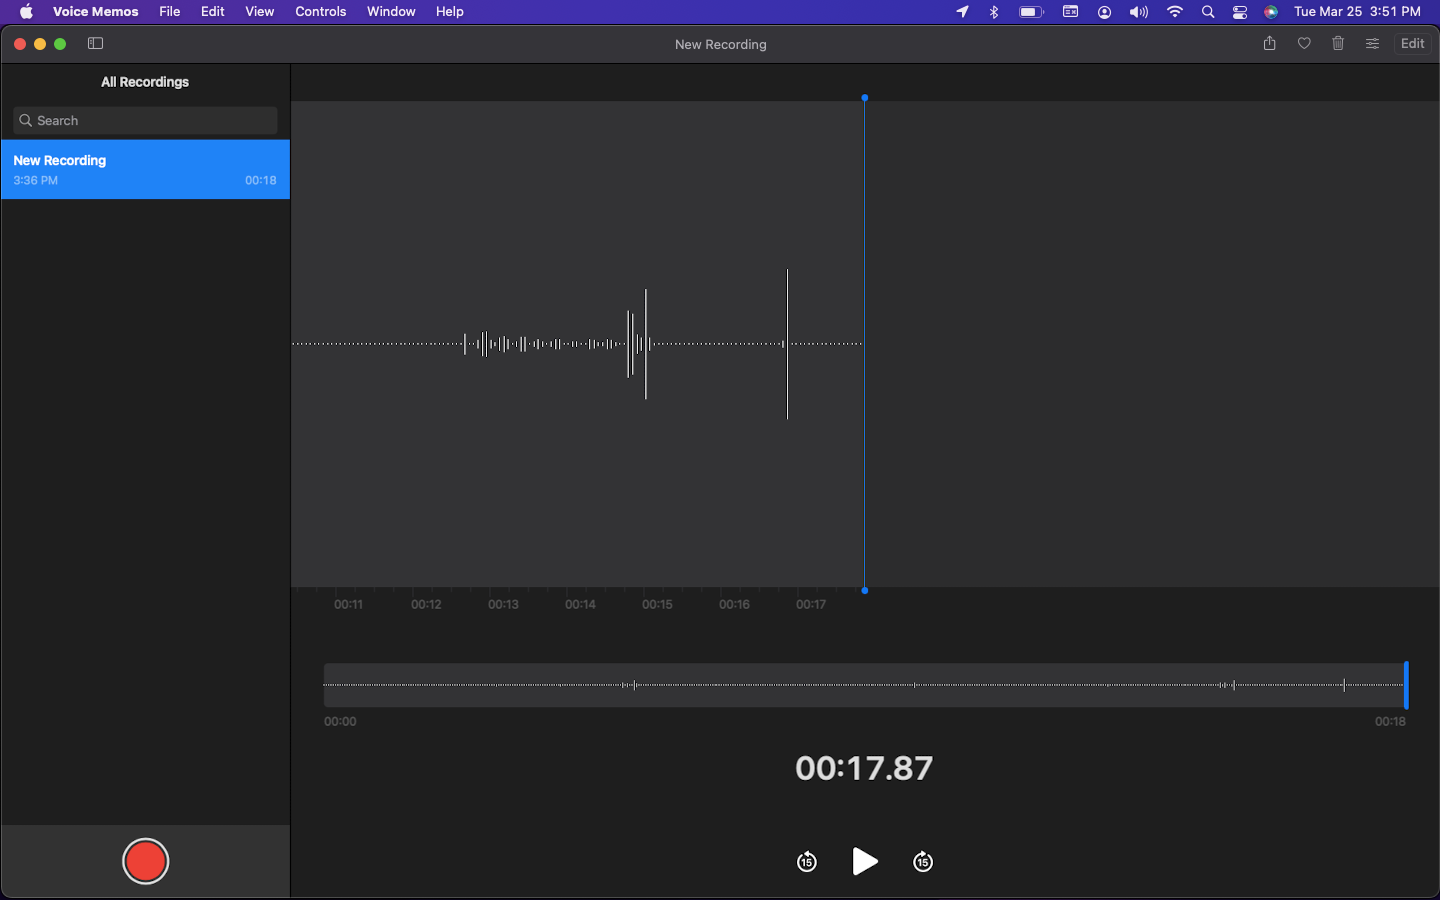
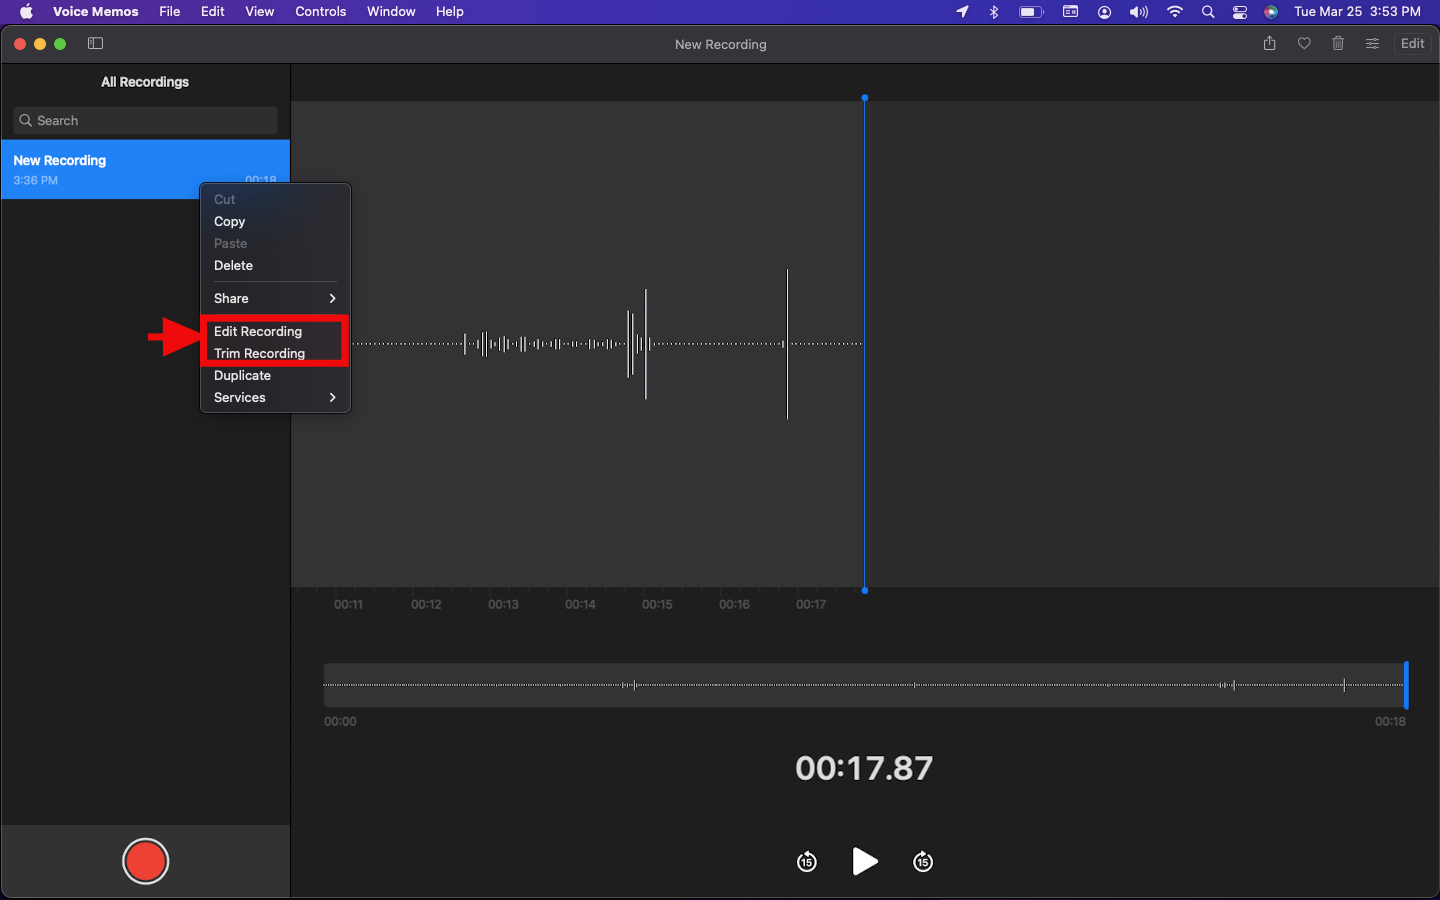
Step 4 (Optional): Right-click the recording and select Edit or Trim to edit or trim the recording
Using QuickTime Player
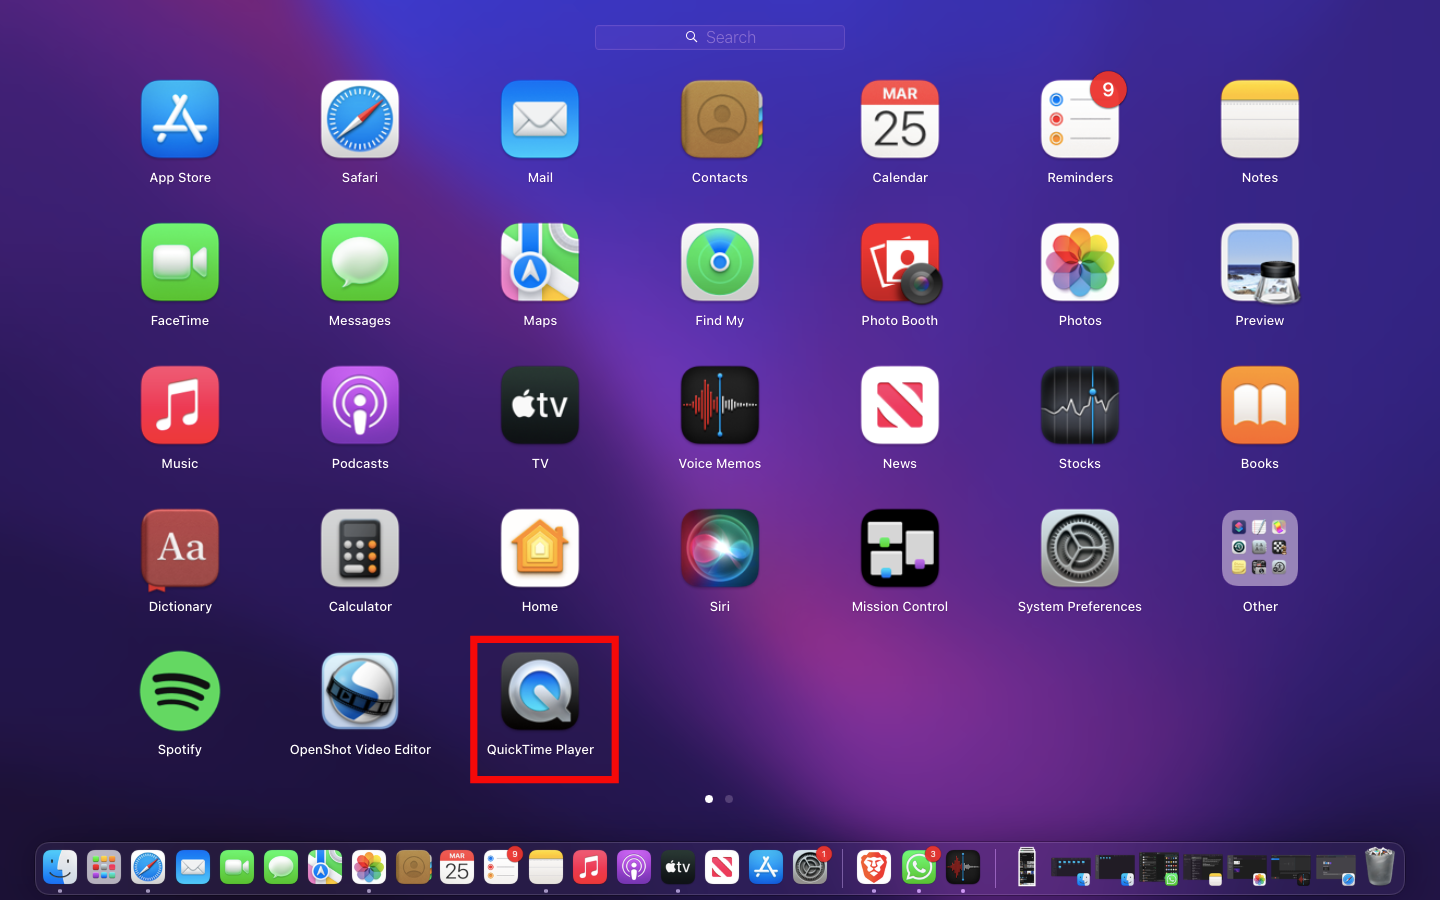
Step 1: Open QuickTime Player from the Launchpad on your docks
Step 2: From the menu bar, select File → New Audio Recording

Step 3: Click the red circle to begin recording
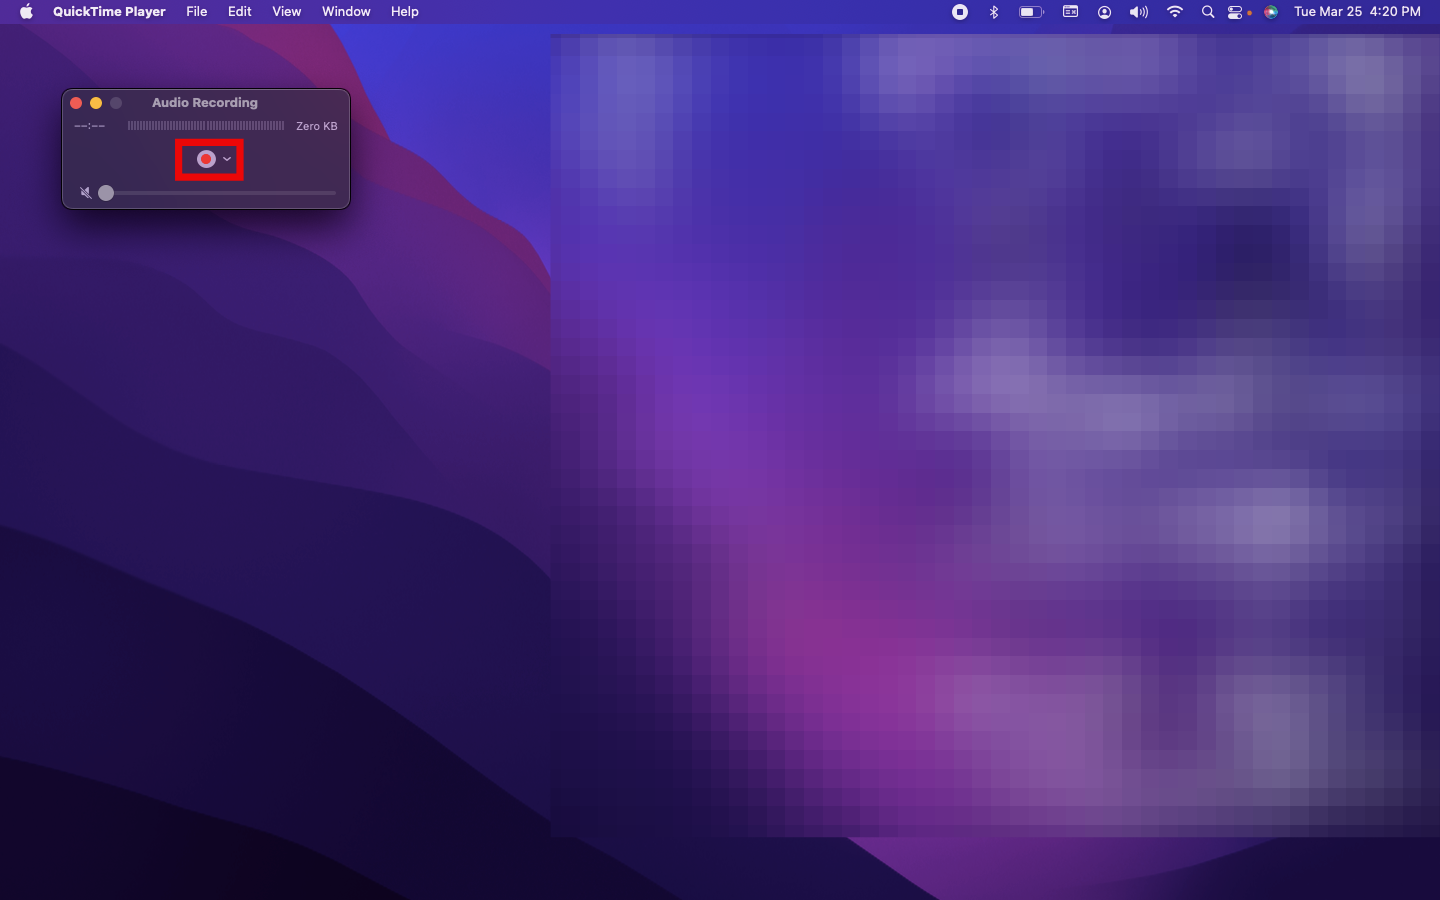
Step 4: Click on the gray square to stop recording

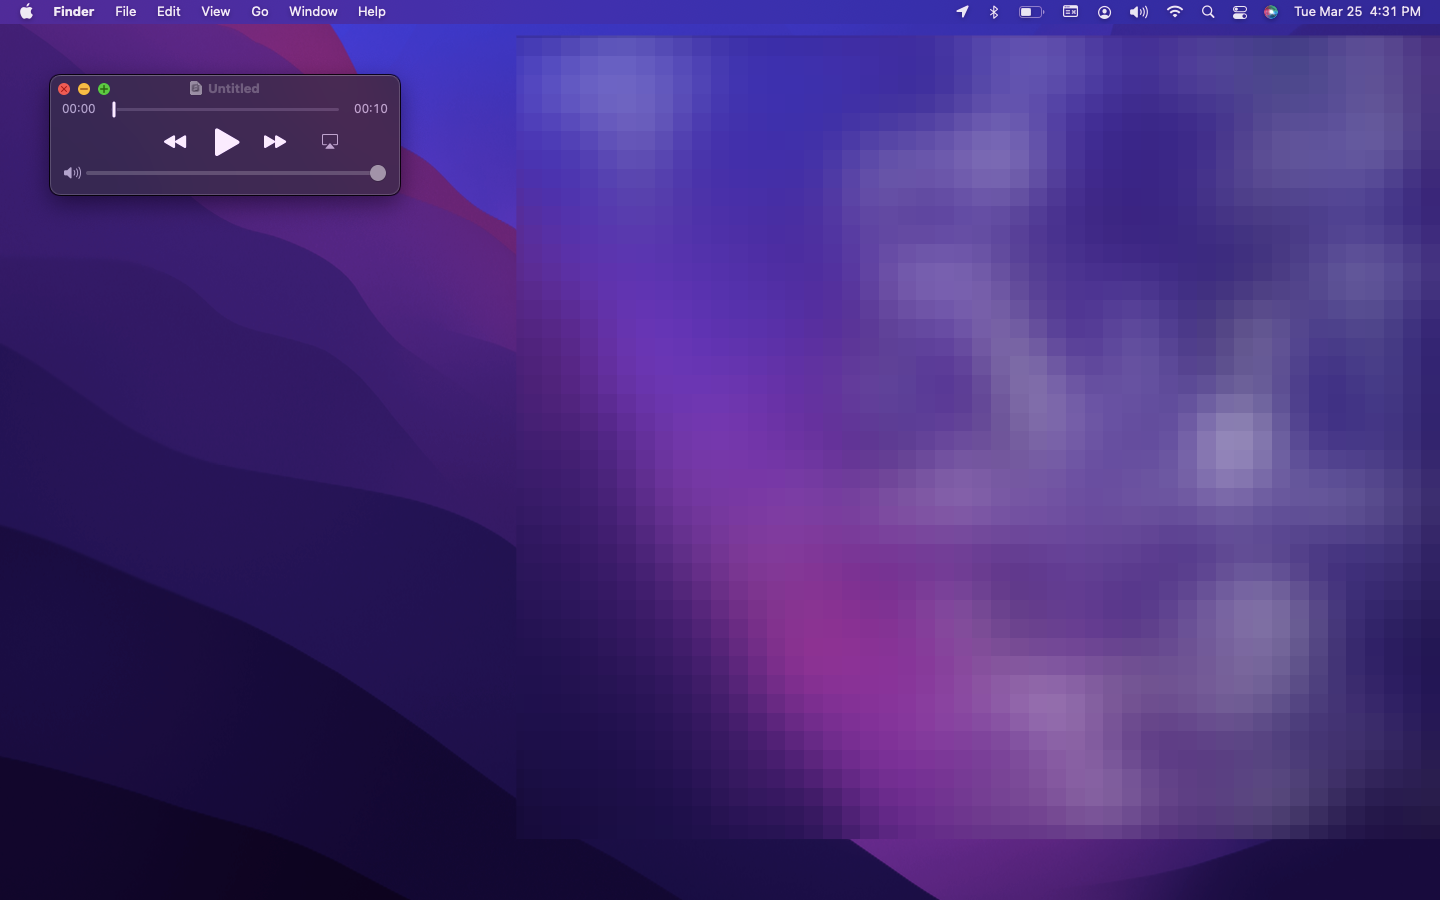
Step 5: Close the window to save

Conclusion
Recording audio on your Mac is simple and straightforward with built-in tools like Voice Memos and QuickTime. Whether you’re capturing quick notes, creating a podcast, or recording music, you have everything you need to get started. Just follow the steps, adjust your settings if needed, and you’ll be recording high-quality audio in no time.