How to schedule laptop shutdown on Windows
With this, you can simply estimate the hours or minutes for your download or programs to run, schedule the shutdown, and then go about your day.


Automating routine tasks on your laptop can save you time, reduce energy consumption, and even help prolong the lifespan of your device. One such task is scheduling a shutdown, which can be particularly useful in situations like downloading large files or running intensive programs overnight.
Imagine being able to initiate a lengthy download before bed, knowing that your laptop will automatically shut down at the estimated time for the download to have completed, mitigating the risk of overheating and battery consumption.
Fortunately, Windows provides a built-in solution to schedule shutdowns with its Task Scheduler application. In this guide, we'll show you the simple steps to schedule a laptop shutdown on Windows.
How to Schedule Laptop Shutdown using Task Scheduler
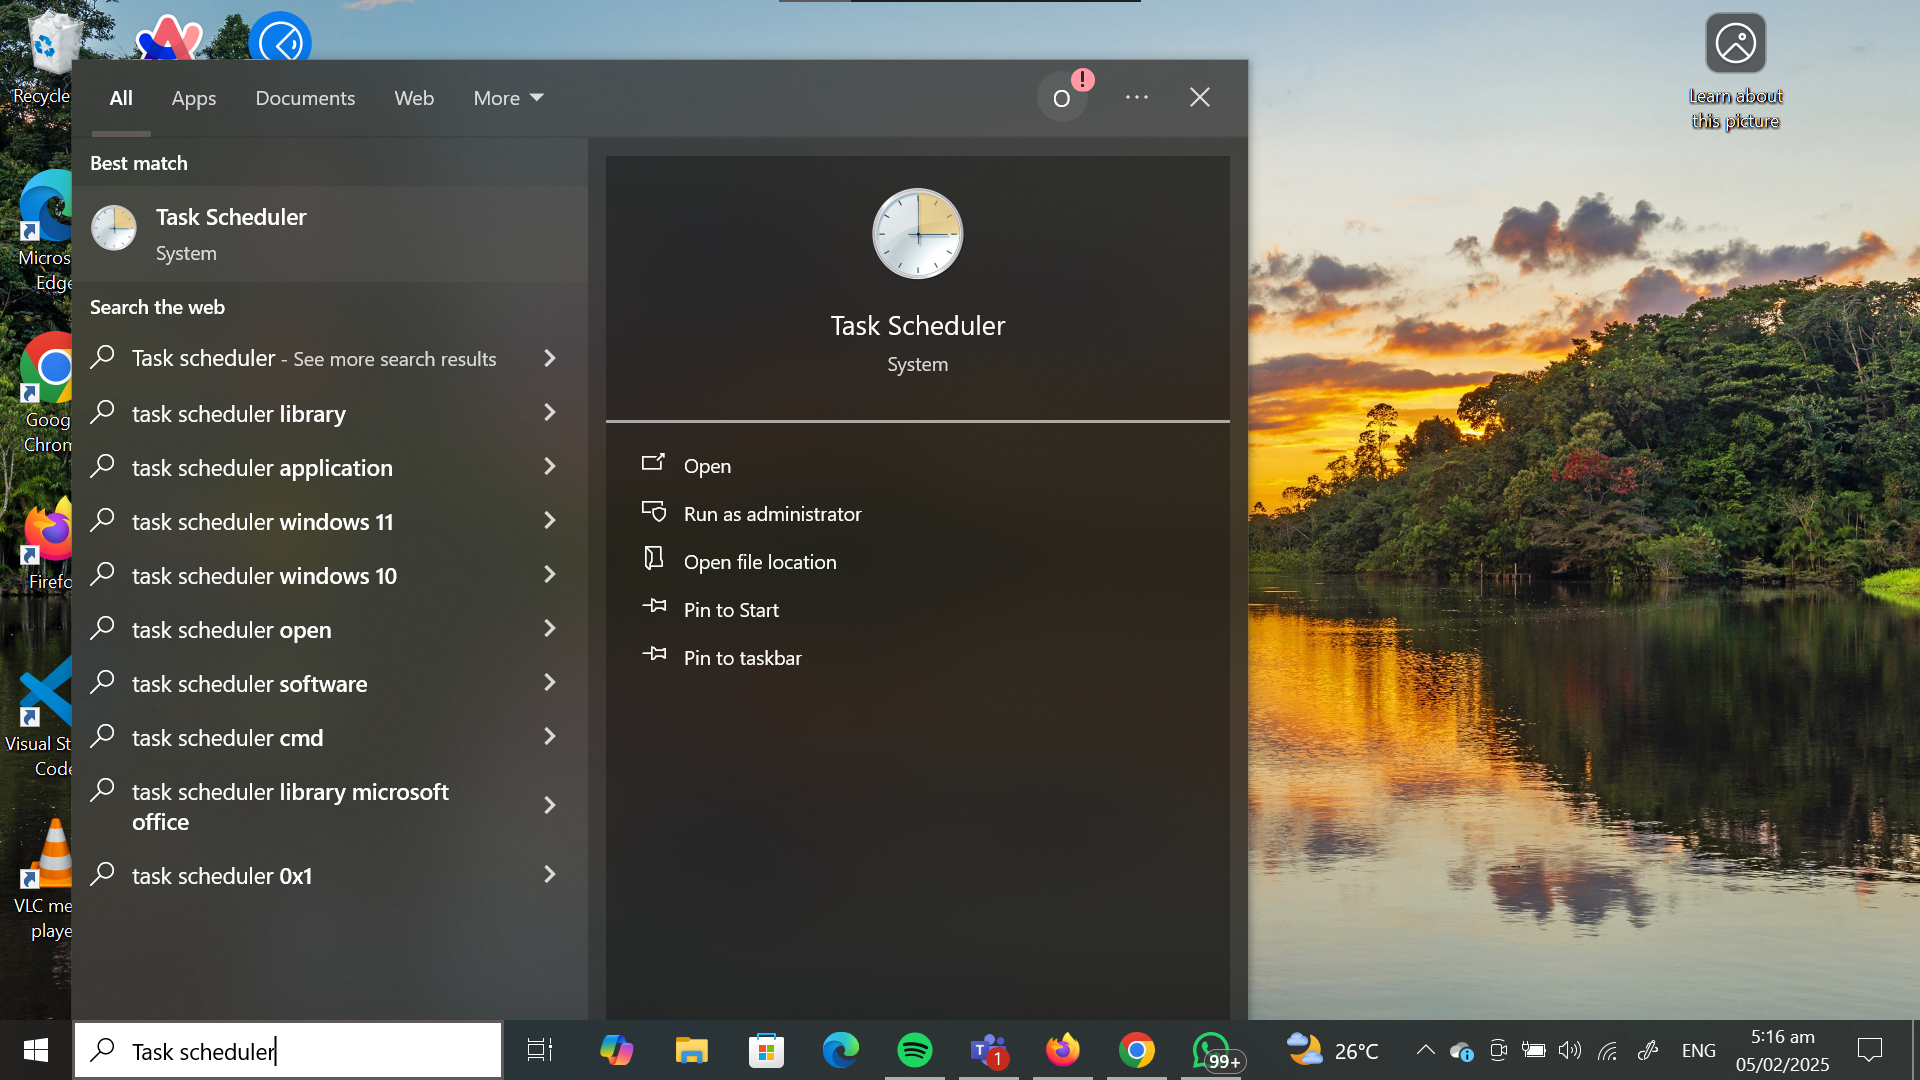
Step 1: Search for "Task Scheduler" on the search bar and open it.
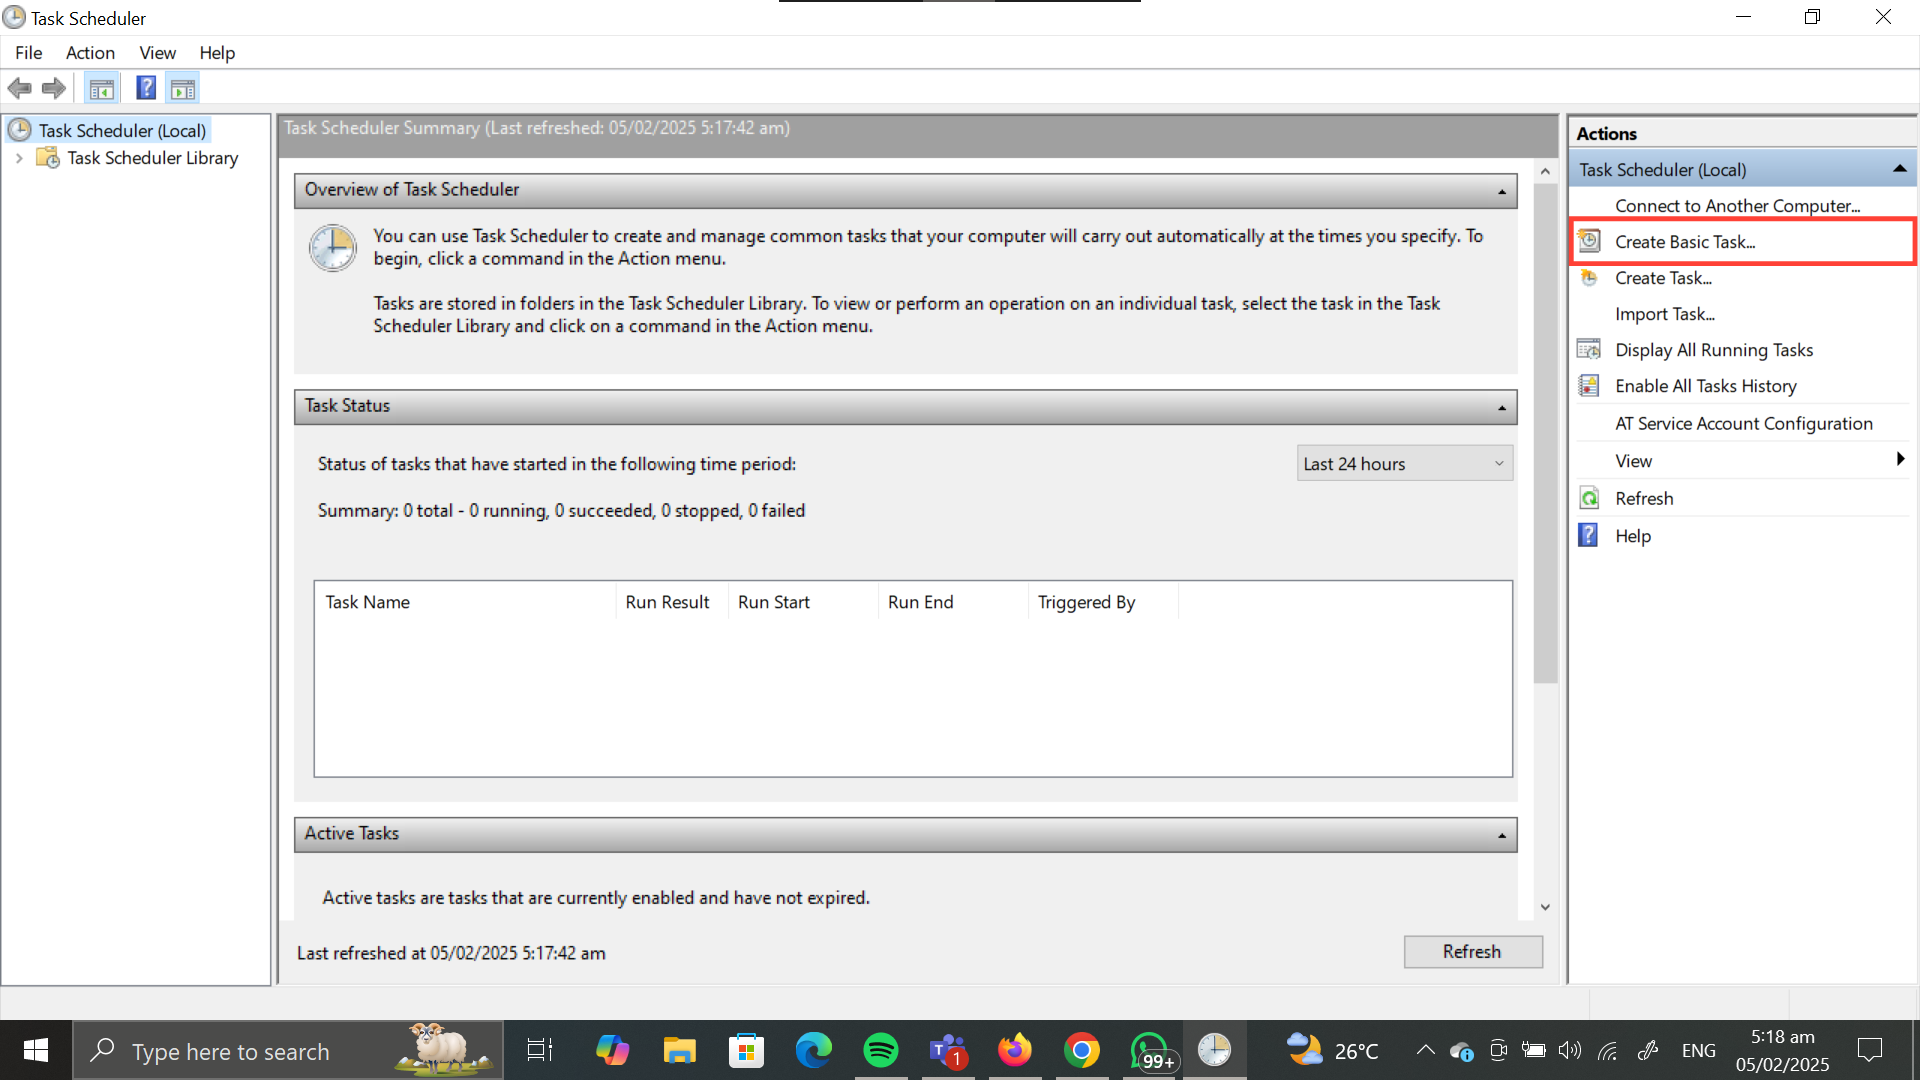
Step 2: Click "Create Basic Task" at the top right.
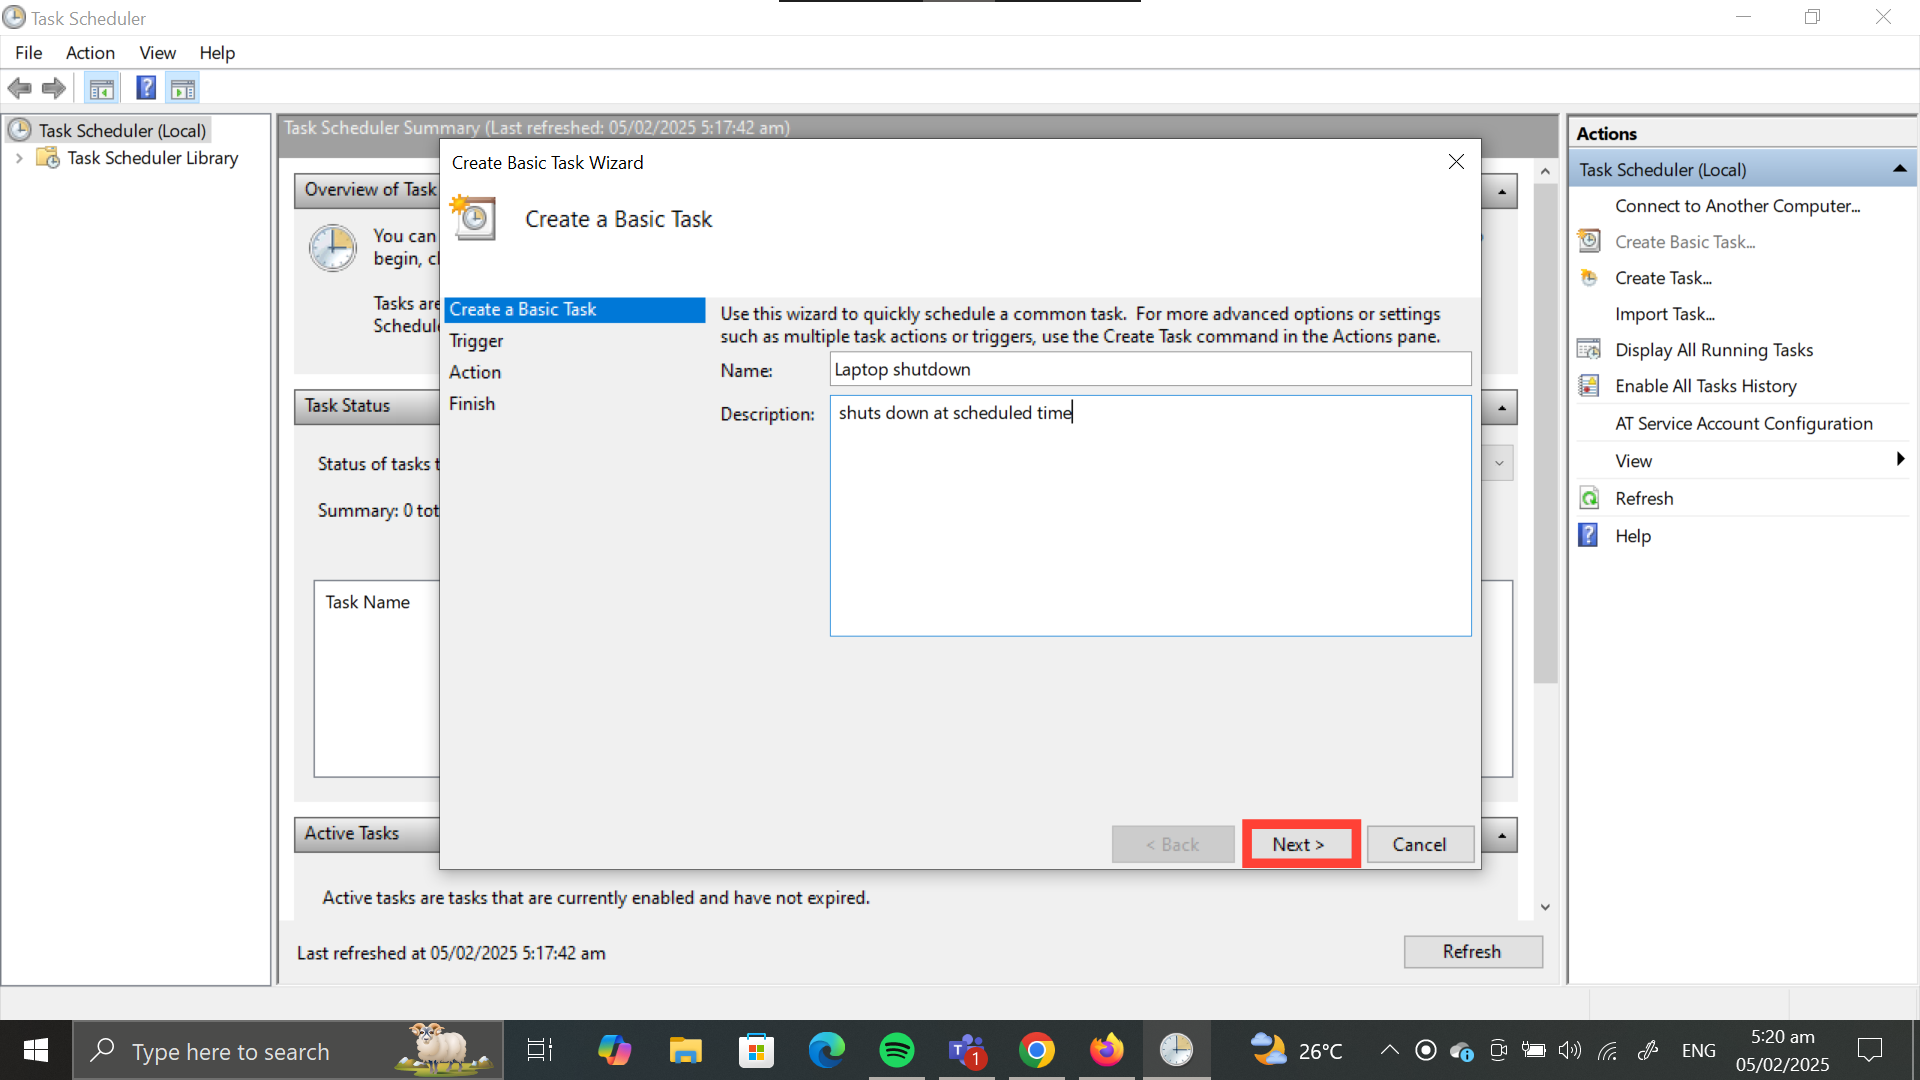
Step 3: A dialogue box will pop out, enter the name and description (optional) of your task and click "Next"
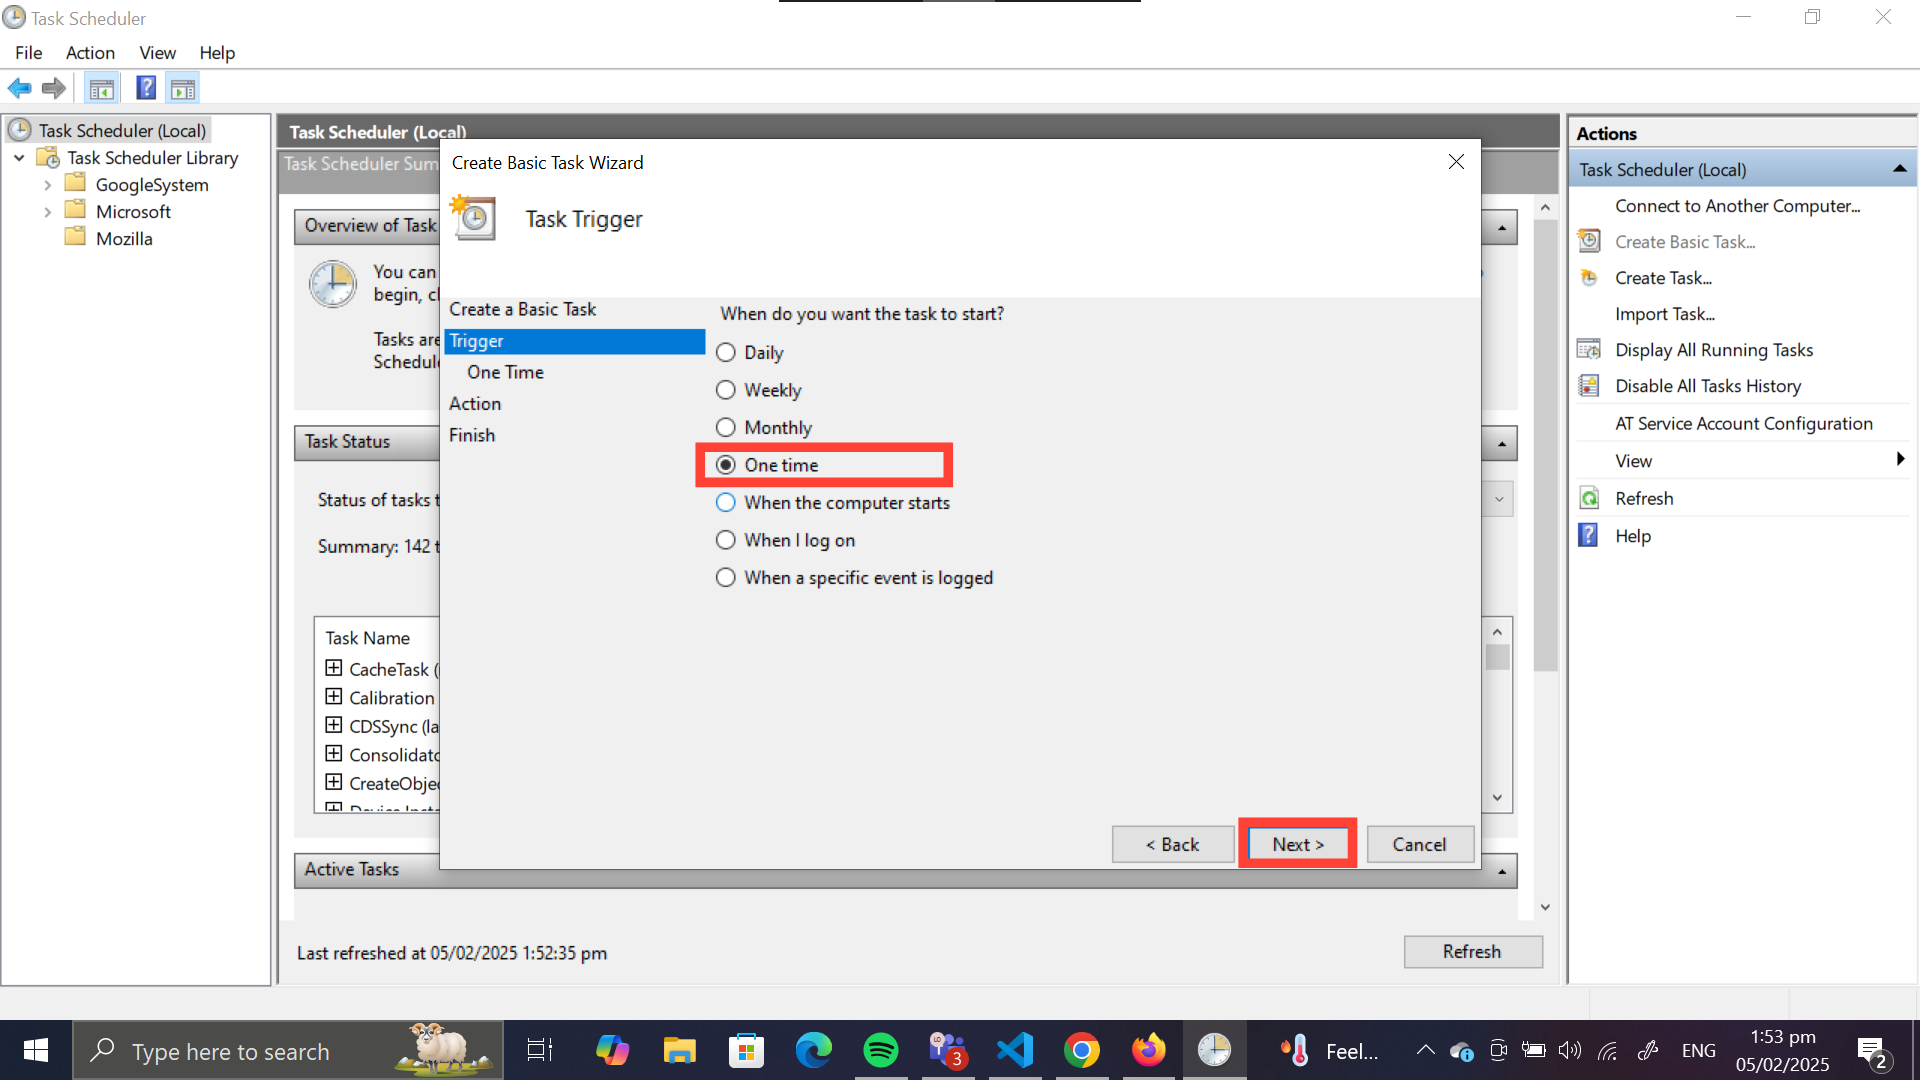
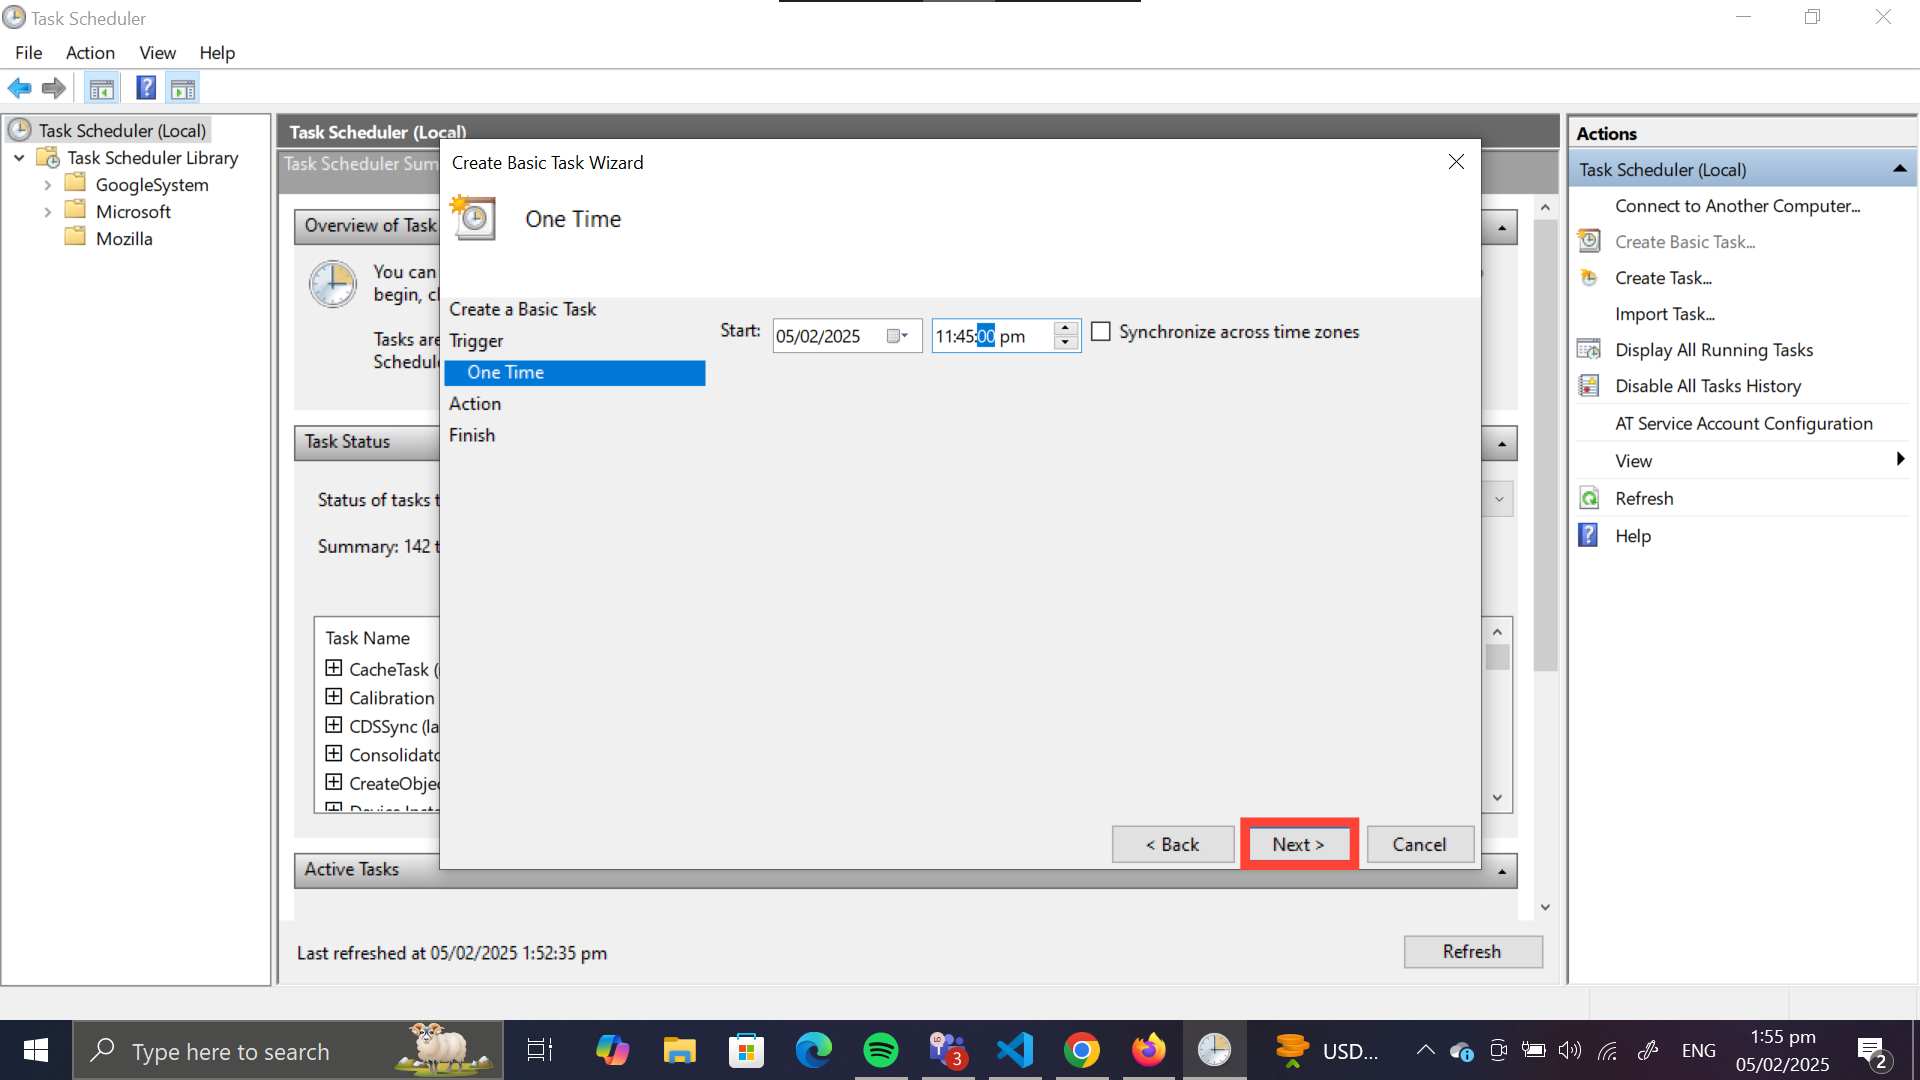
Step 4: Select the time frame you want the task to run, whether one time, multiple times, or daily. I set mine to "one time" so it shuts down just this night at the time I suspect the installation is concluded.
Step 5: Adjust the time and date you want to activate the task, and click "Next".
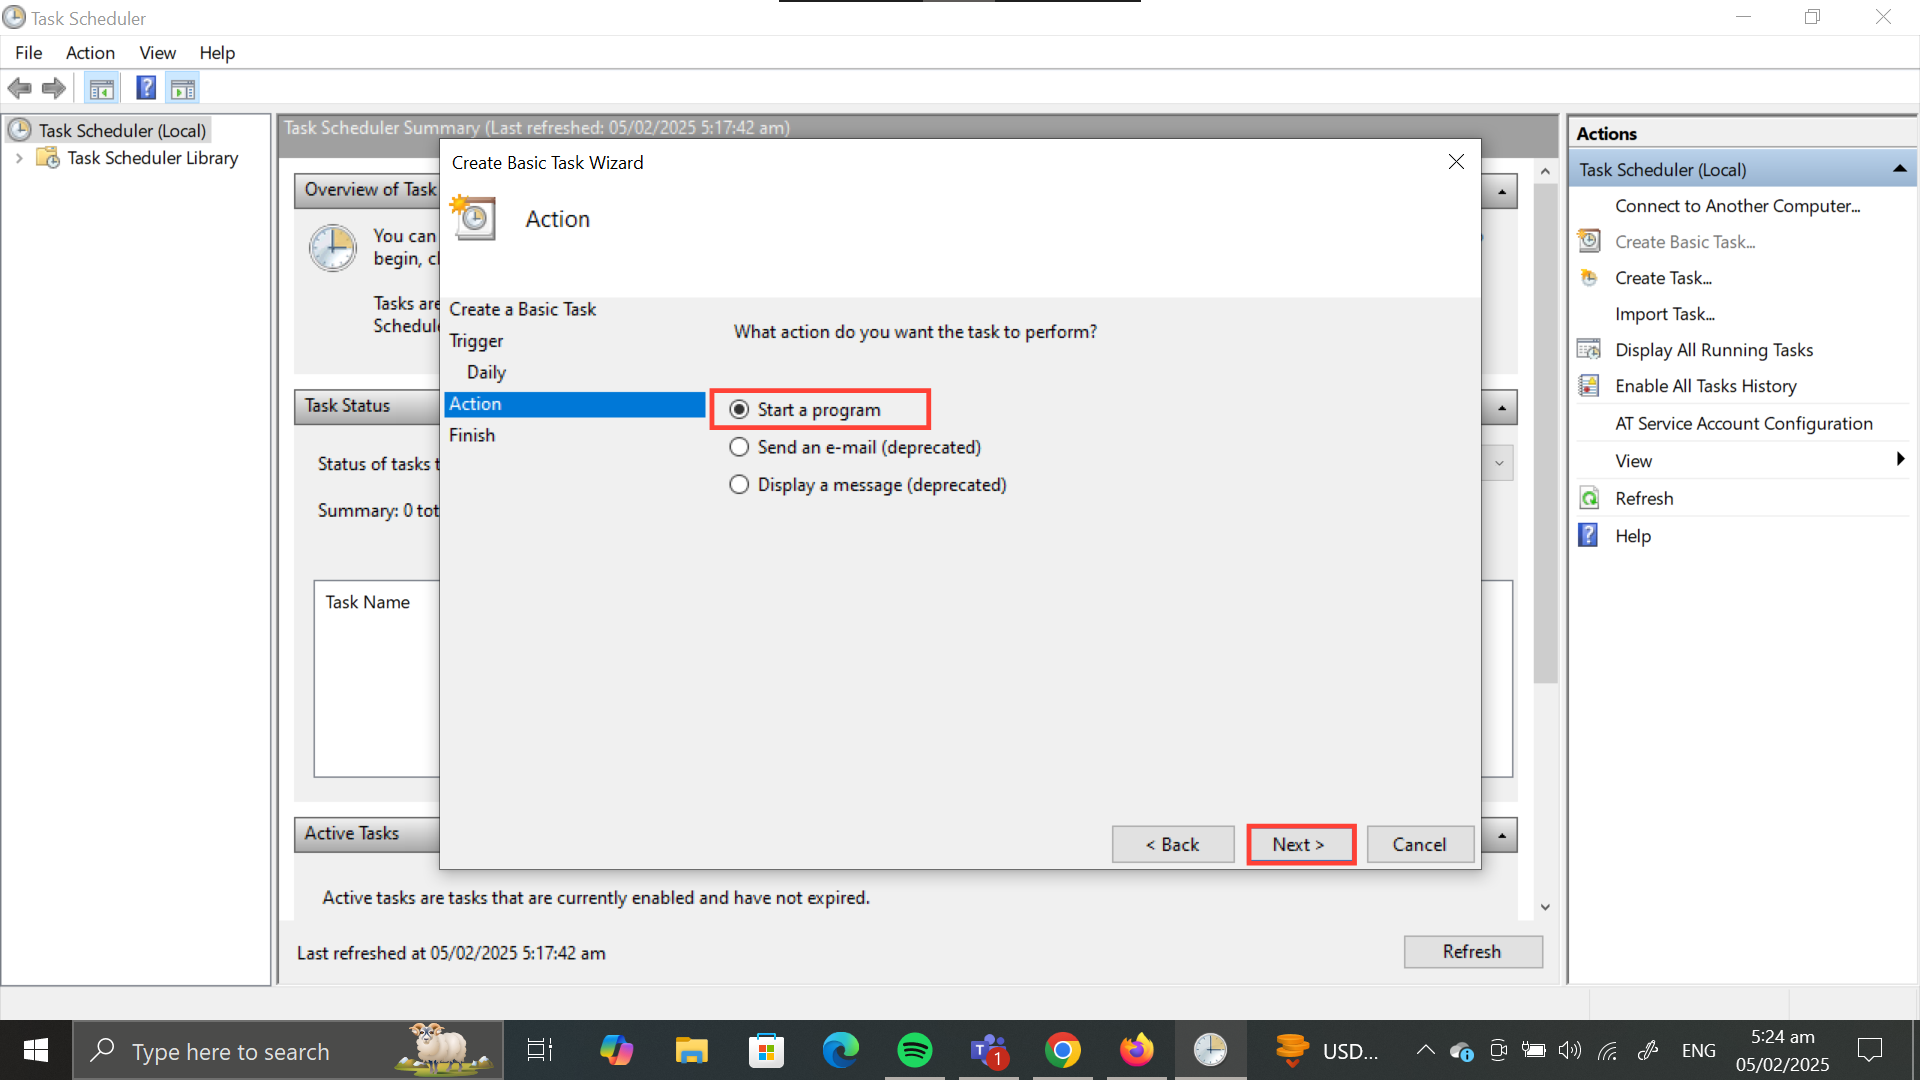
Step 6: Select "Start a program" and click Next.
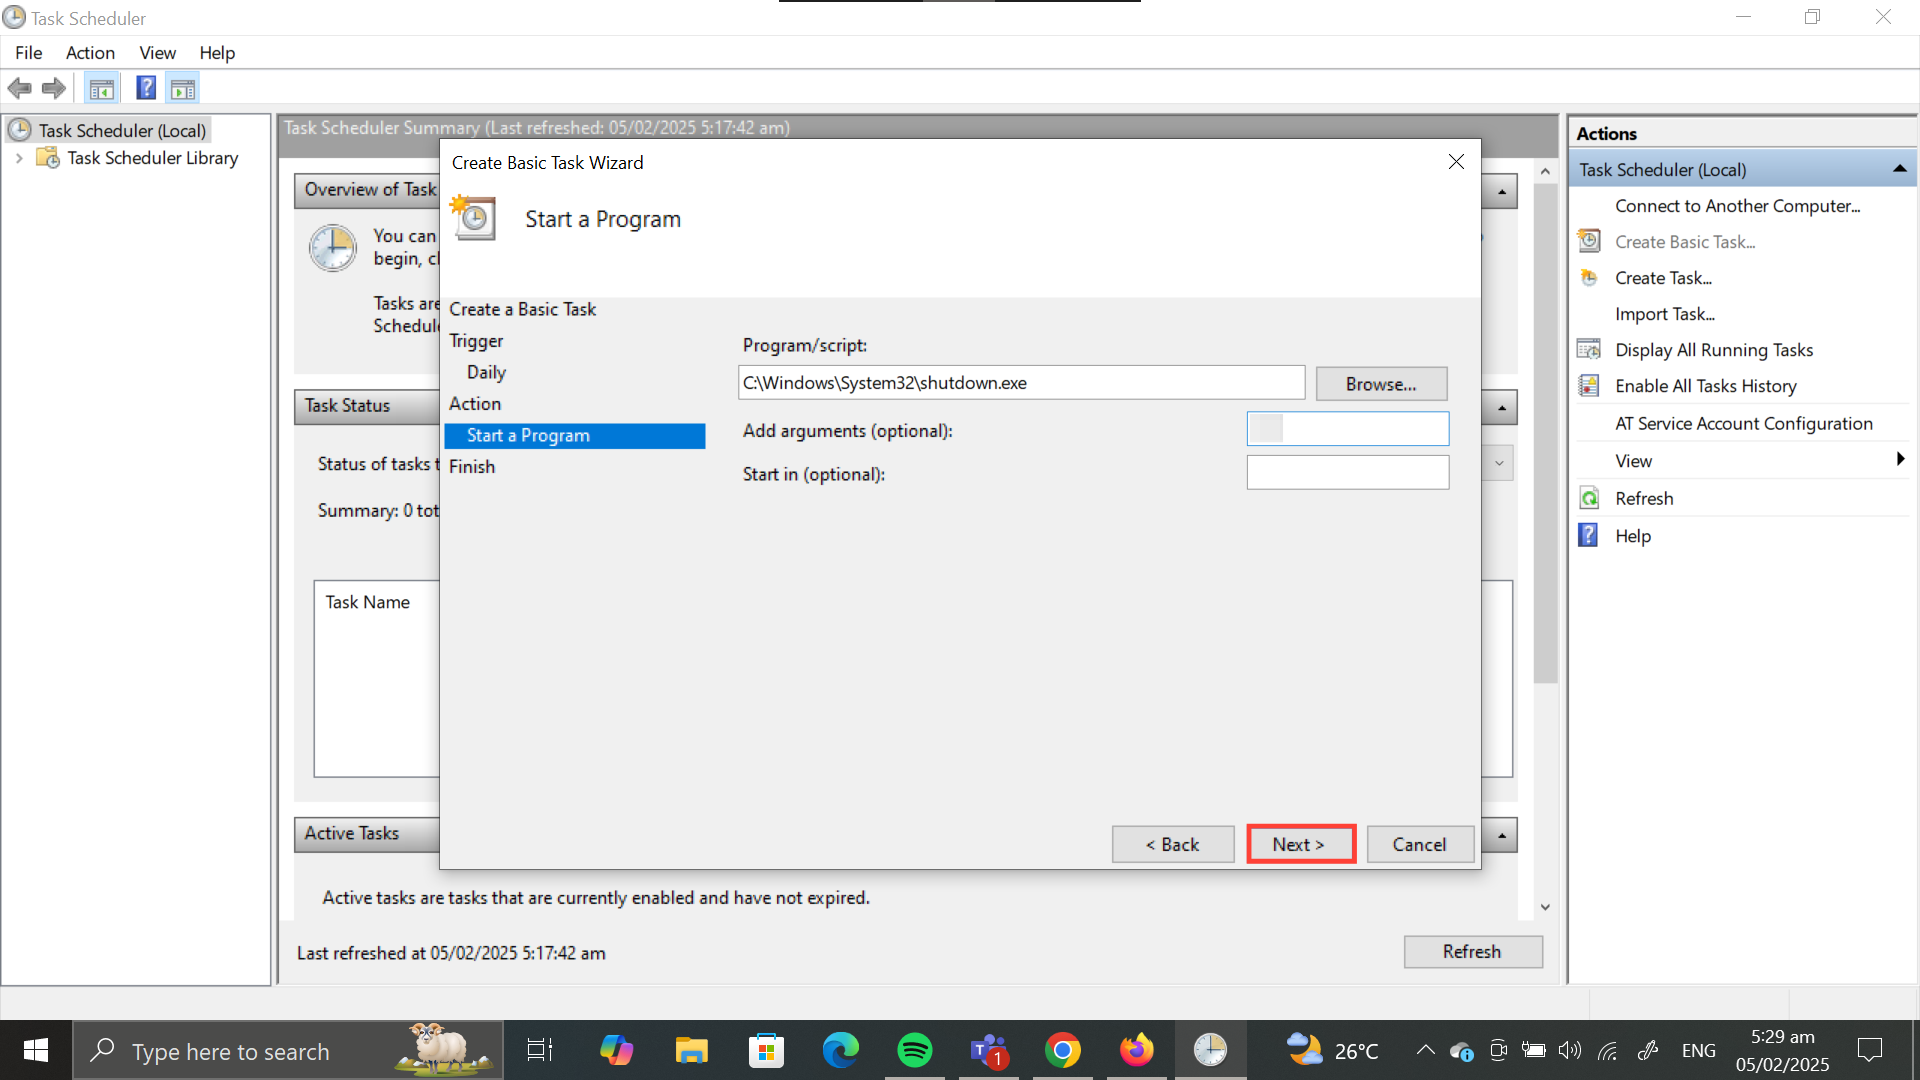
Step 7: In the dialogue box, enter "C:\Windows\System32\shutdown.exe" under "Program/script" and click "Next".
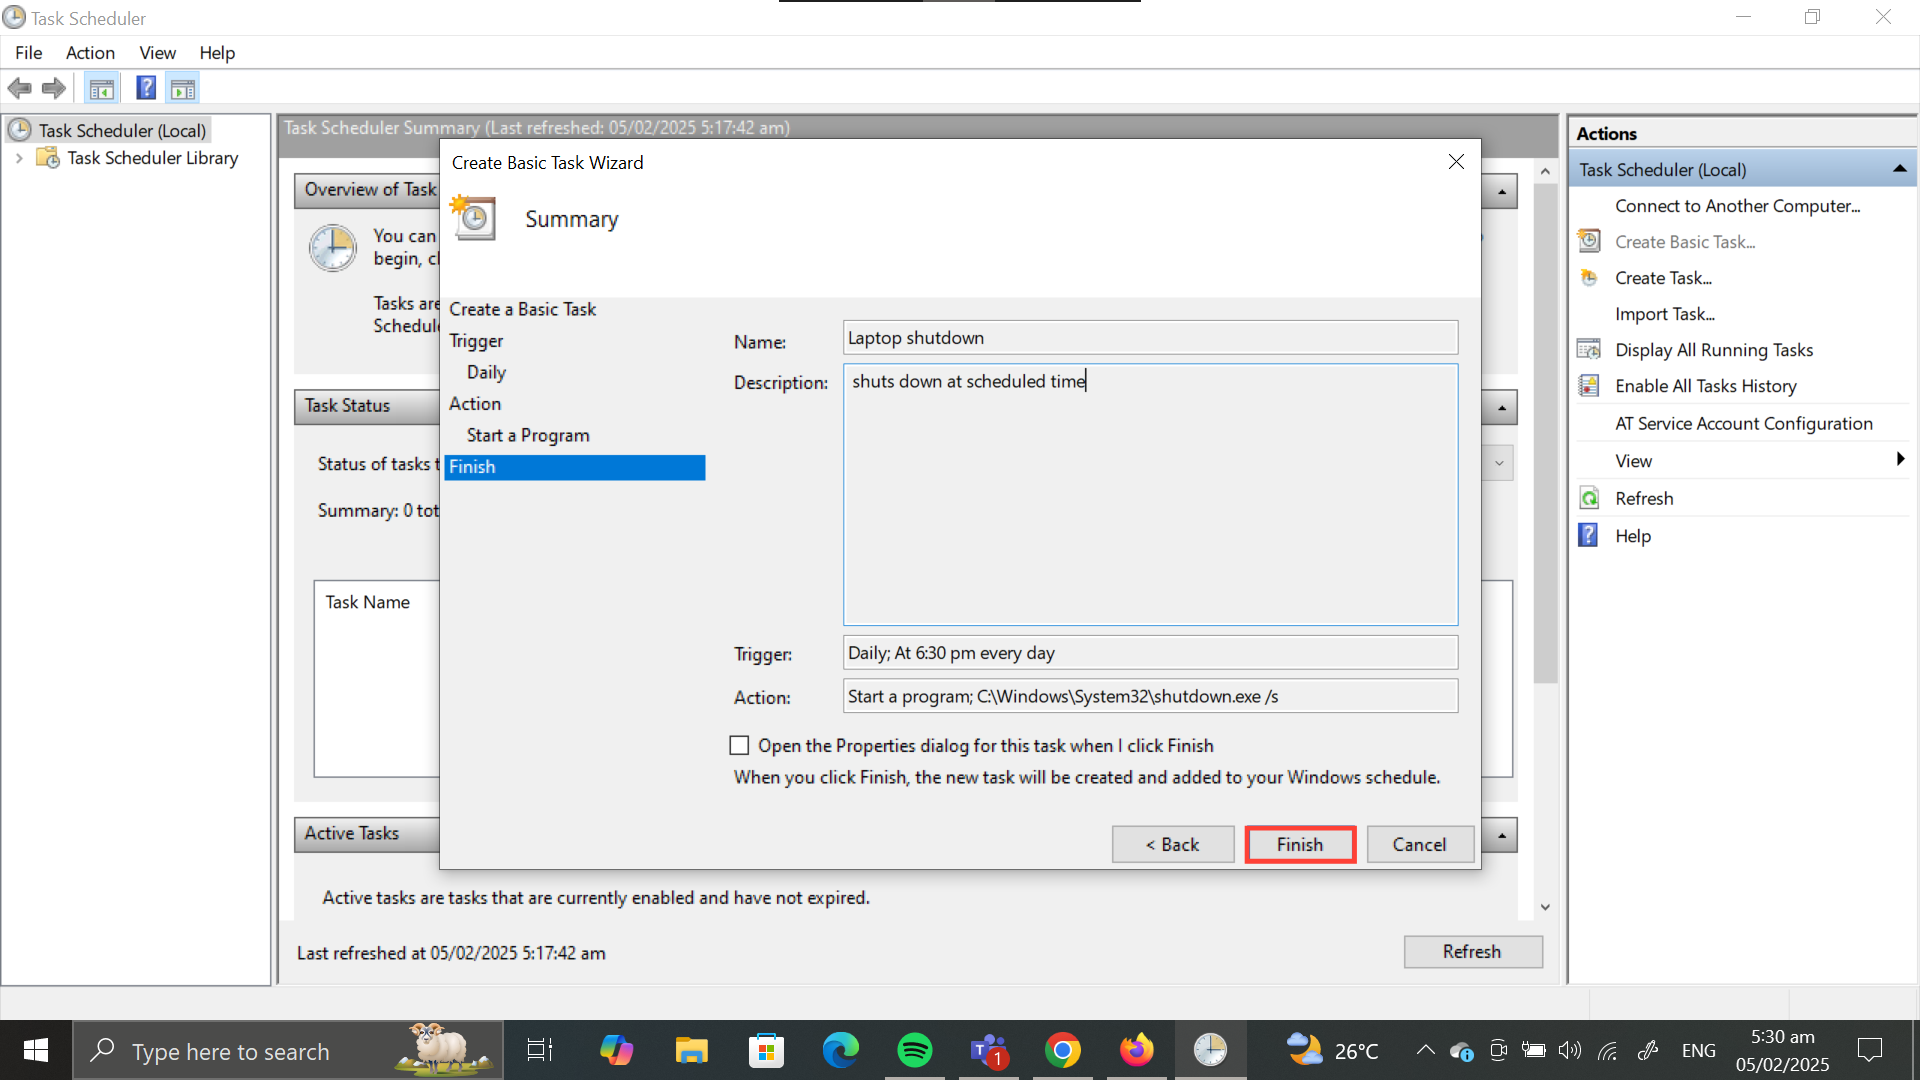
Step 8: Review the task and click "Finish." The task will be created and added to your programs.
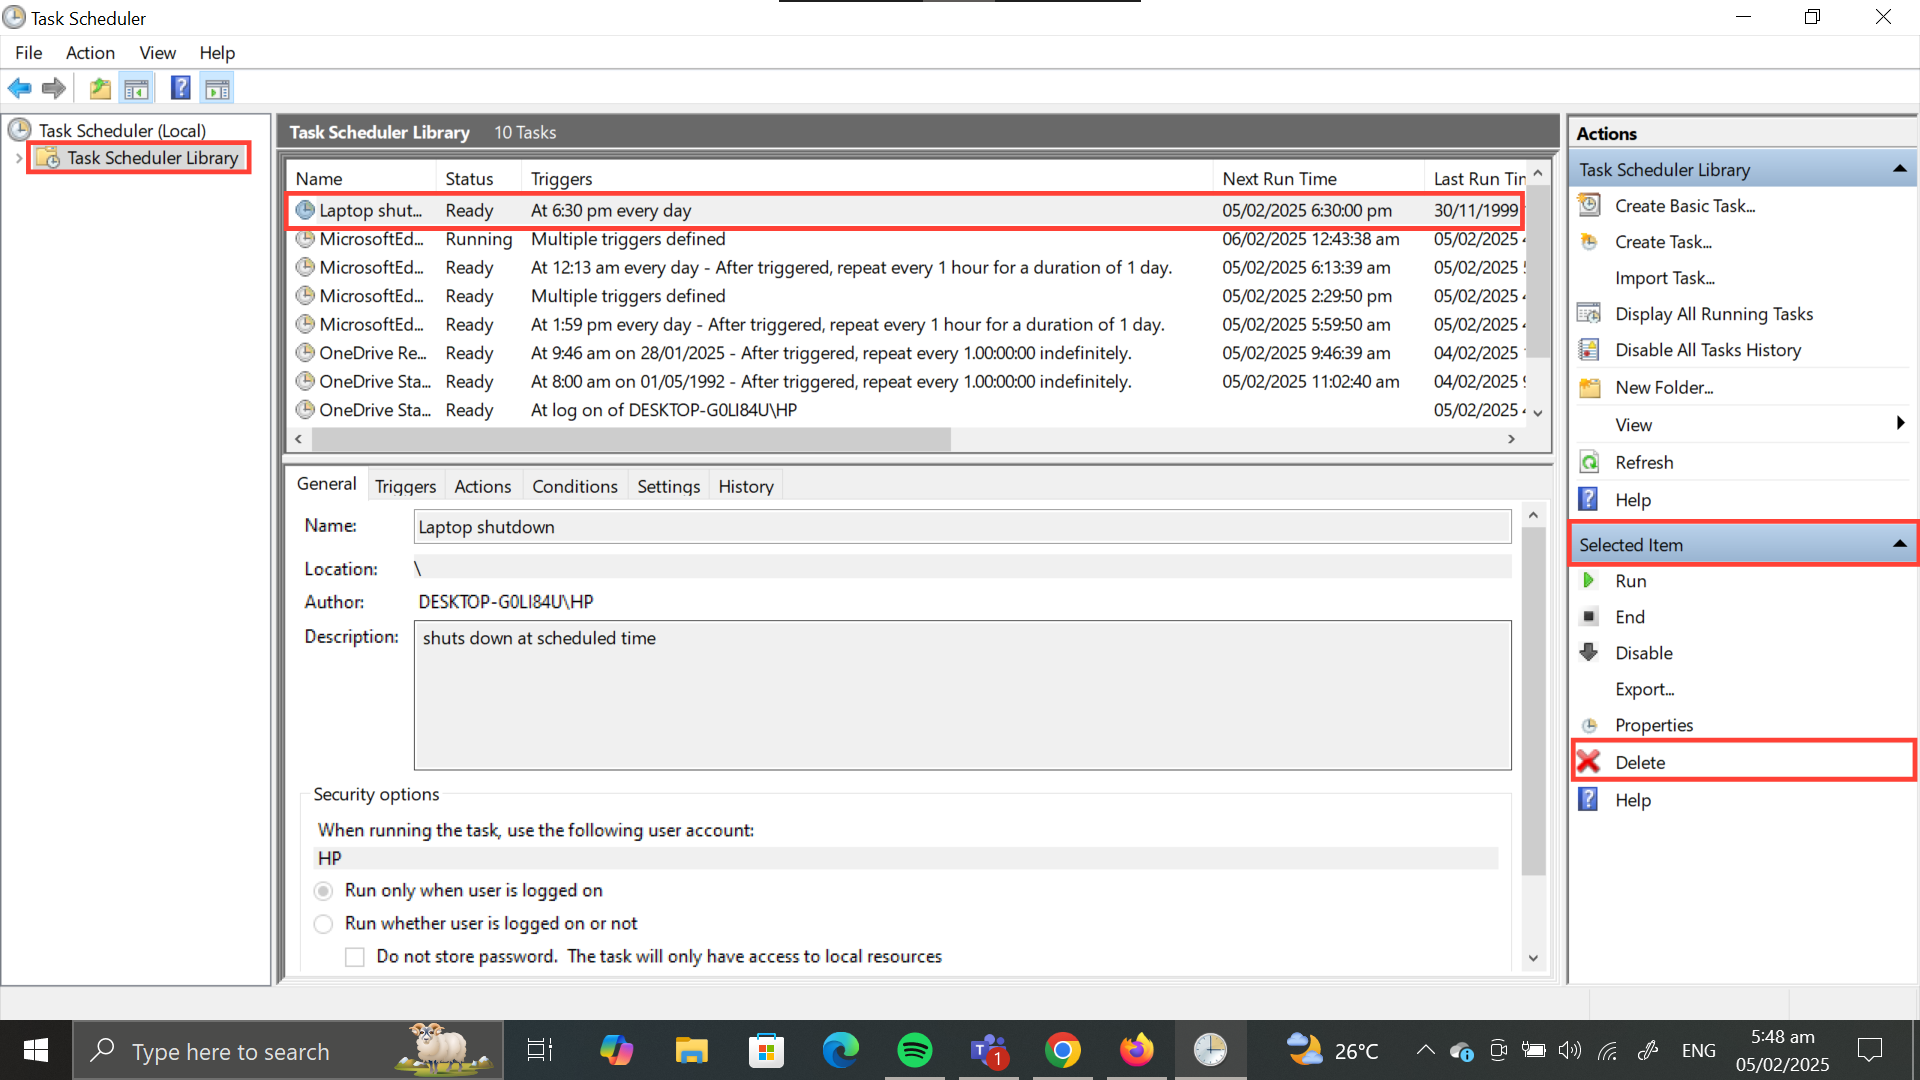
How to Delete Scheduled Task on Windows
- Step 1: Open Task Scheduler
- Step 2: Click the "Task Scheduler Library" folder in the left panel. This will cause your task to appear in the center panel. It's a dropdown menu, but you're not opening the menu, so carefully click it instead.
- Step 3: Find and select your task. If your task is the most recently added, it'll be automatically selected, so just proceed to delete it.
- Step 4: On the bottom right, click the "Selected Item" dropdown and click "Delete" to delete the task.
Conclusion
Scheduling a laptop shutdown on Windows is a straightforward process that can help you save time, reduce energy consumption, and minimize the risk of overheating. By following the steps outlined in this guide, you can take advantage of Windows Task Scheduler to automate shutdowns.
Scheduling laptop shutdowns can be a valuable hack if you have lengthy downloads or installing programs. With this, you can simply estimate the hours or minutes for your download or programs to run, schedule the shutdown, and then go about your day.
Image credit: Oyinebiladou Omemu/techloy.com


