How to Use Google Lens on iPhone and iPad

Google Lens is a cool tool that lets you have your own personal encyclopedia right at your fingertips. Whether you're travelling abroad and need to translate a menu in a hurry or out for a walk and stumble upon a new plant species, Google Lens can help you out.
And the best part? You don't even need to take a picture.
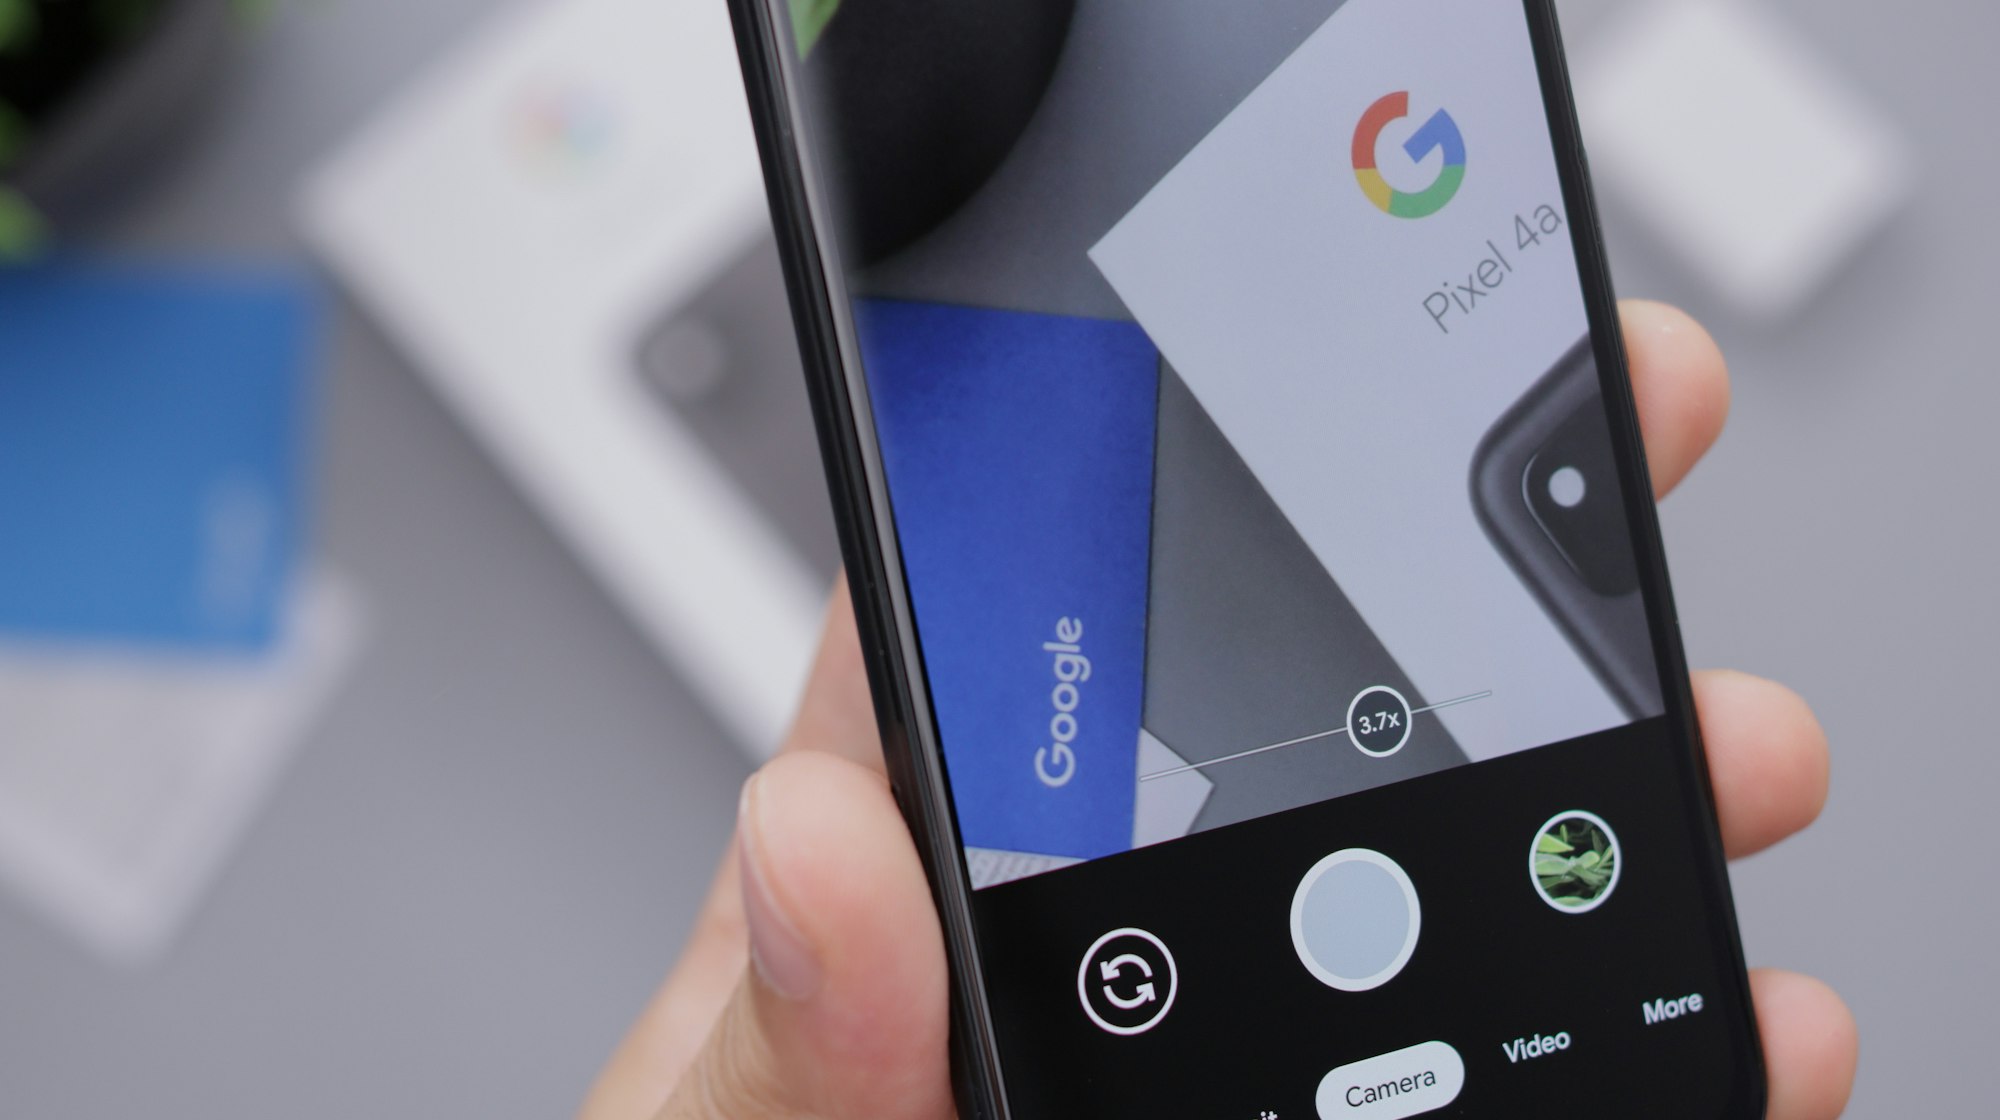
There are a couple of ways to use Google Lens, but my favourite is the Google app. Just point your phone's camera at whatever you're curious about and let Google Lens work its magic. It's more like always having your own personal tour guide with you.

How to use Google Lens on iPhone and iPad
- Go to the App Store and download the Google Photos app

2. Select a photo

3. To use Google Lens on your selected photo, tap the screen to bring up the menu and look for the Lens icon. Once you've found it, tap on the icon to activate Google Lens.

4. Select the format you want the image to be searched either from Translate, Text, Search, Shopping, or Places.

5. When you tap on the element you want to search for, Google Lens will provide you with matches and information related to the image. This can include details about the object, links to related websites or products, or even the option to translate any text that may be present in the image.

With Google Lens, you can quickly and easily get information about objects or translate text without the need for additional apps or tools.
Image Credit: Future


