HOW TO: Use the Apple Invites App
Master the art of effortless event planning with the Apple Invites app.


Having to send out group texts or emails to invite friends and family to gatherings can be exhausting. But with the introduction of the Apple Invites app, sending out invitations to events just got a whole lot easier.
Imagine creating and sending custom invitations to your friends and family with just a few taps on your iPhone. Whether you're planning a birthday party, a wedding, or just a casual game night, the Apple Invites app makes it simple to get the word out without doing much work.
In this article, we'll show you how to create an event and send out invitations using the Apple Invites app. We'll cover everything from setting the date and time to customizing your invitation and tracking RSVPs.
How to Create an Event
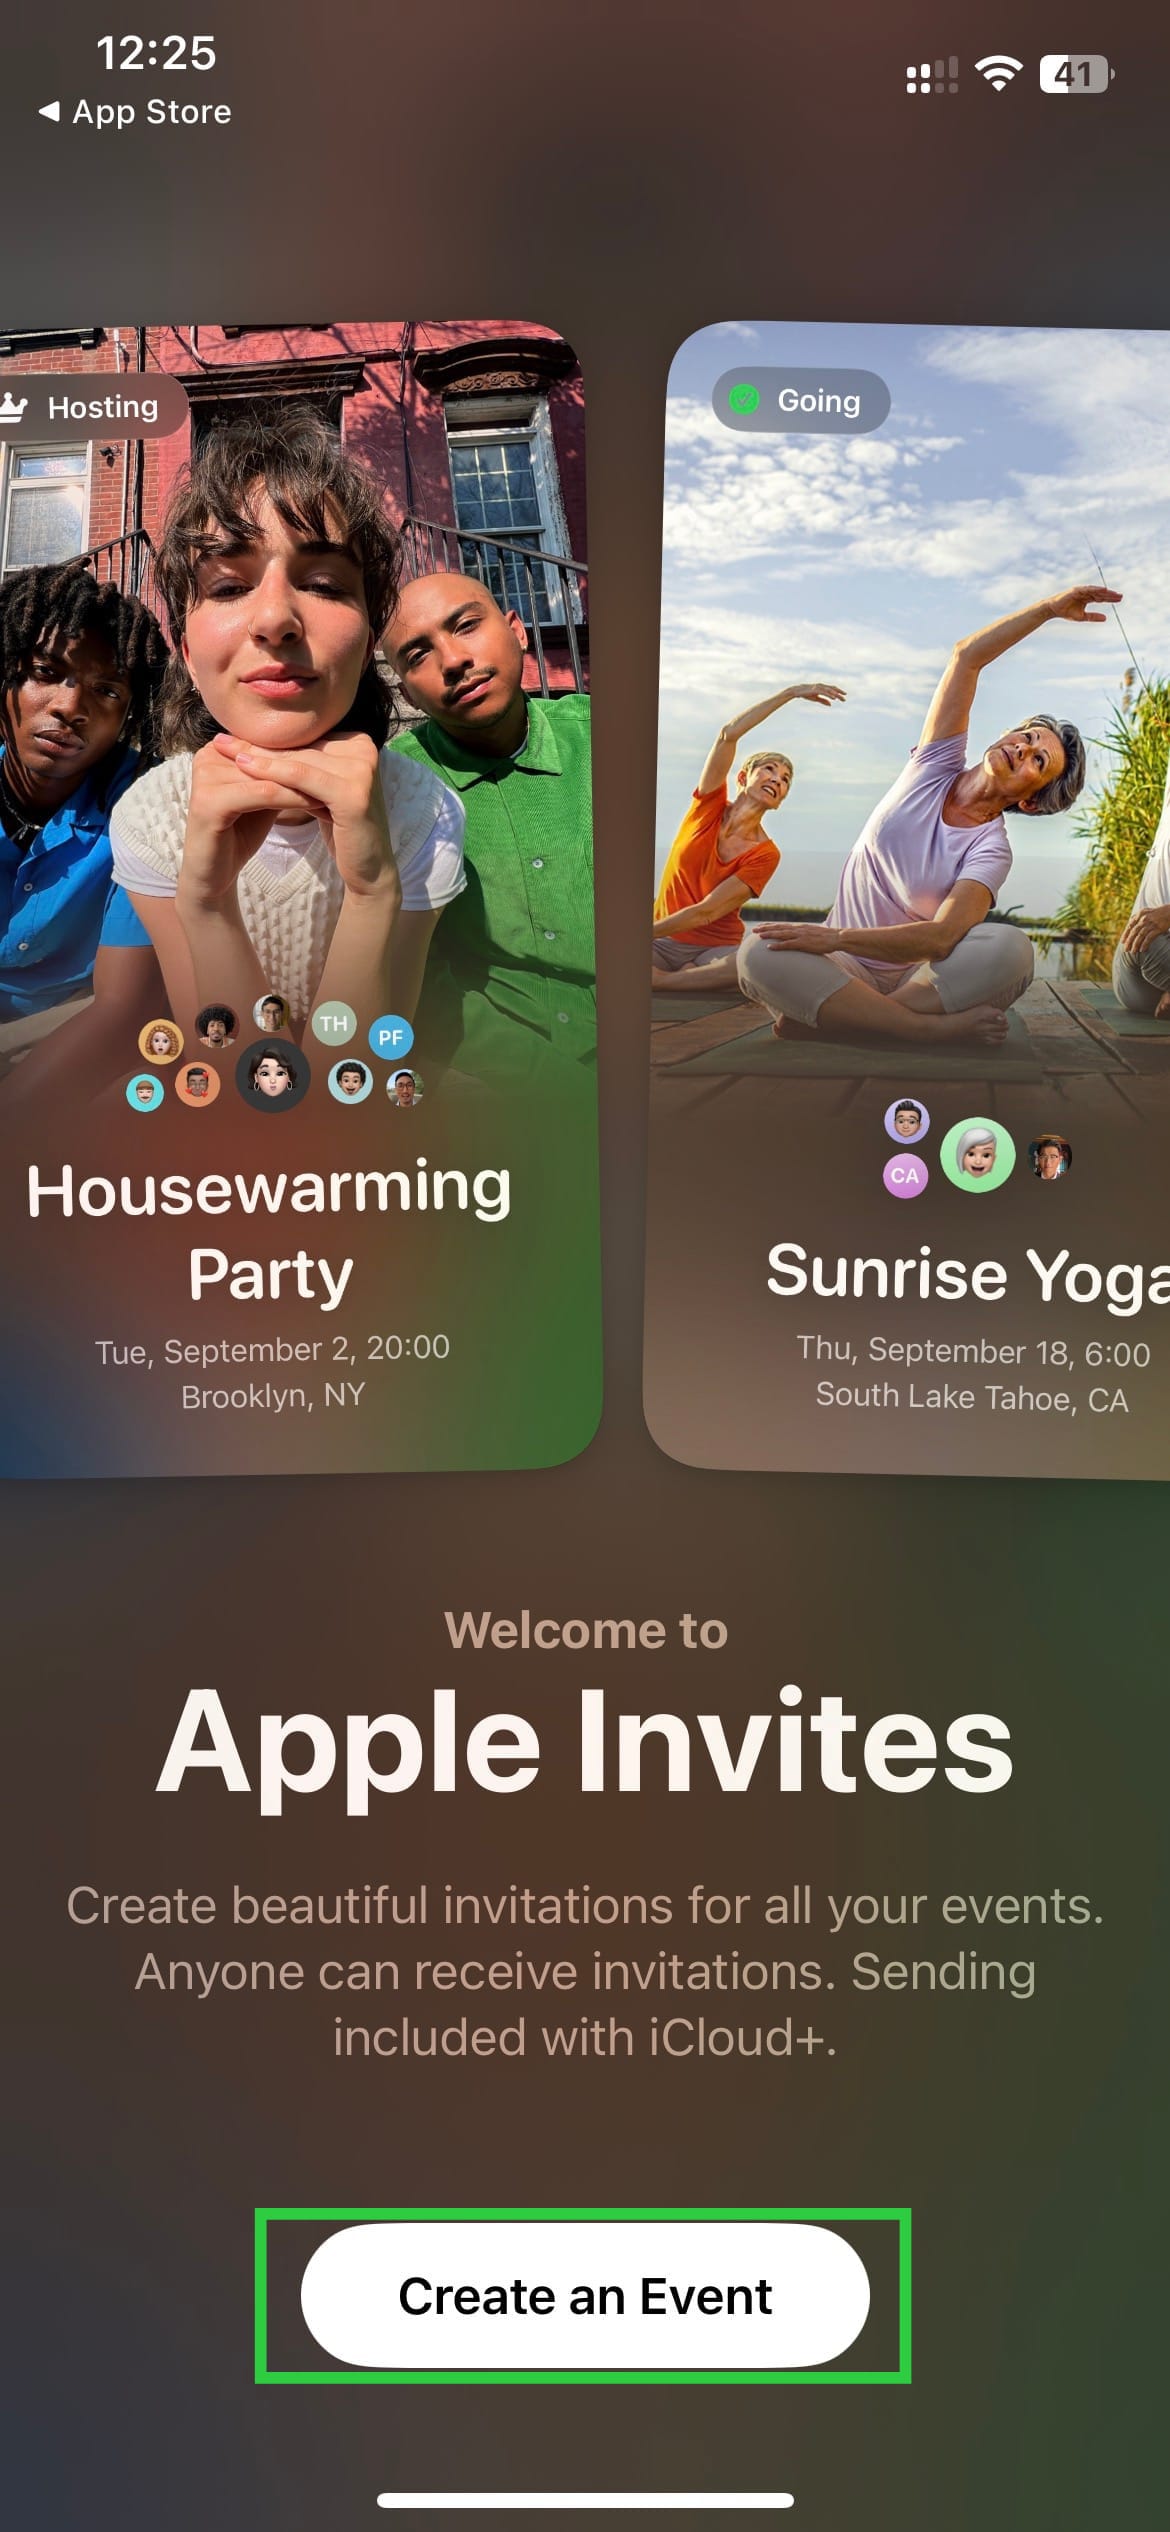
Step 1: Open the Apple Invite App and Tap Create Event.
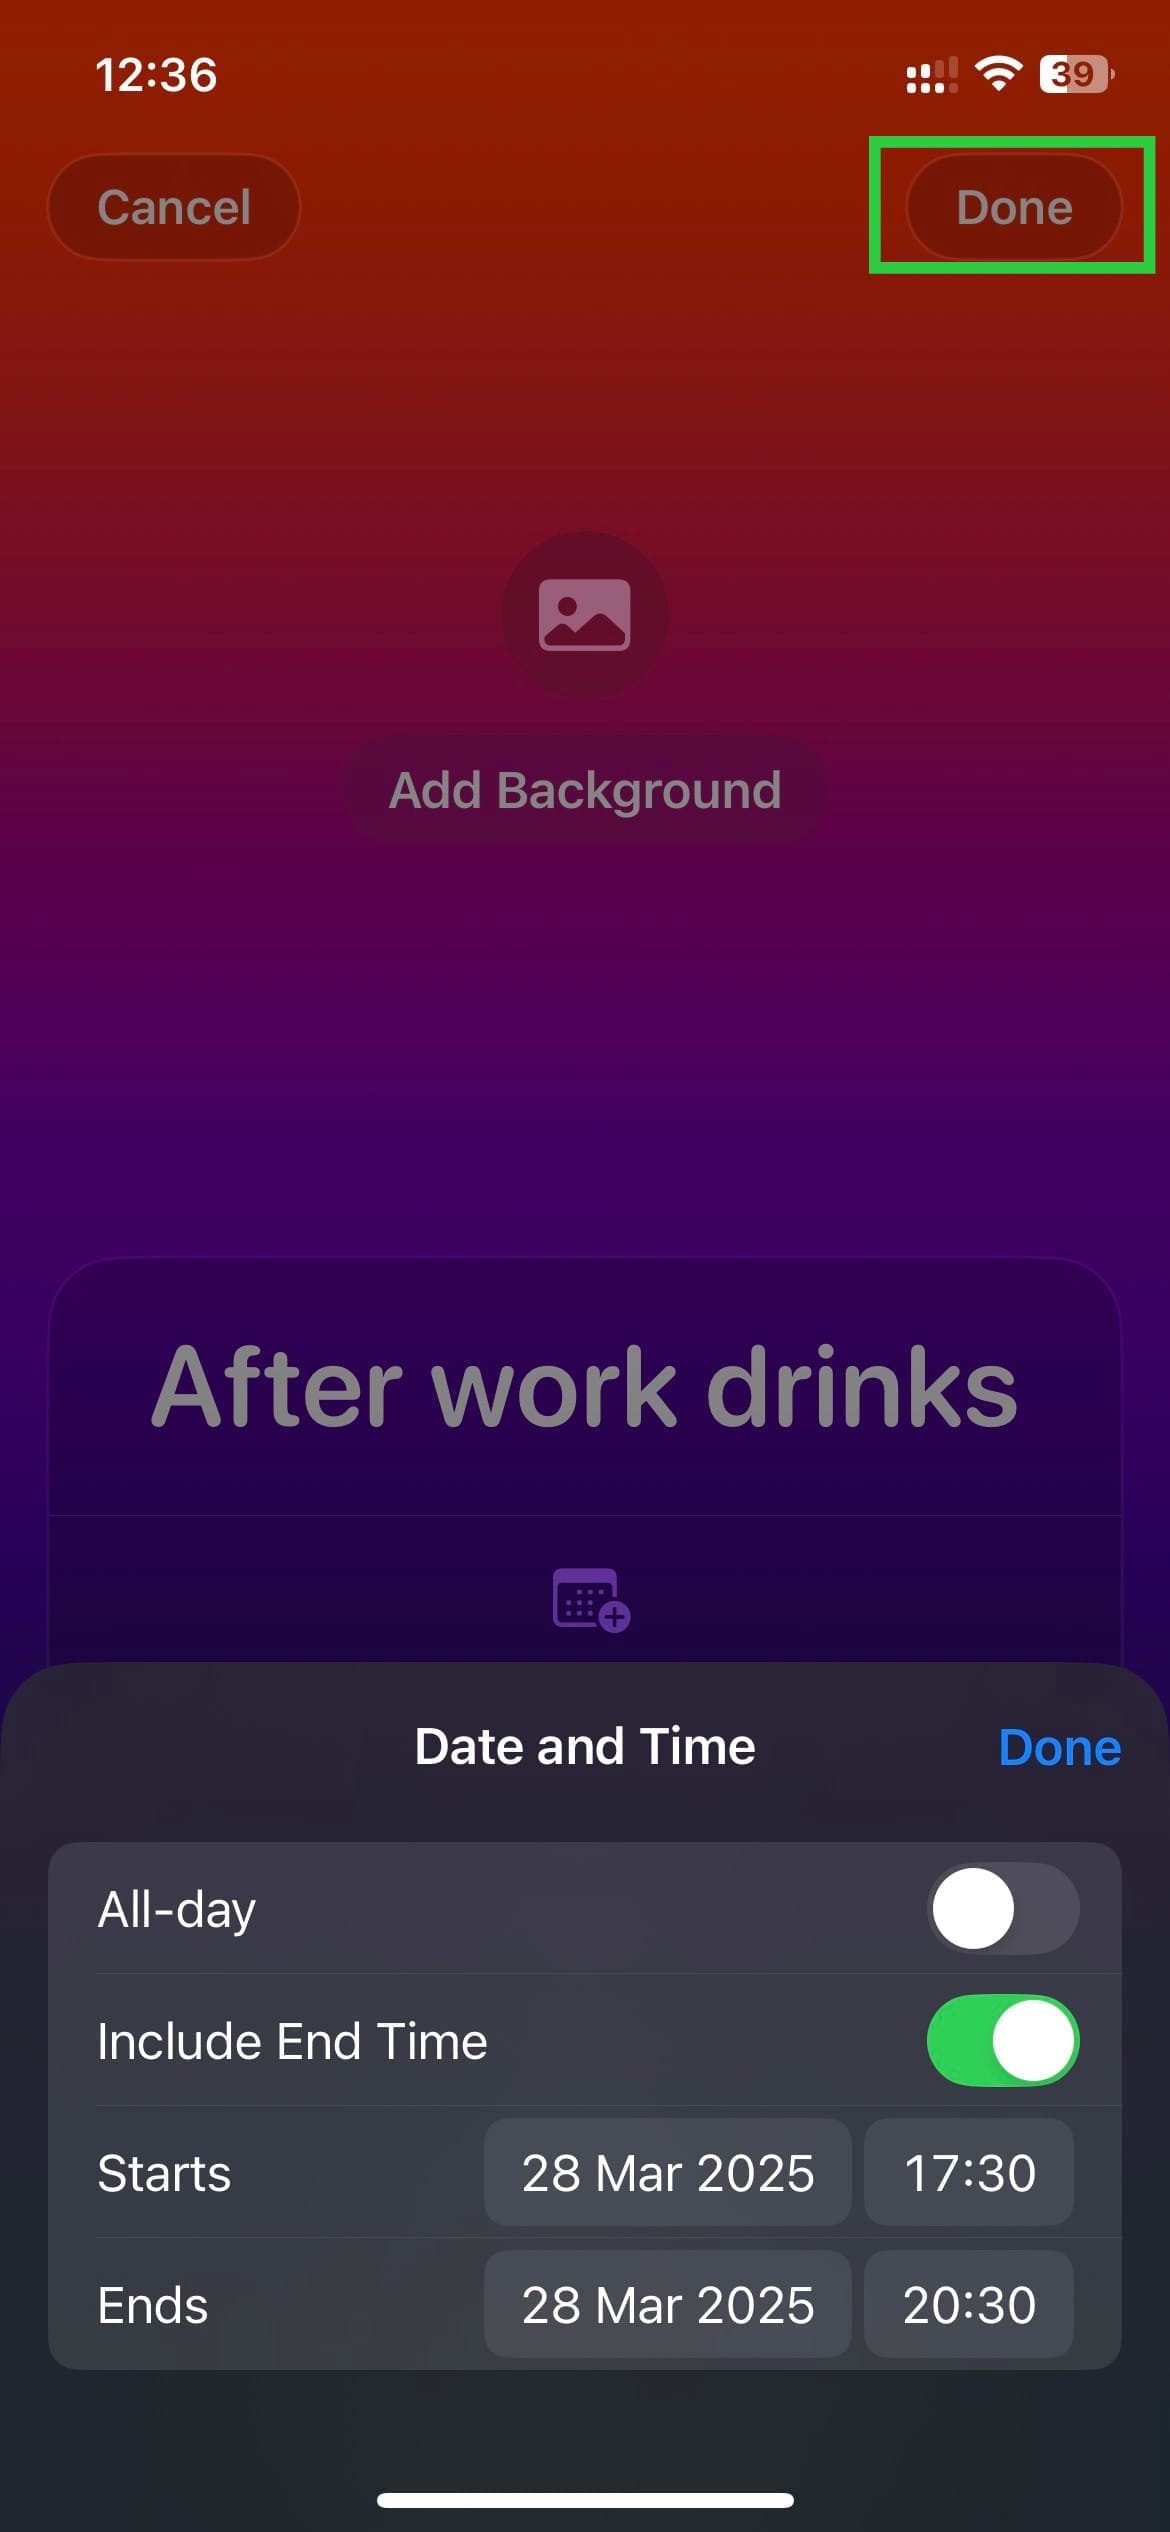
Step 2: Type in the event title and enter the date and time. Tap Done after that.
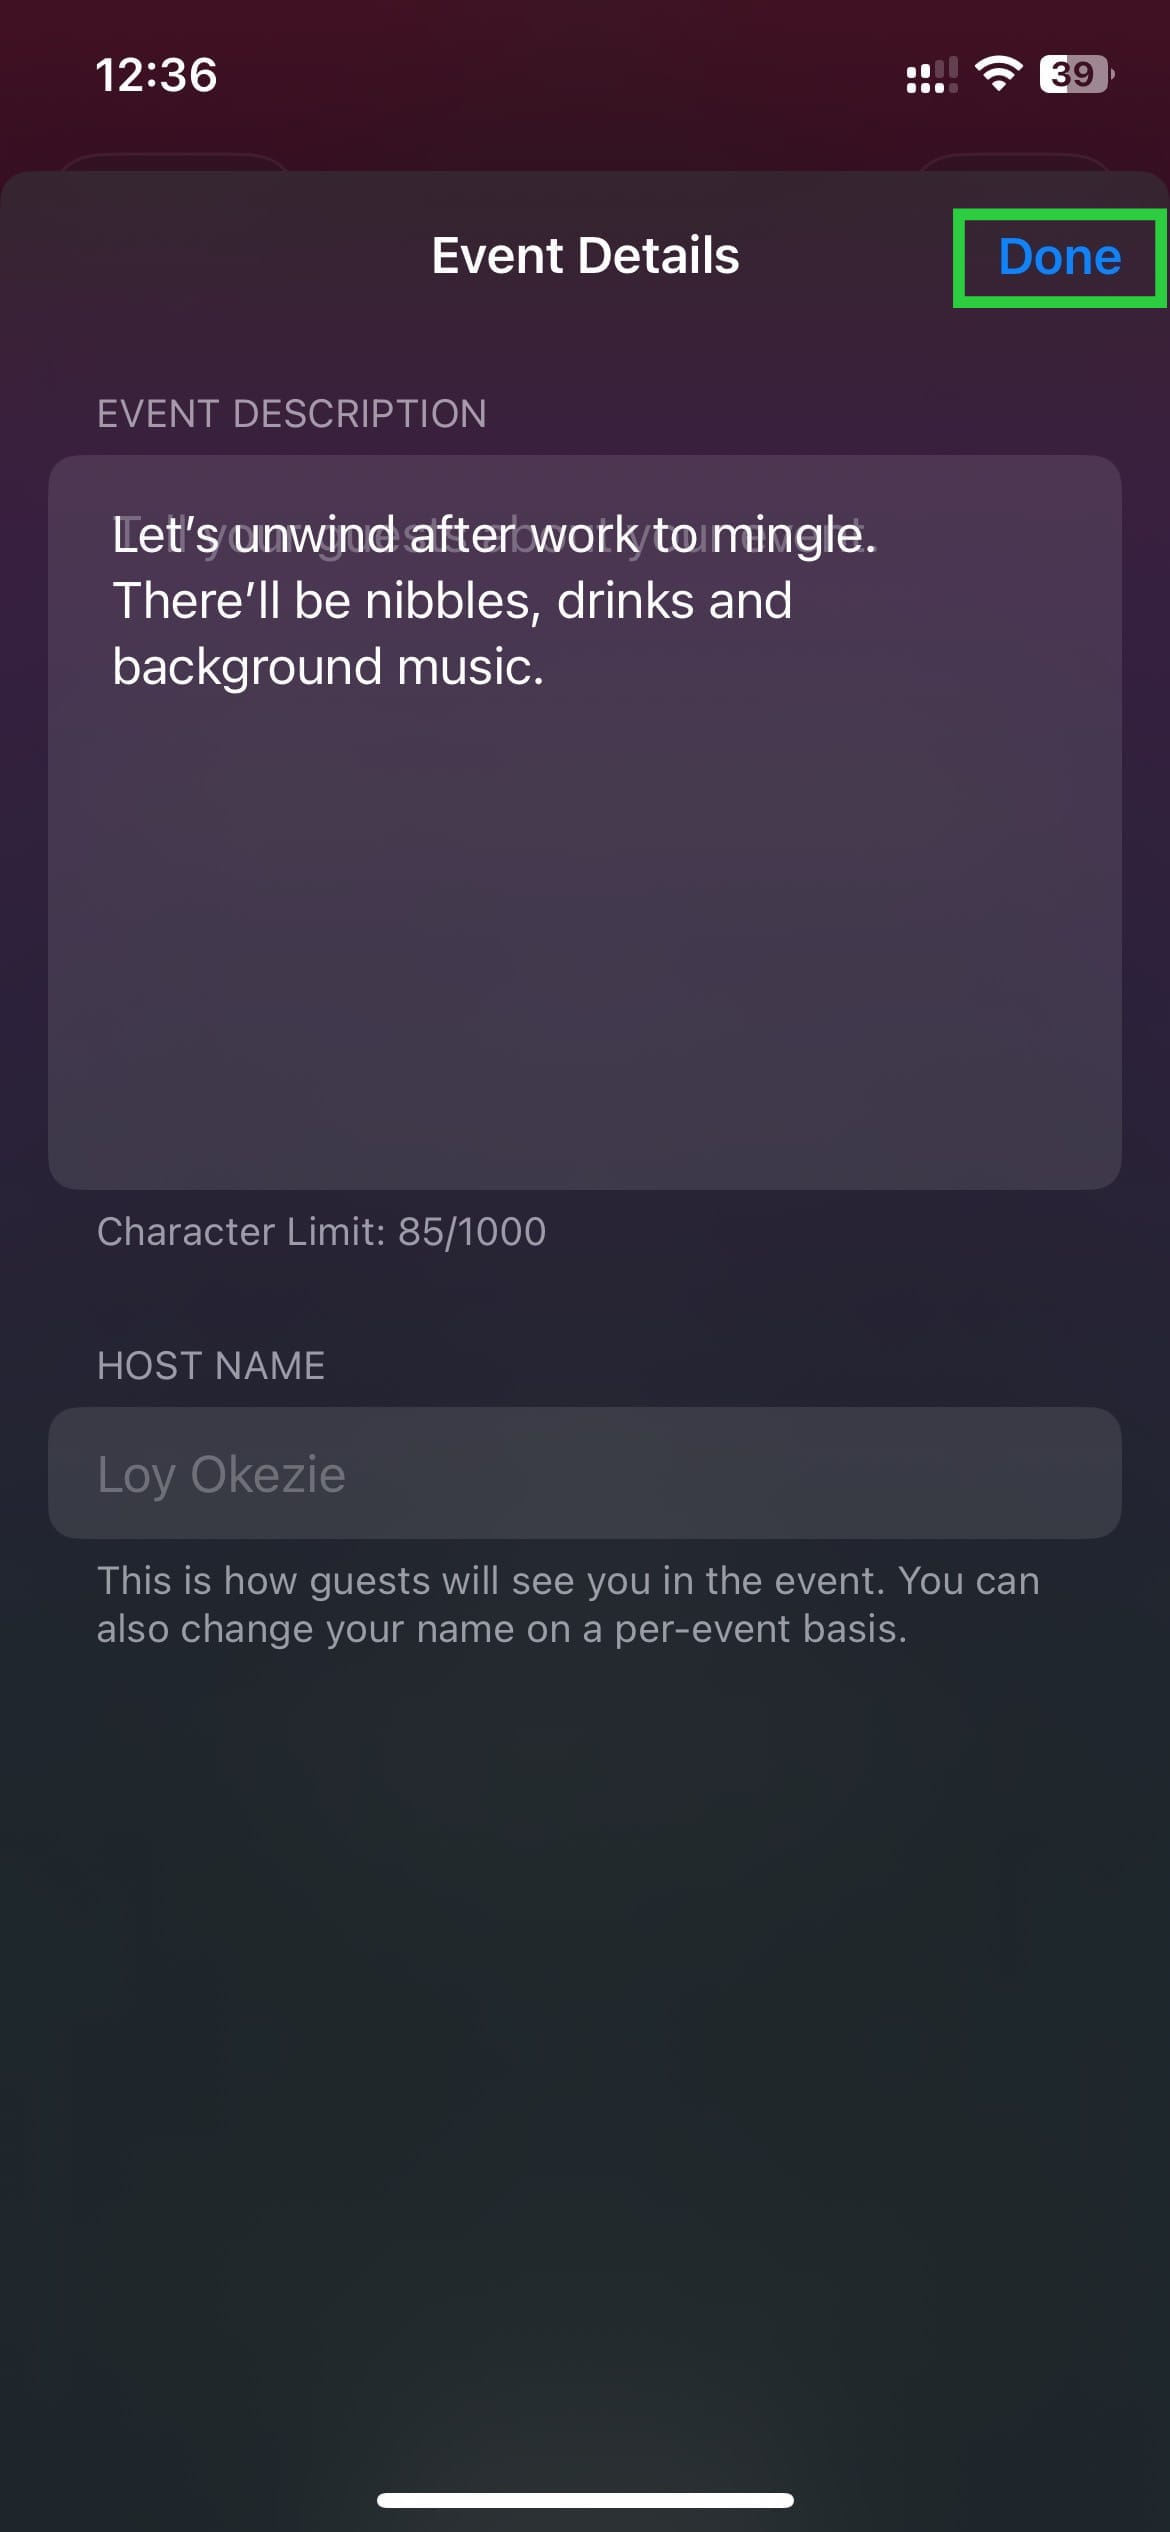
Step 3: Write a description and Hostname and click Done.
Step 4: Enter the location. You can manually enter it or use the suggested locations from your activity.

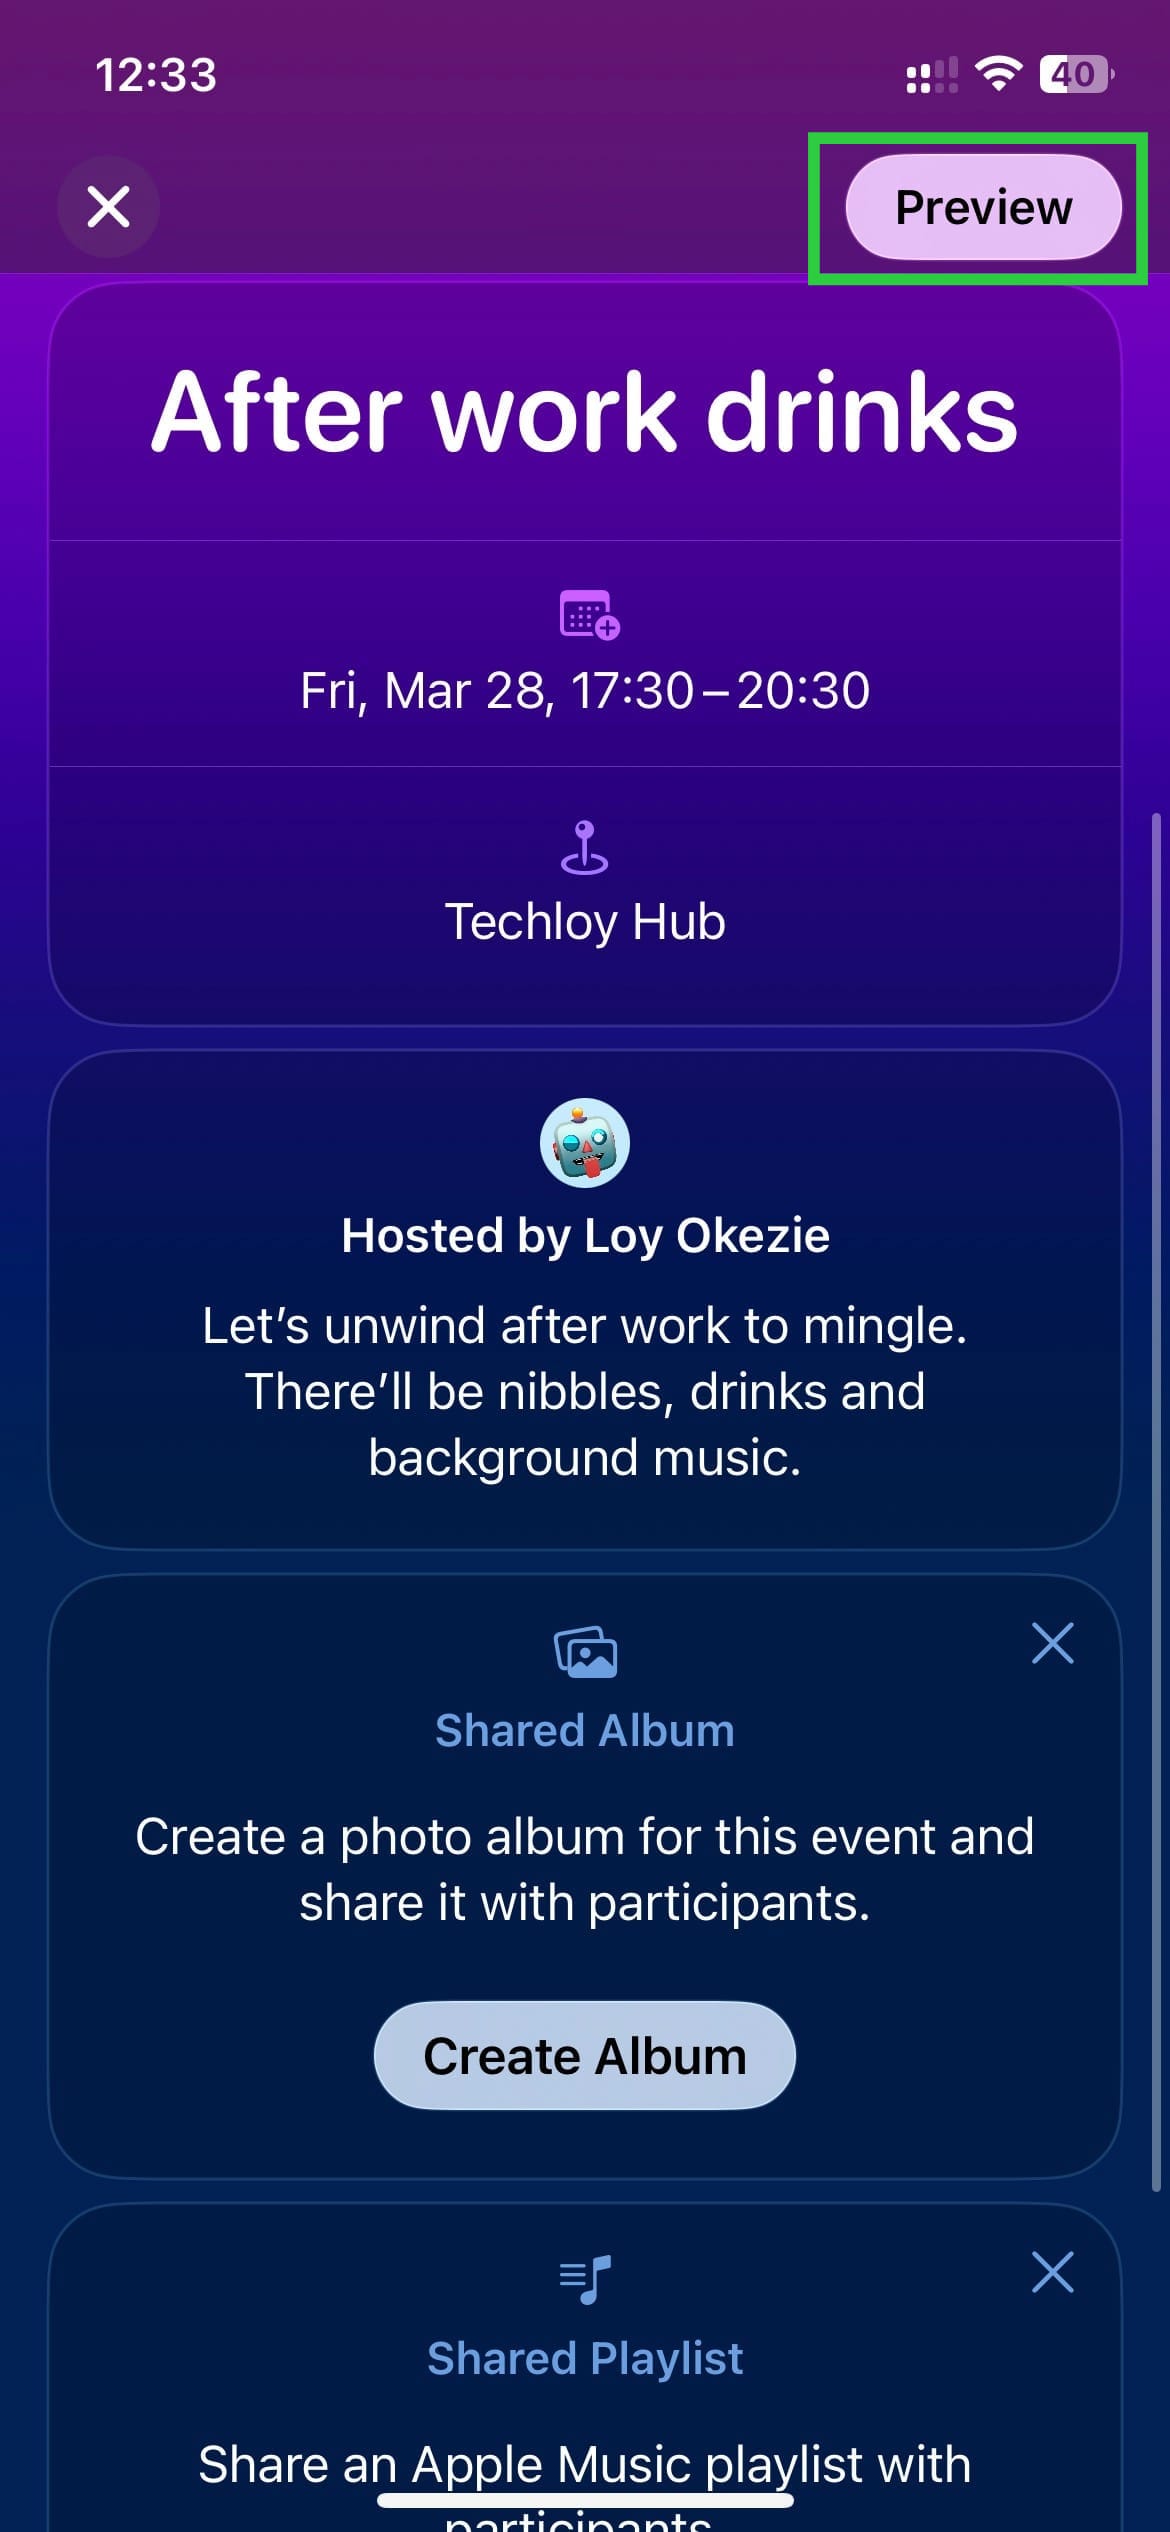
Step 5: Tap Preview at the top right to see how the invitation will look to your recipients.
Step 6: Tap Next.

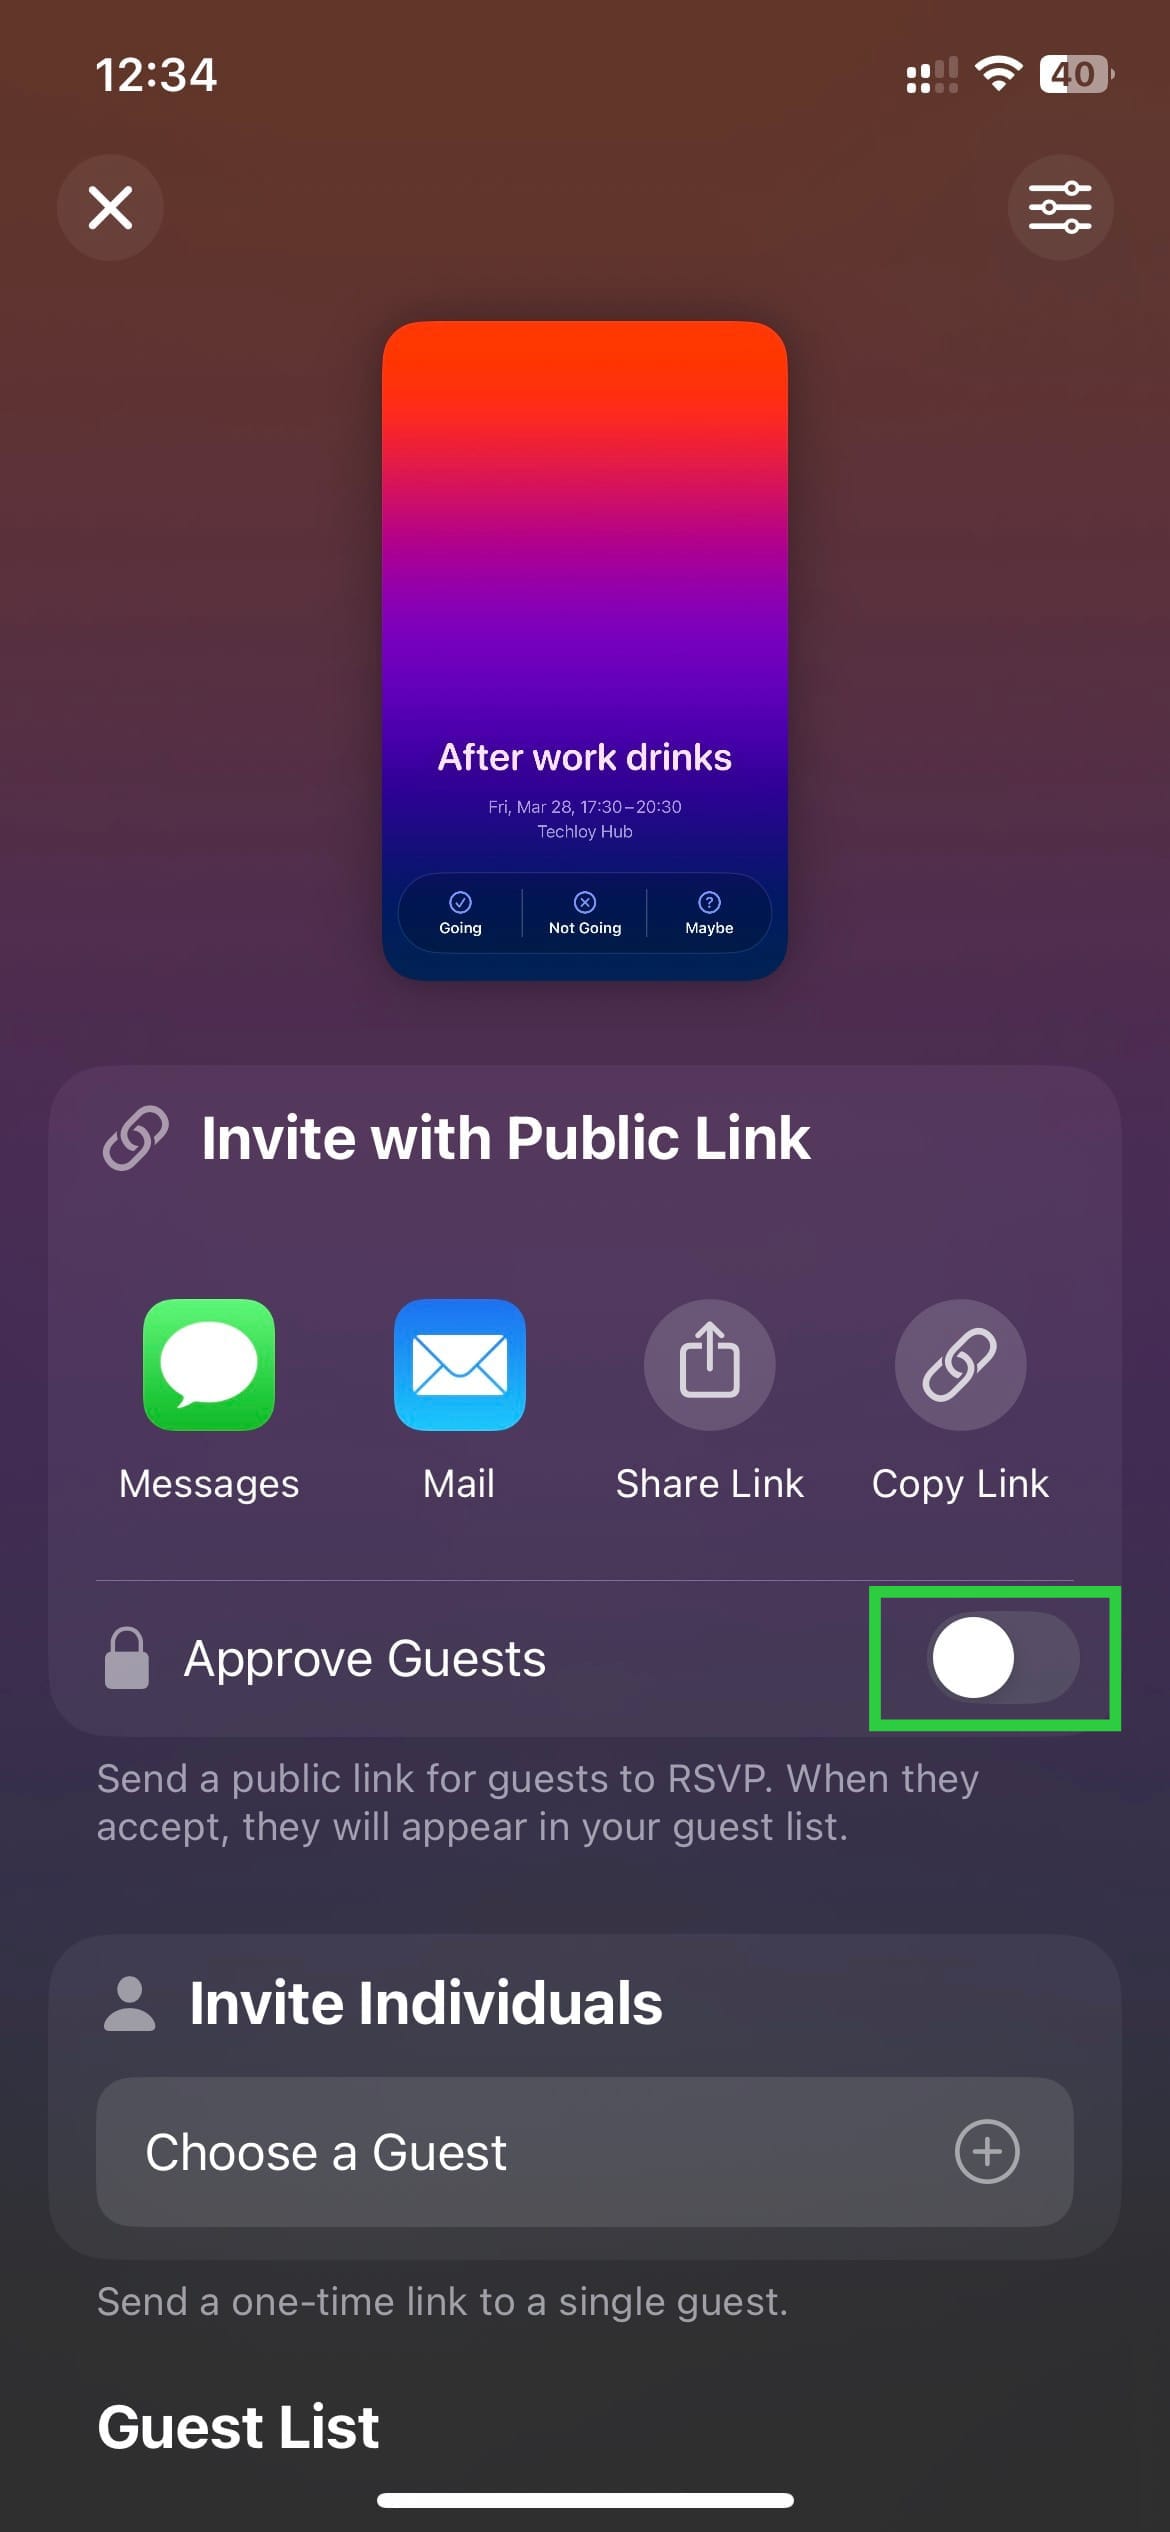
Step 7: Tap Invite Guests to send out an invite.

Step 8: Choose how to invite people, and whether to accept them all or approve each. If you want to automatically accept all guests, toggle on Approve Guests.

Conclusion
Apple Invites app is great if you’ve ever struggled to plan and host events. With its robust features, the app makes it easy to create and send custom invitations, track RSVPs, and stay organized.
Whether you're planning a birthday party, a wedding, or just a casual get-together, the Apple Invites app is the perfect tool to help you bring people together. So, save yourself time by exploring the ease the Apple Invites app provides.
Image credit: Techloy.com


